QTL creates architectural lighting for a high tier of commercial and residential spaces. When I started at the company I worked in the standard Product Development team but switched to the Customs team where I spent a majority of my time. On Product Development I worked on catalogue products that were planned out in the previous year. On the Customs team I worked on projects that were location or job specific. These had much tighter time constraints but a less rigid structure had to be followed. Custom's team also helped on internal problems that needed quick solutions, sometimes outside of the standard processes. This selection covers my work across product development, CAD, prototyping, testing, project coordination, and production support for both teams.
Company Introduction
Standard Product Development
While on a traditional product development team I worked on a few accessories for popular products and new product lines.
ALTA Drop Lens
The first product I worked on at QTL was the ALTA Drop lens. There was a large demand for drop lens options for a few of the fixtures and I was tasked with designing and developing the version for the ALTA.
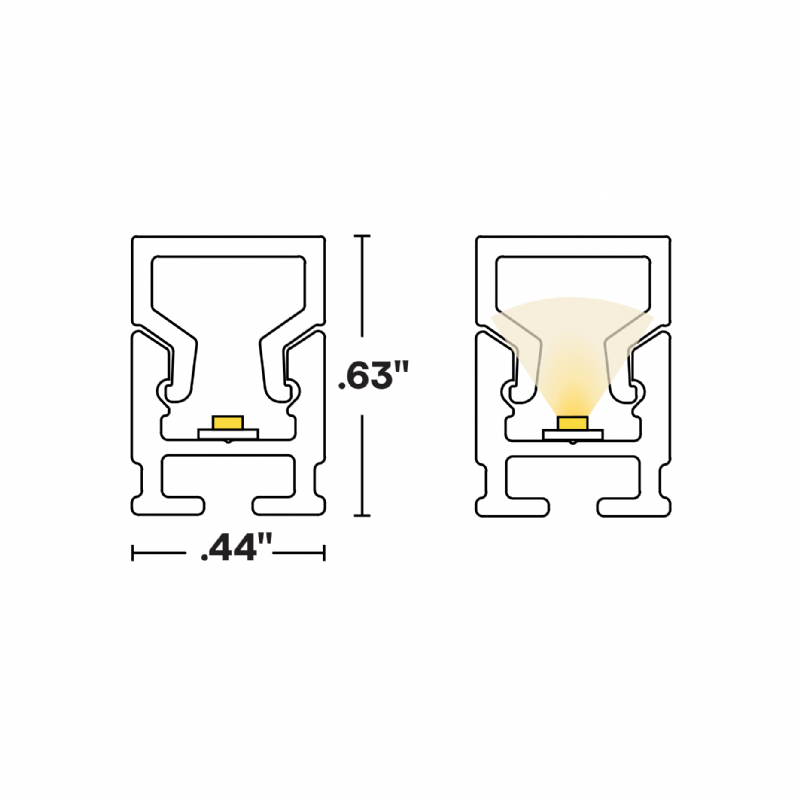
LALO/TORQ Louver
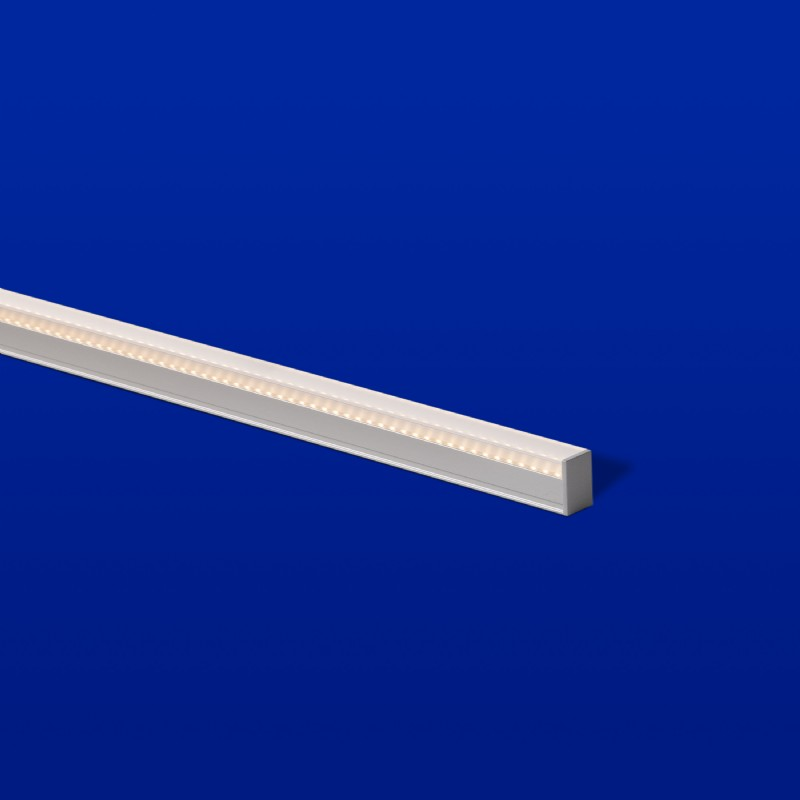
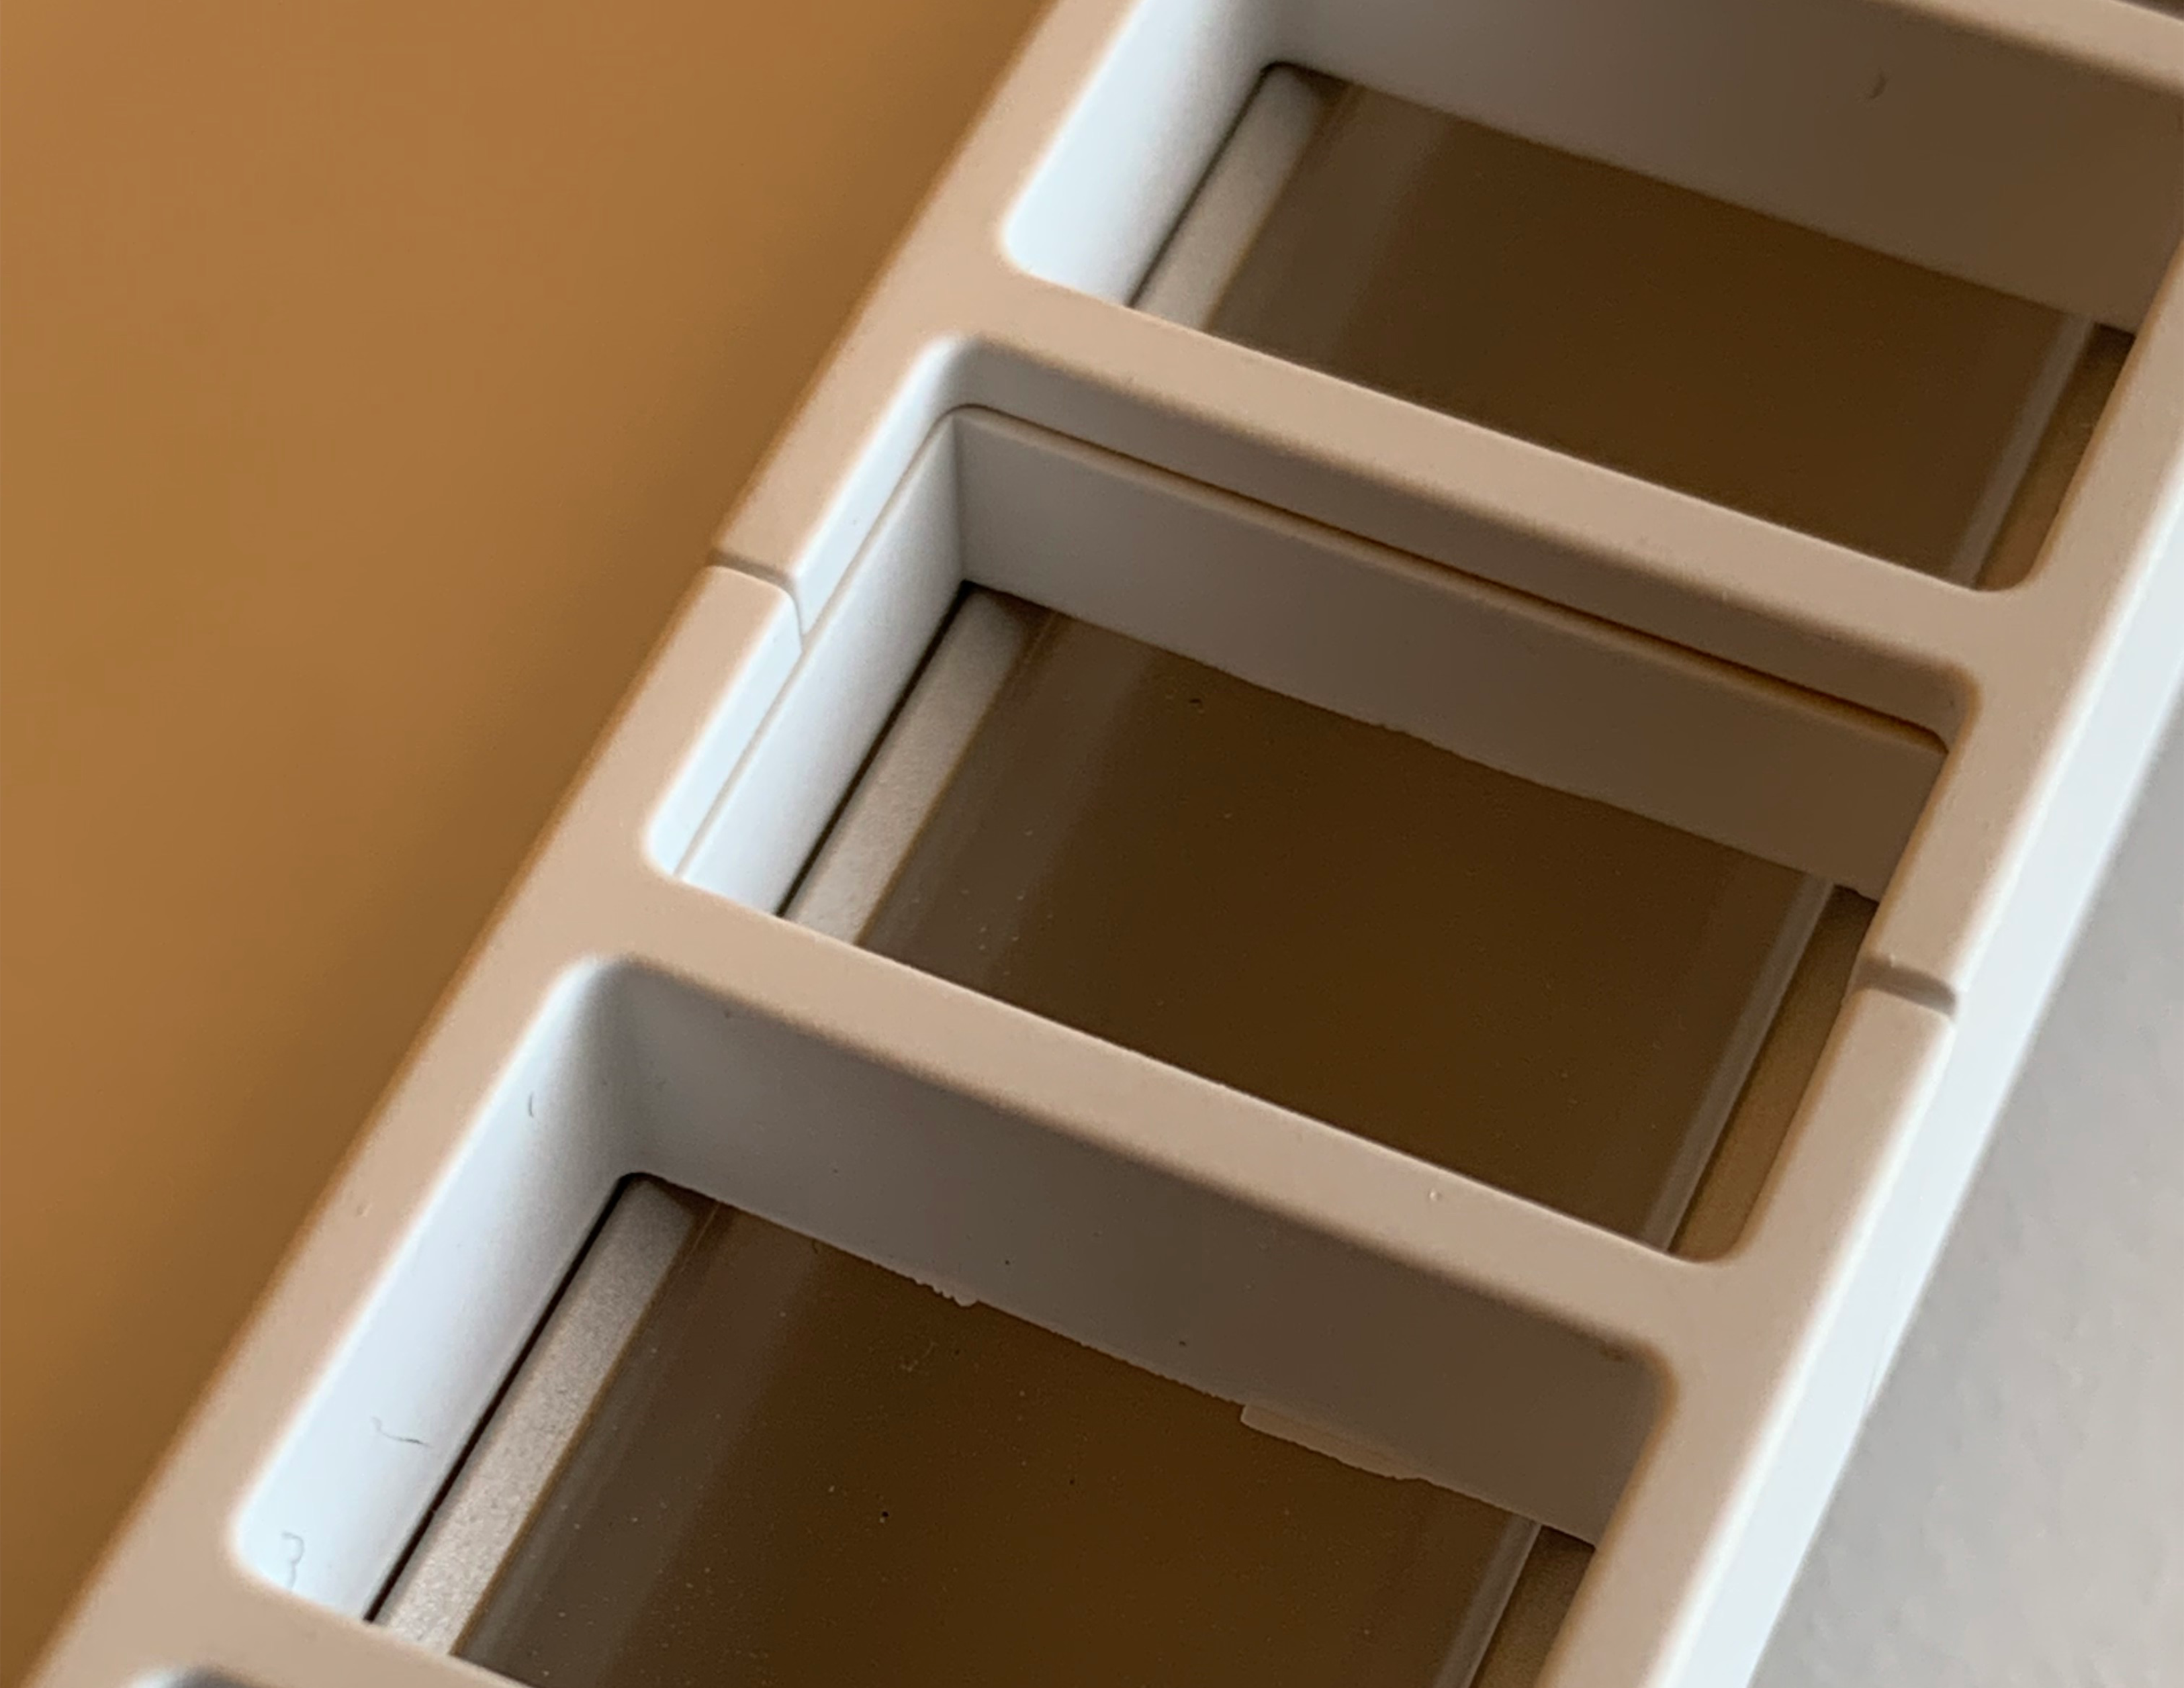
The product roadmap included expanding the accessories in the Essentials line and I was tasked with making louvers for the LALO and TORQ fixtures. Intially scoped for full metal lengths but after more cost analysis injection molded plastic louvers were decided on and released. The final design features a connecting piece between louvers which reduces light leak in longer runs. This design was reused across the other plastic louver designs.
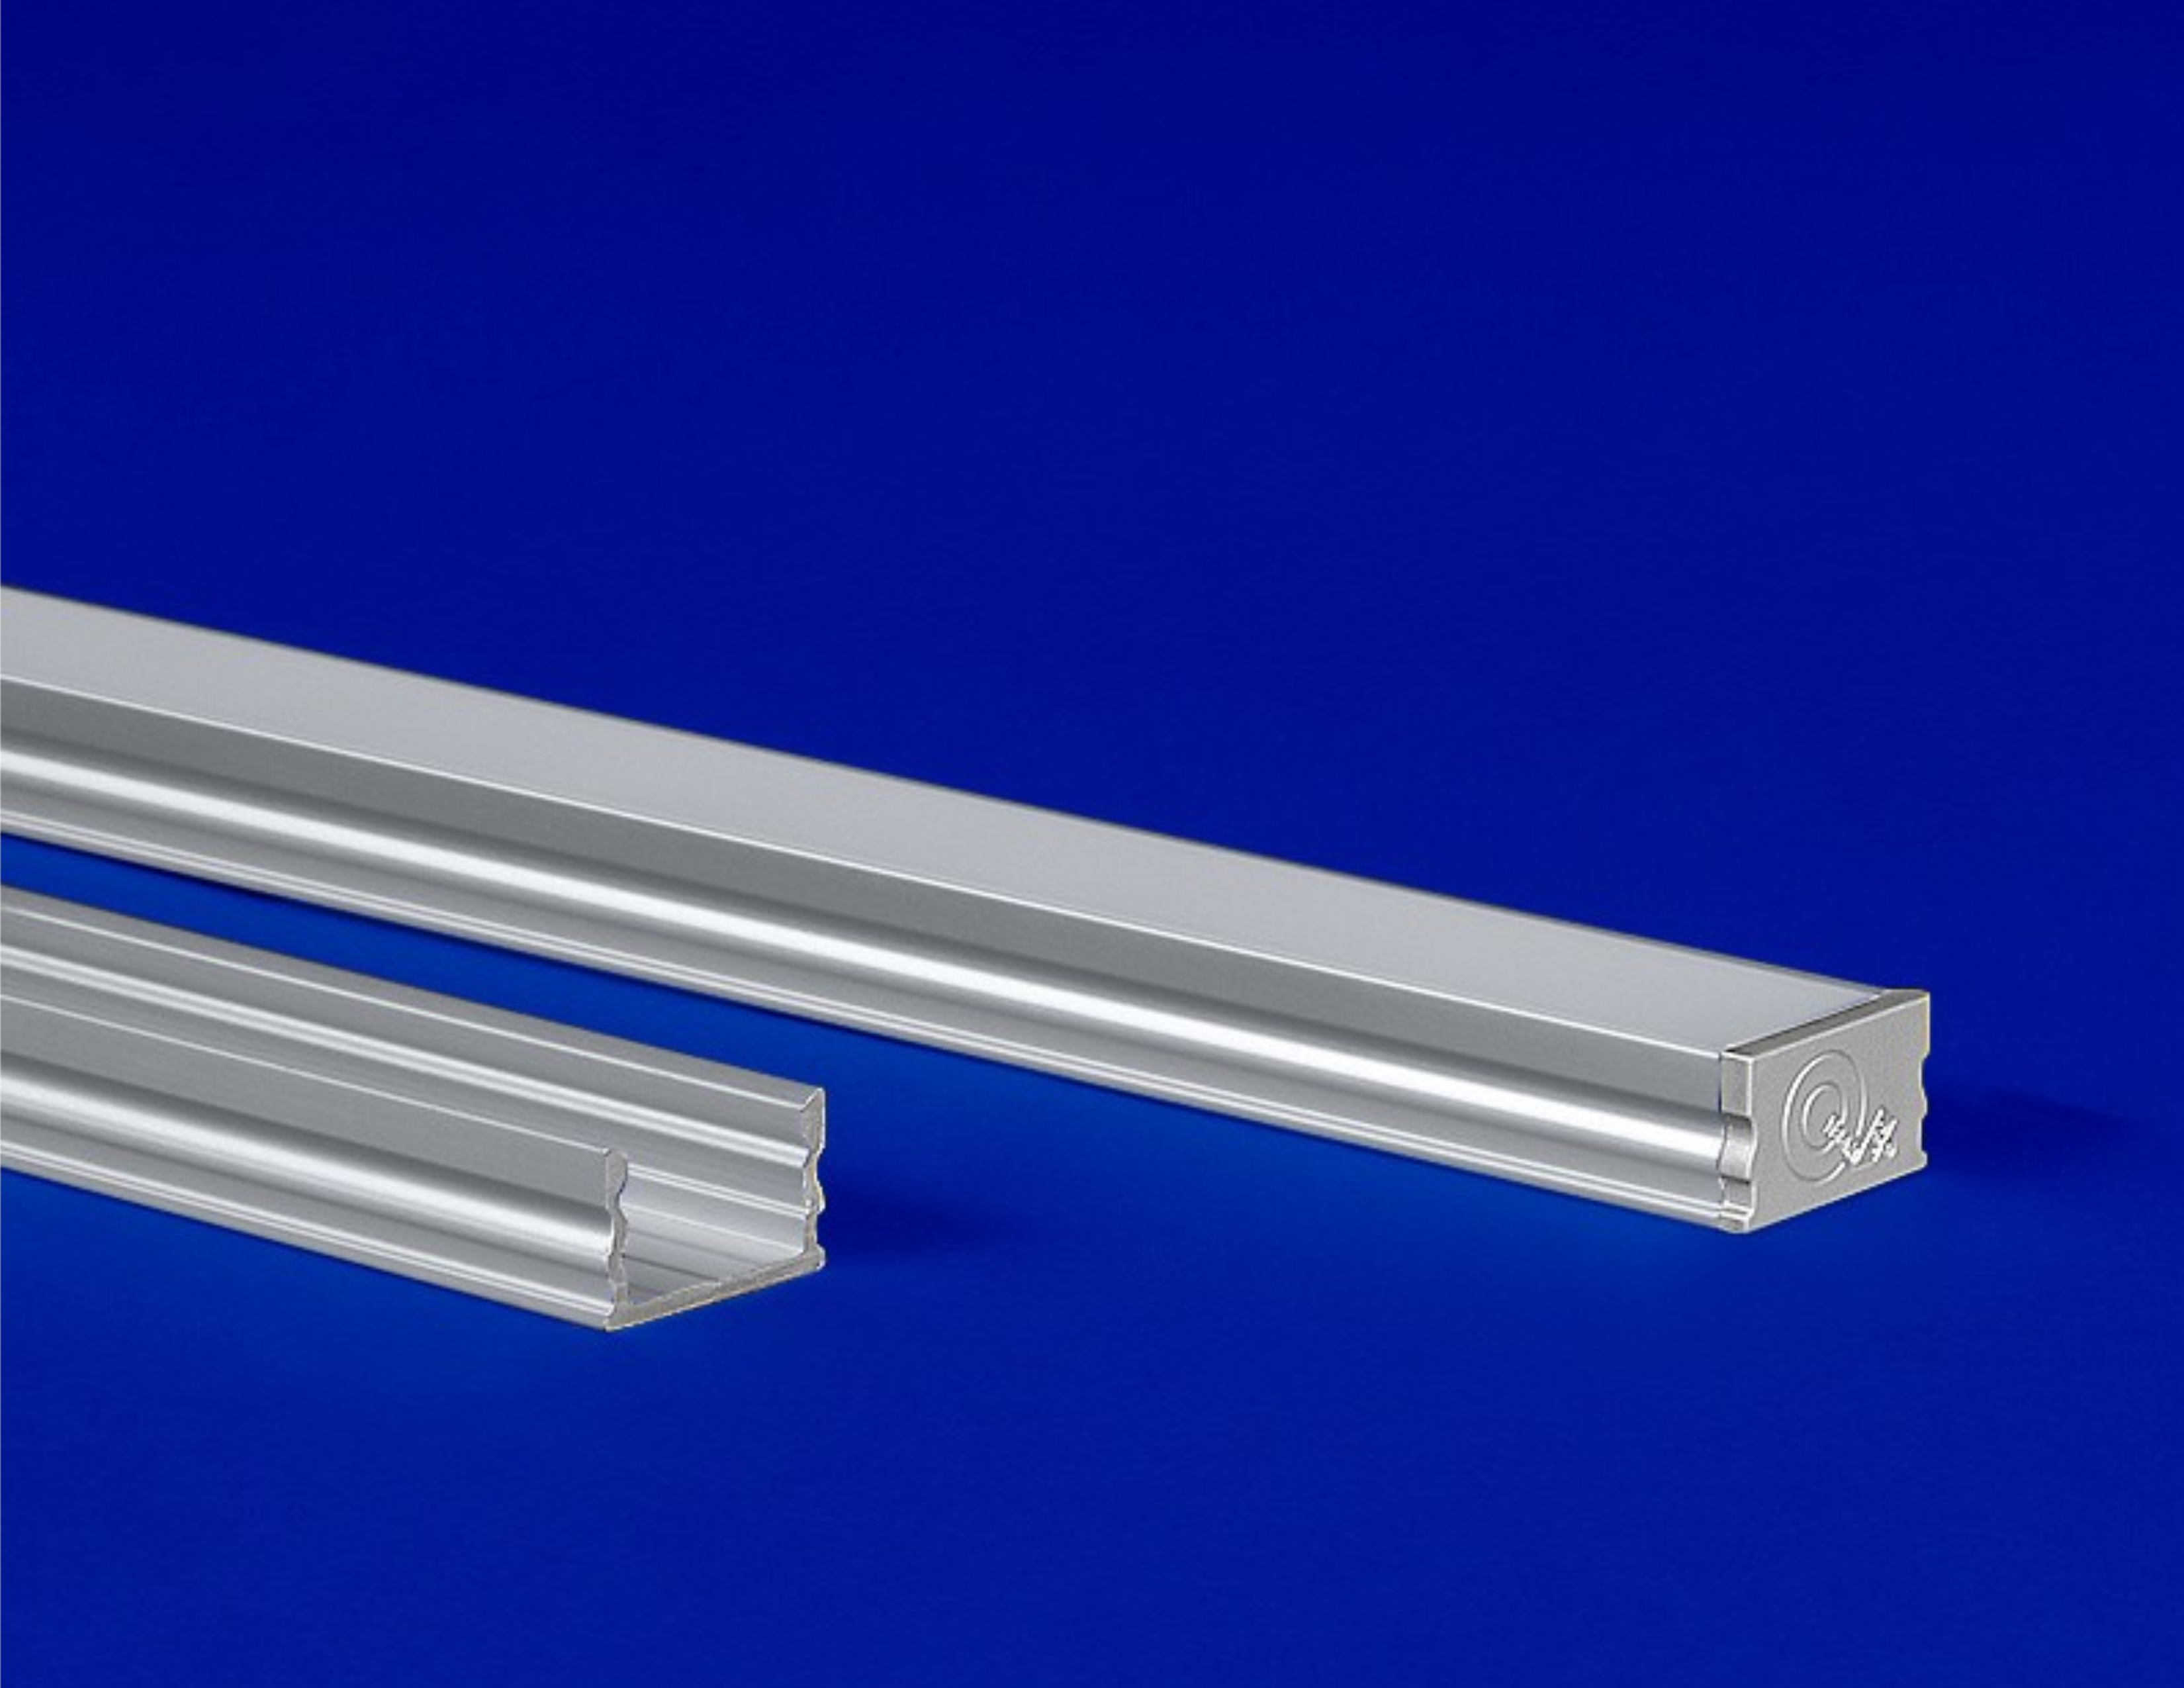
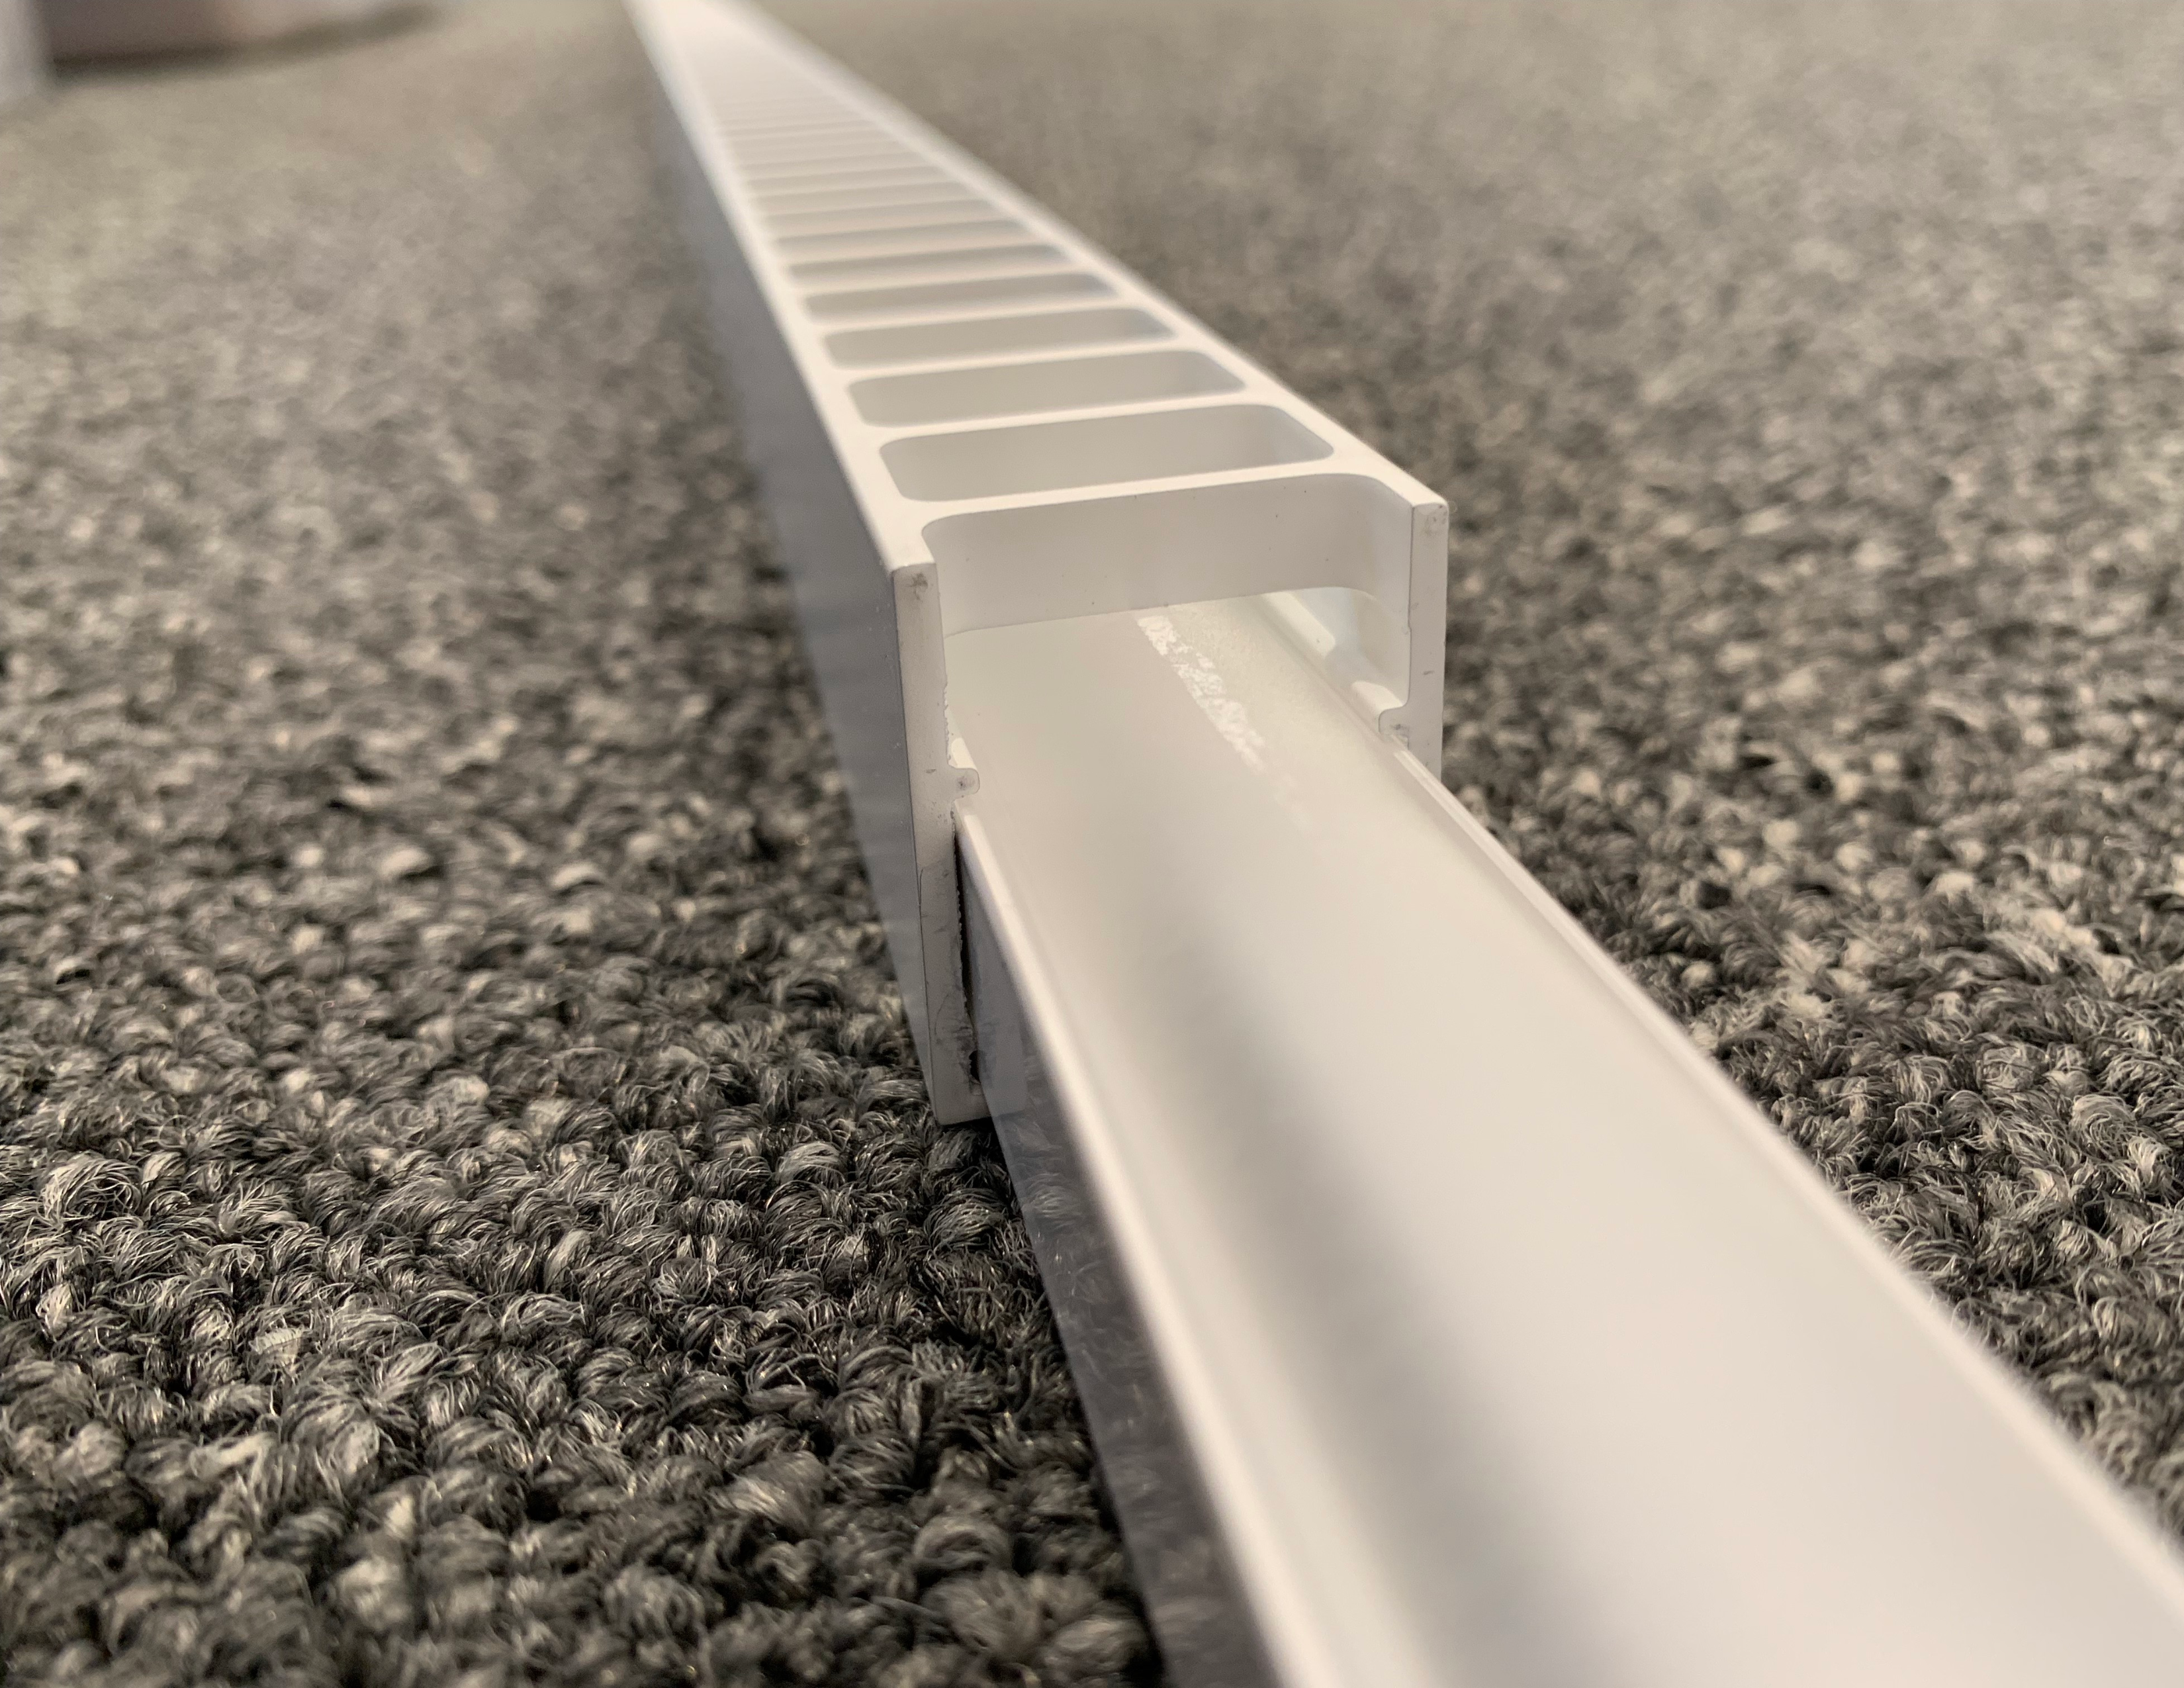
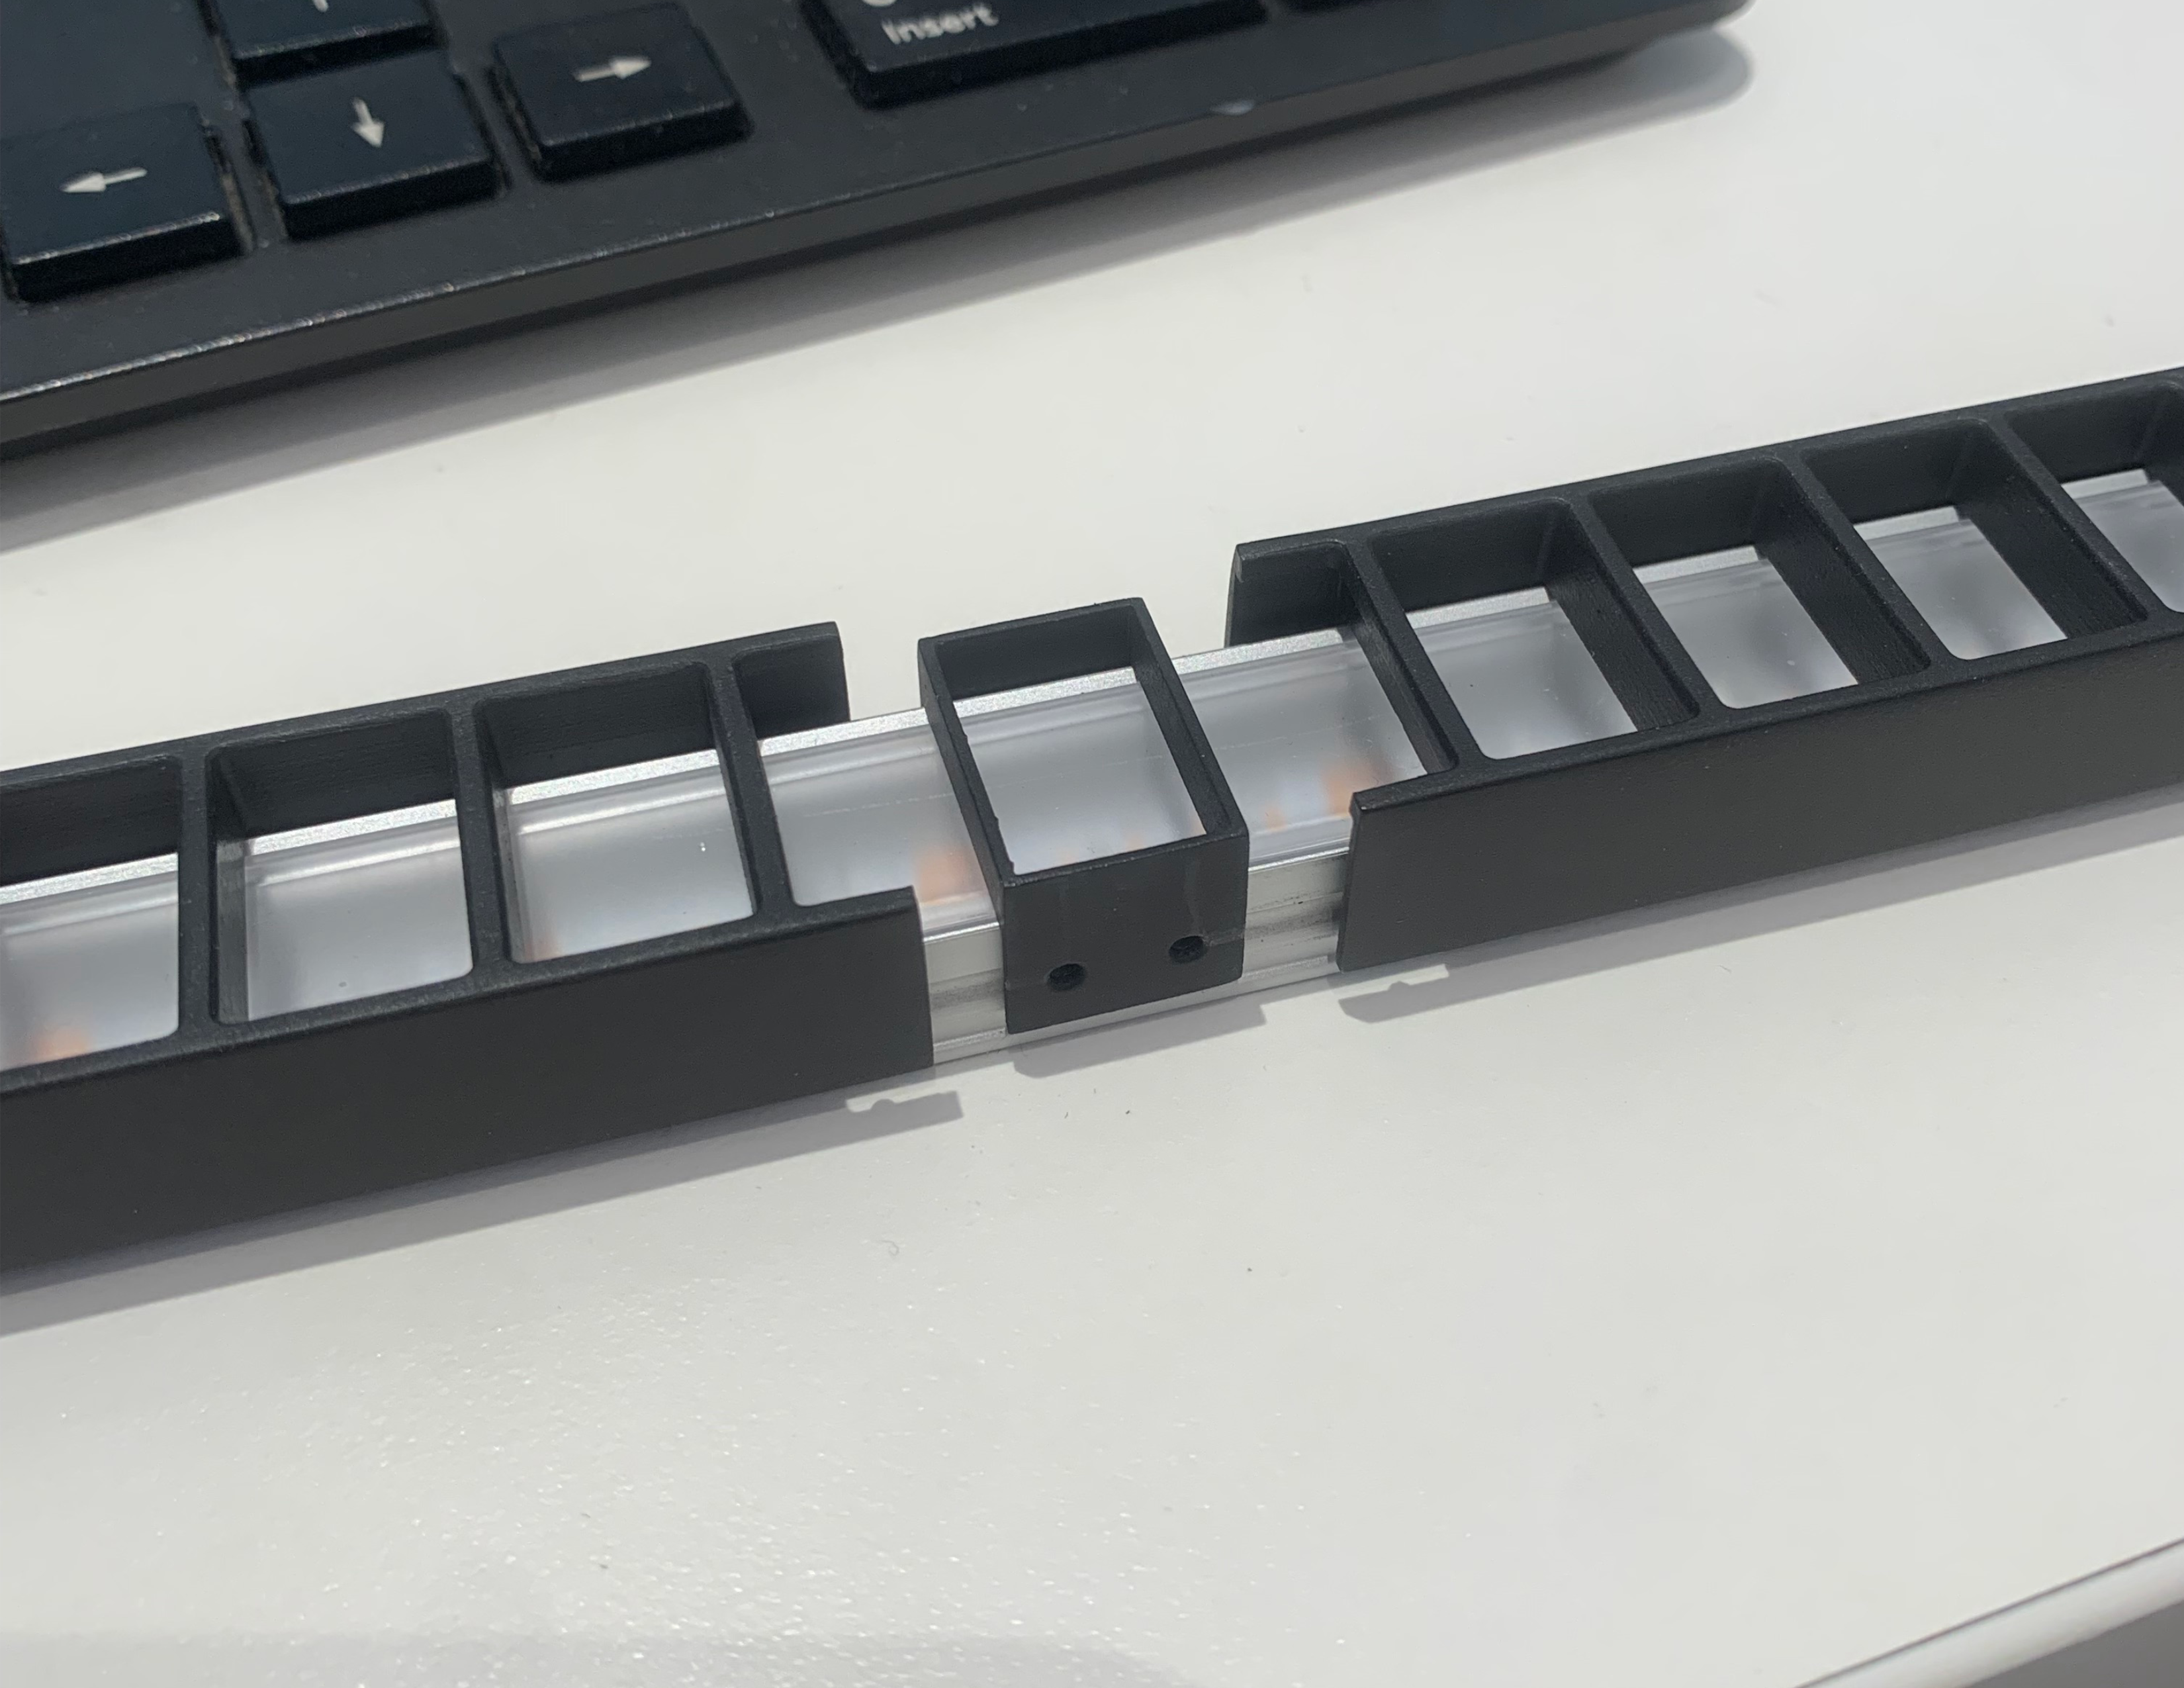
Bendit
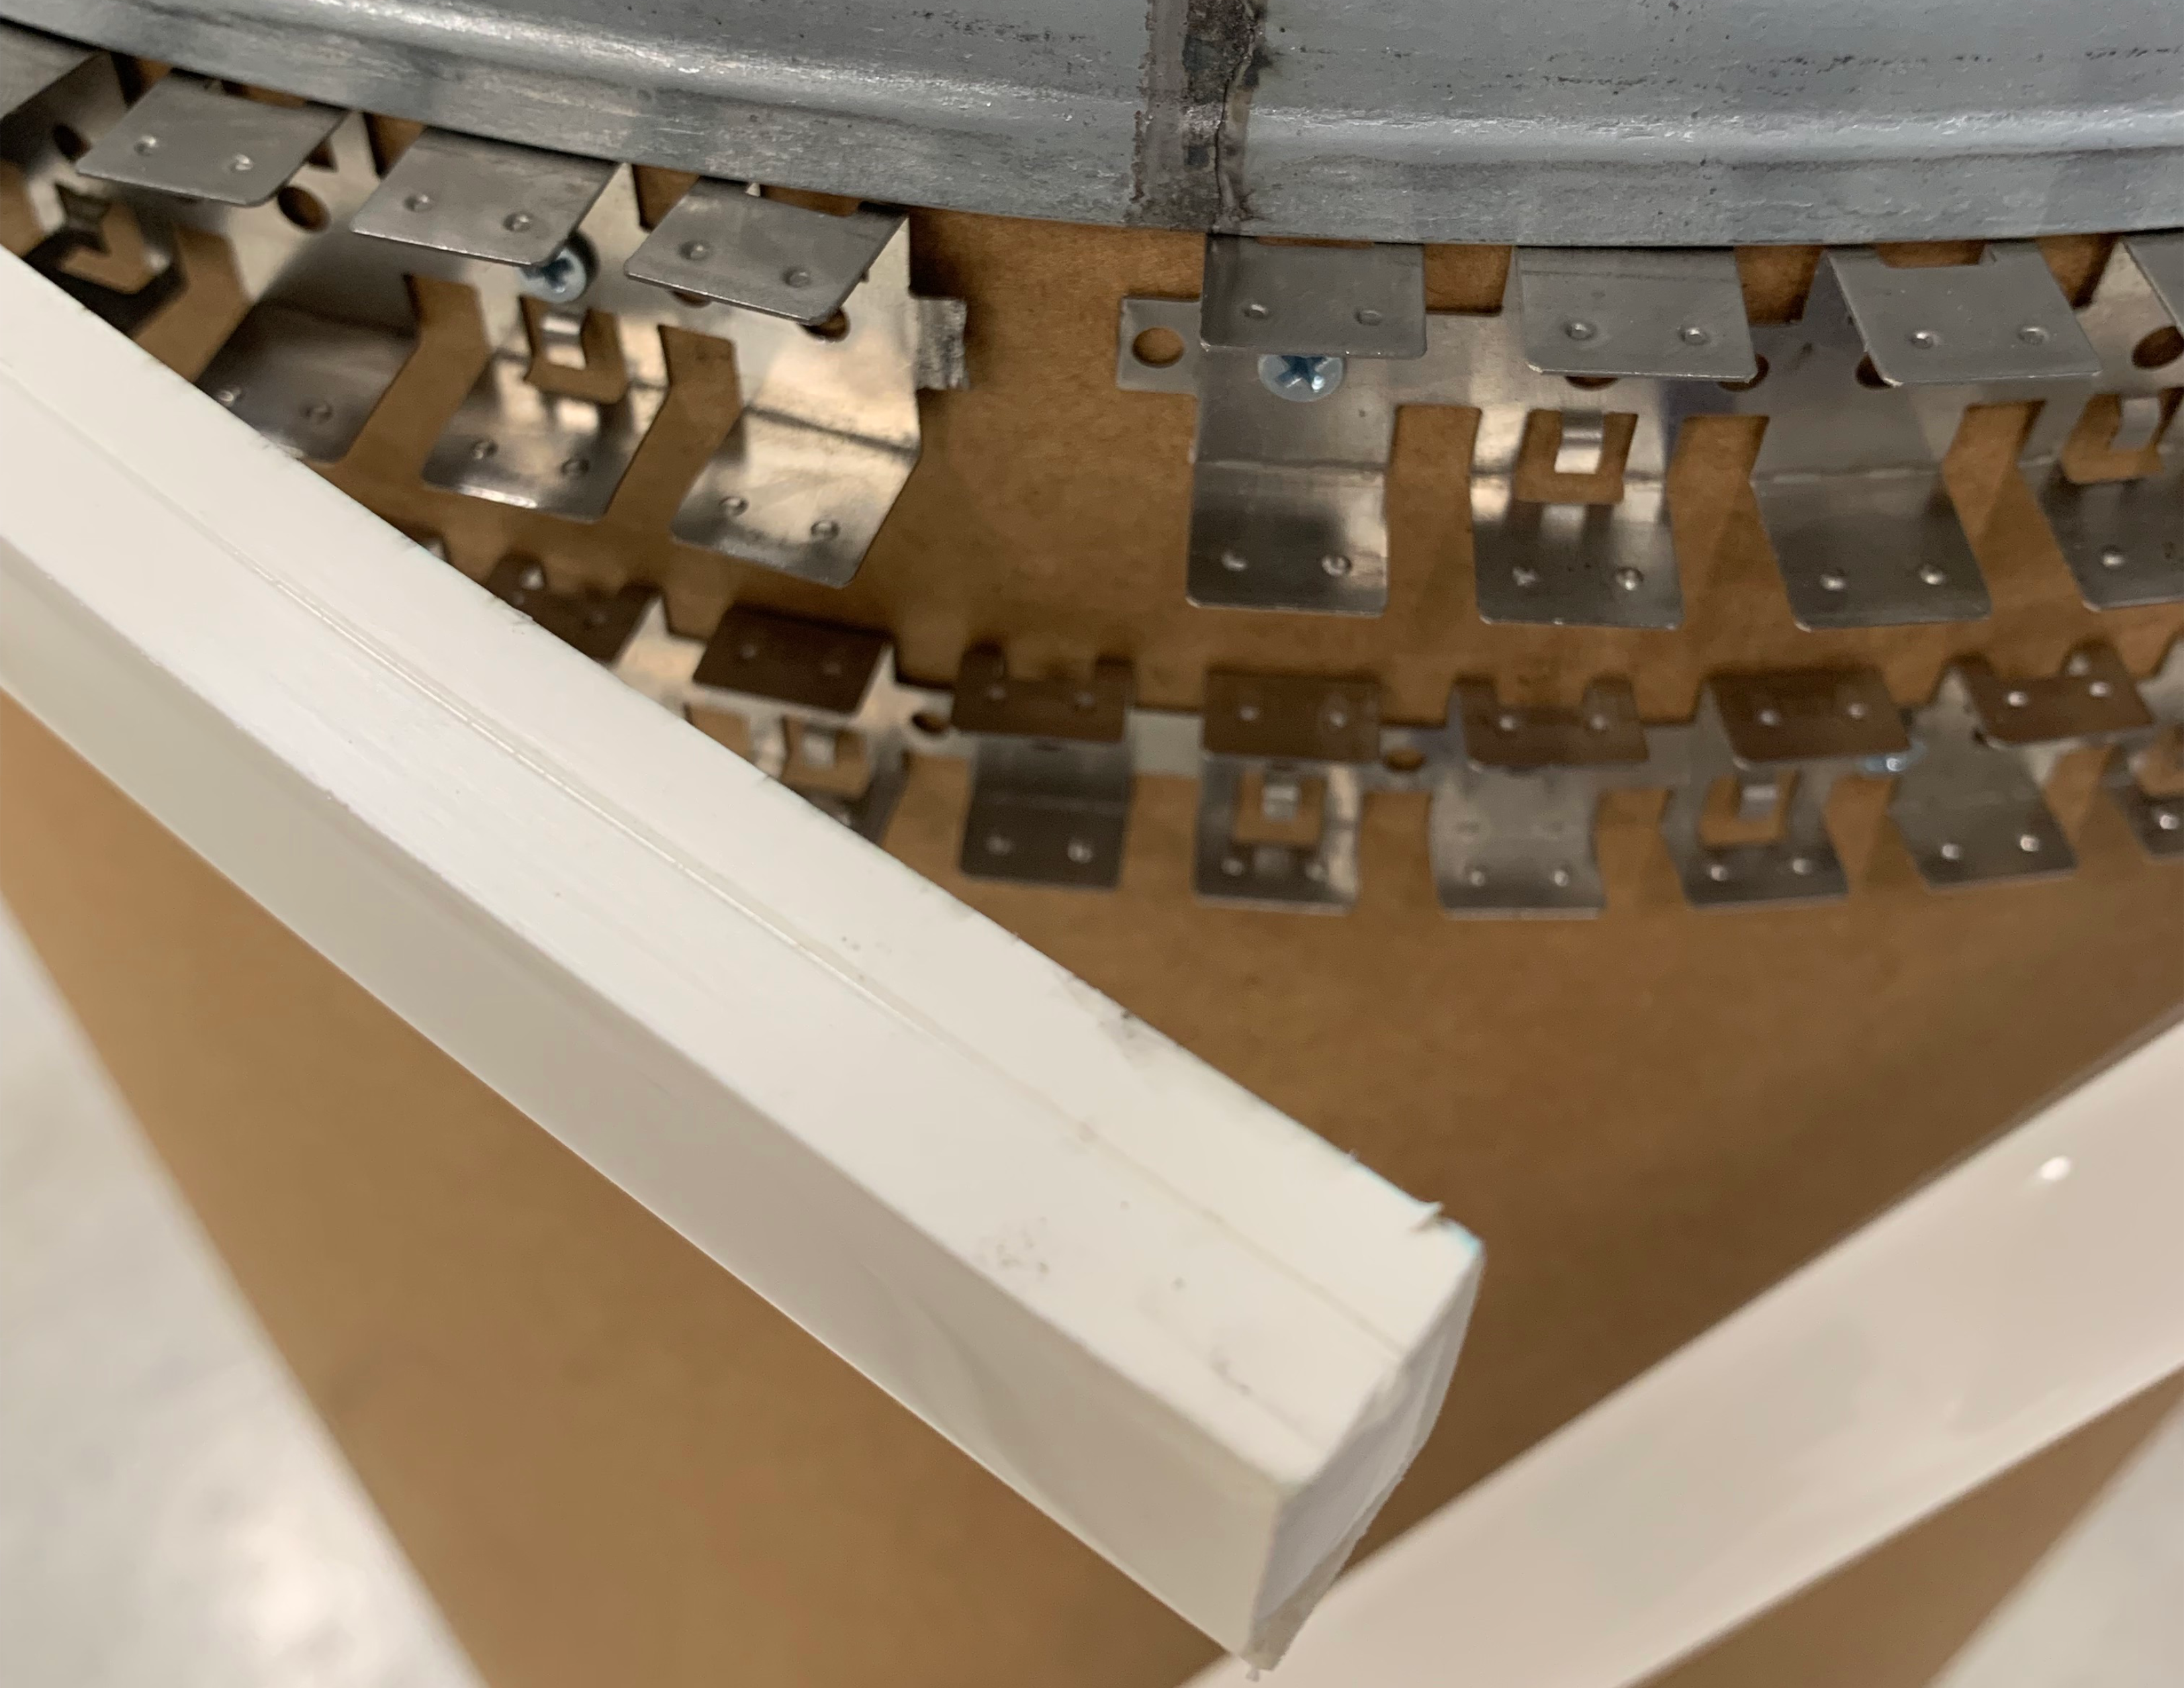
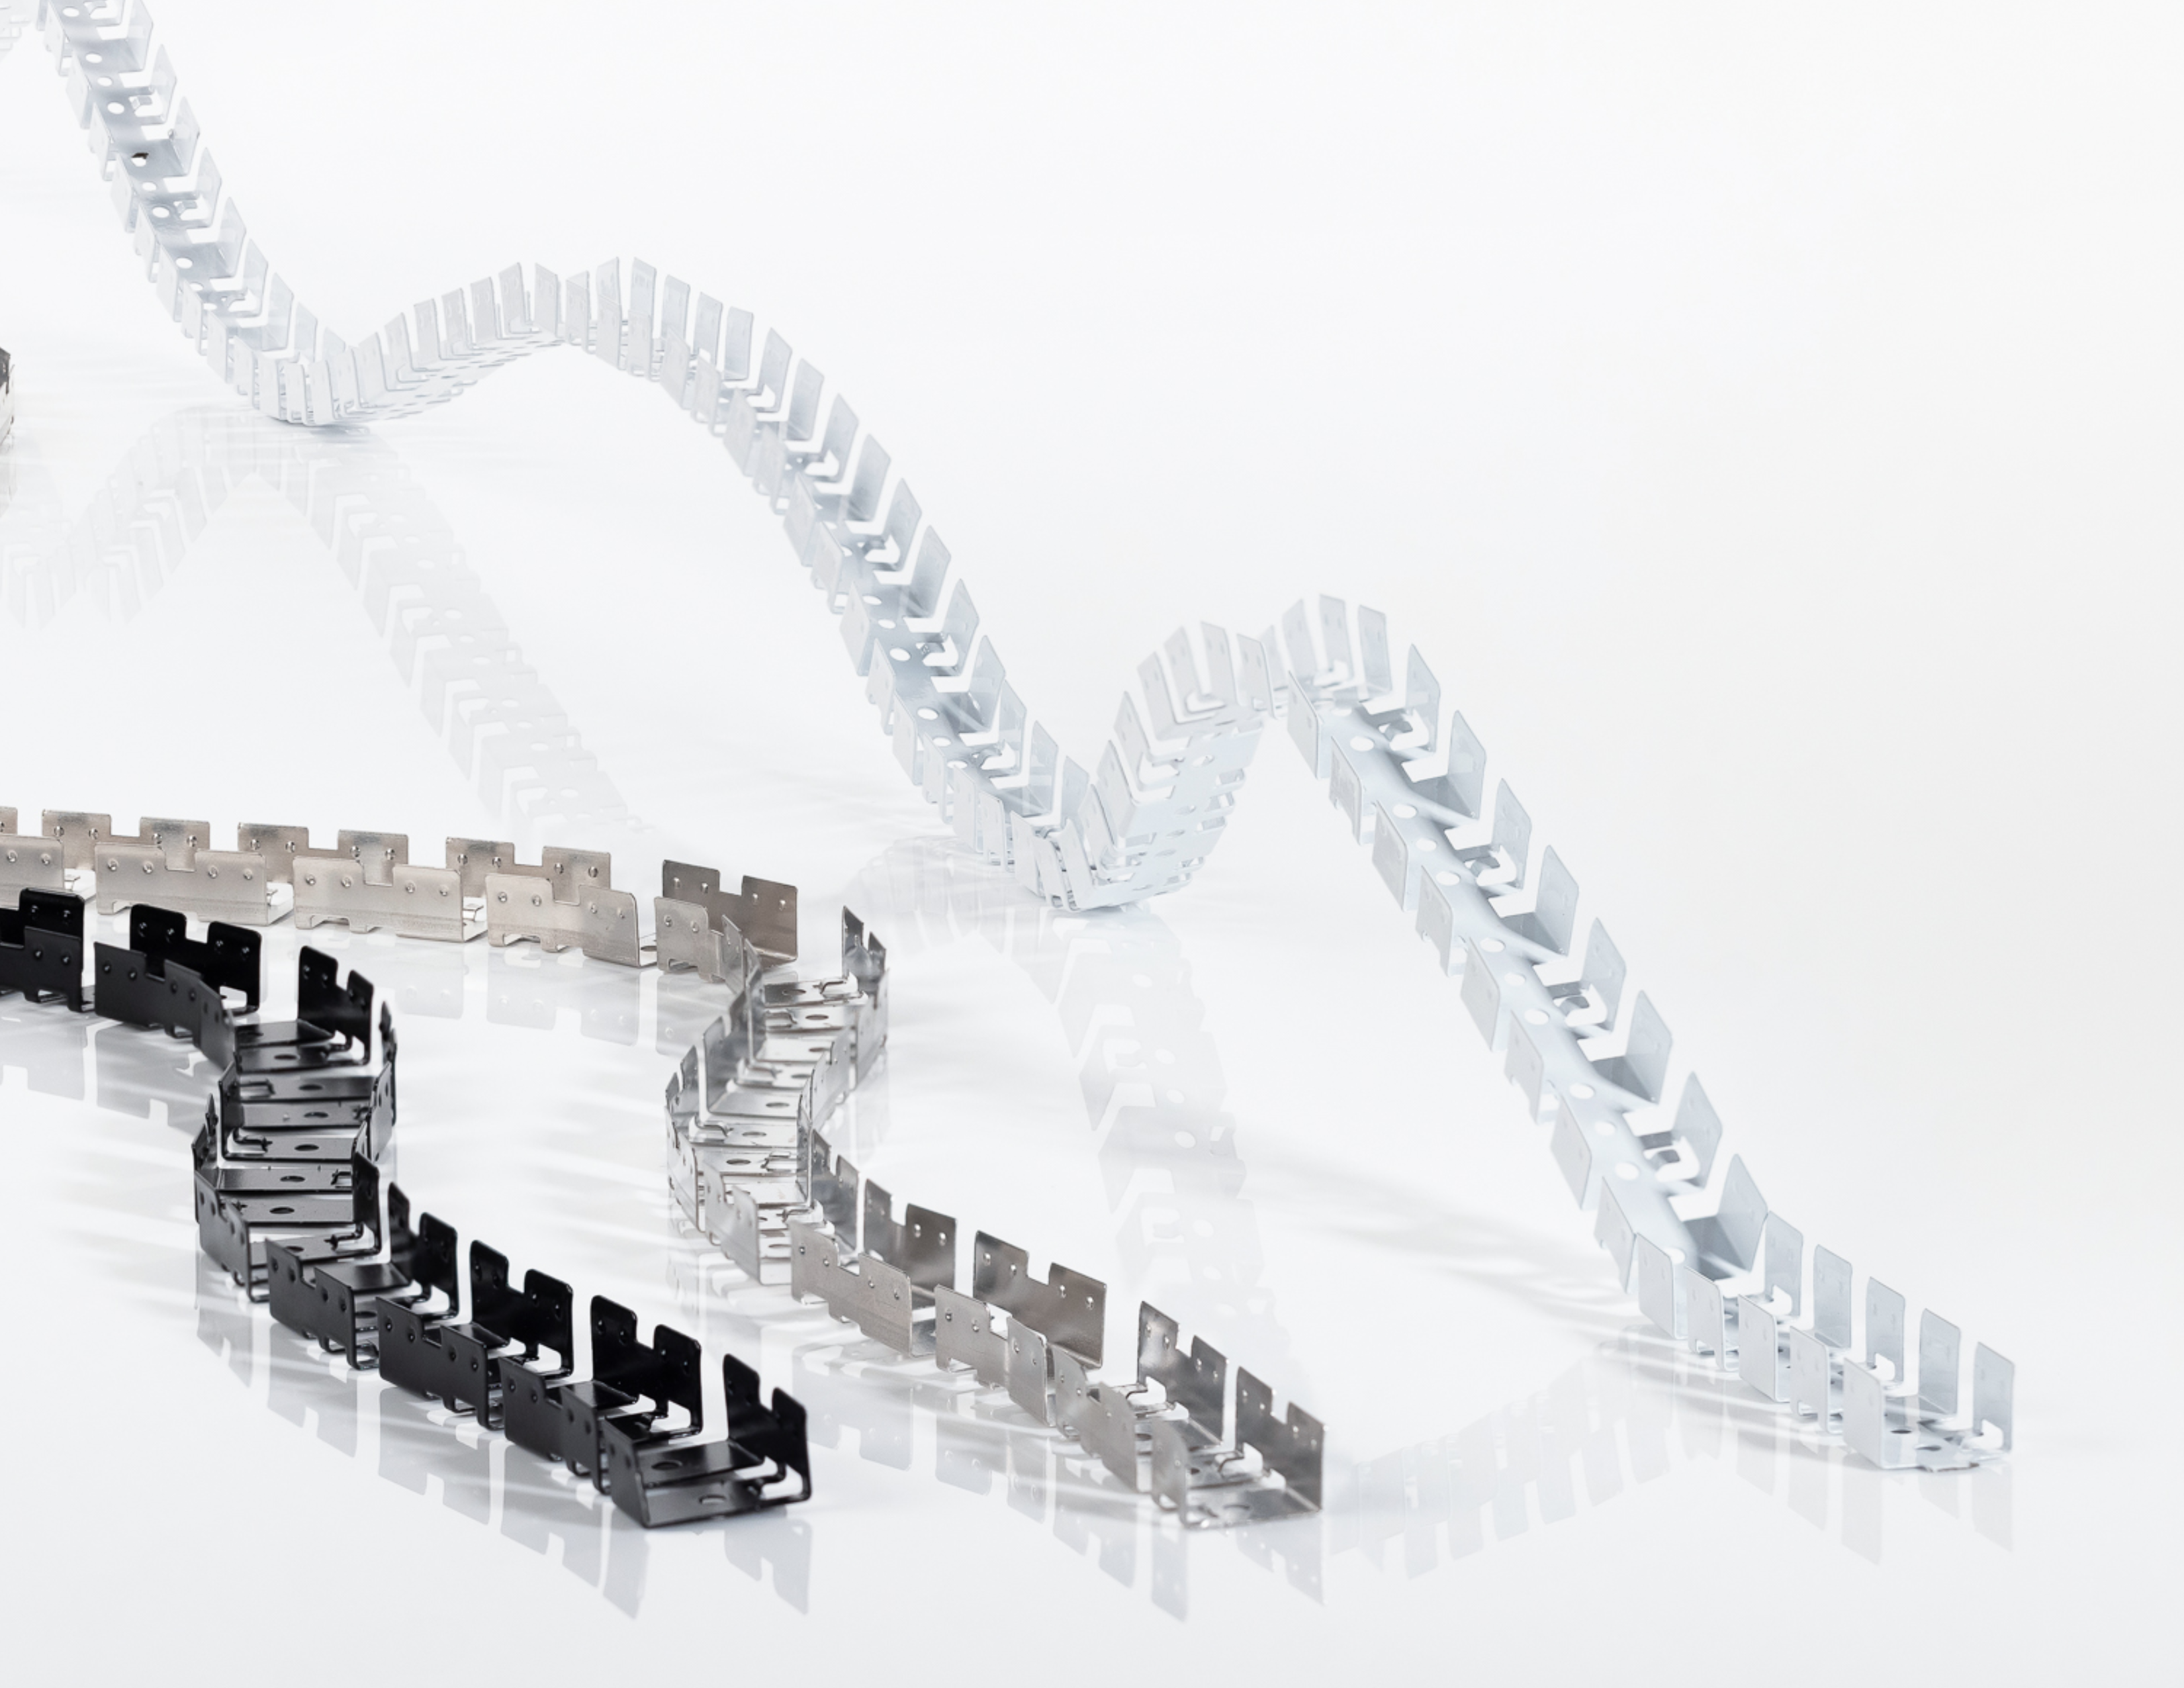
Another product launch I was involved with was the BENDIT product launch. They had found an existing full length spring steel mounting option but wanted the mounting features revised then scaled across all of the flexible fixture product line. I worked in developing the initial concept then adjusting that concept for each of the differently sized flexible fixtures. This also assisted in helping me learn a lot of the catalogue.
Testing Equipment
A large part of the development process is testing the products. I assisted creating testing setups for various fixture types that are re-used across projects. Test fixtures, 3D-printed parts, physical mockups, and teardown reviews were used to validate installations and solutions.
Photometric Testing Setup 1
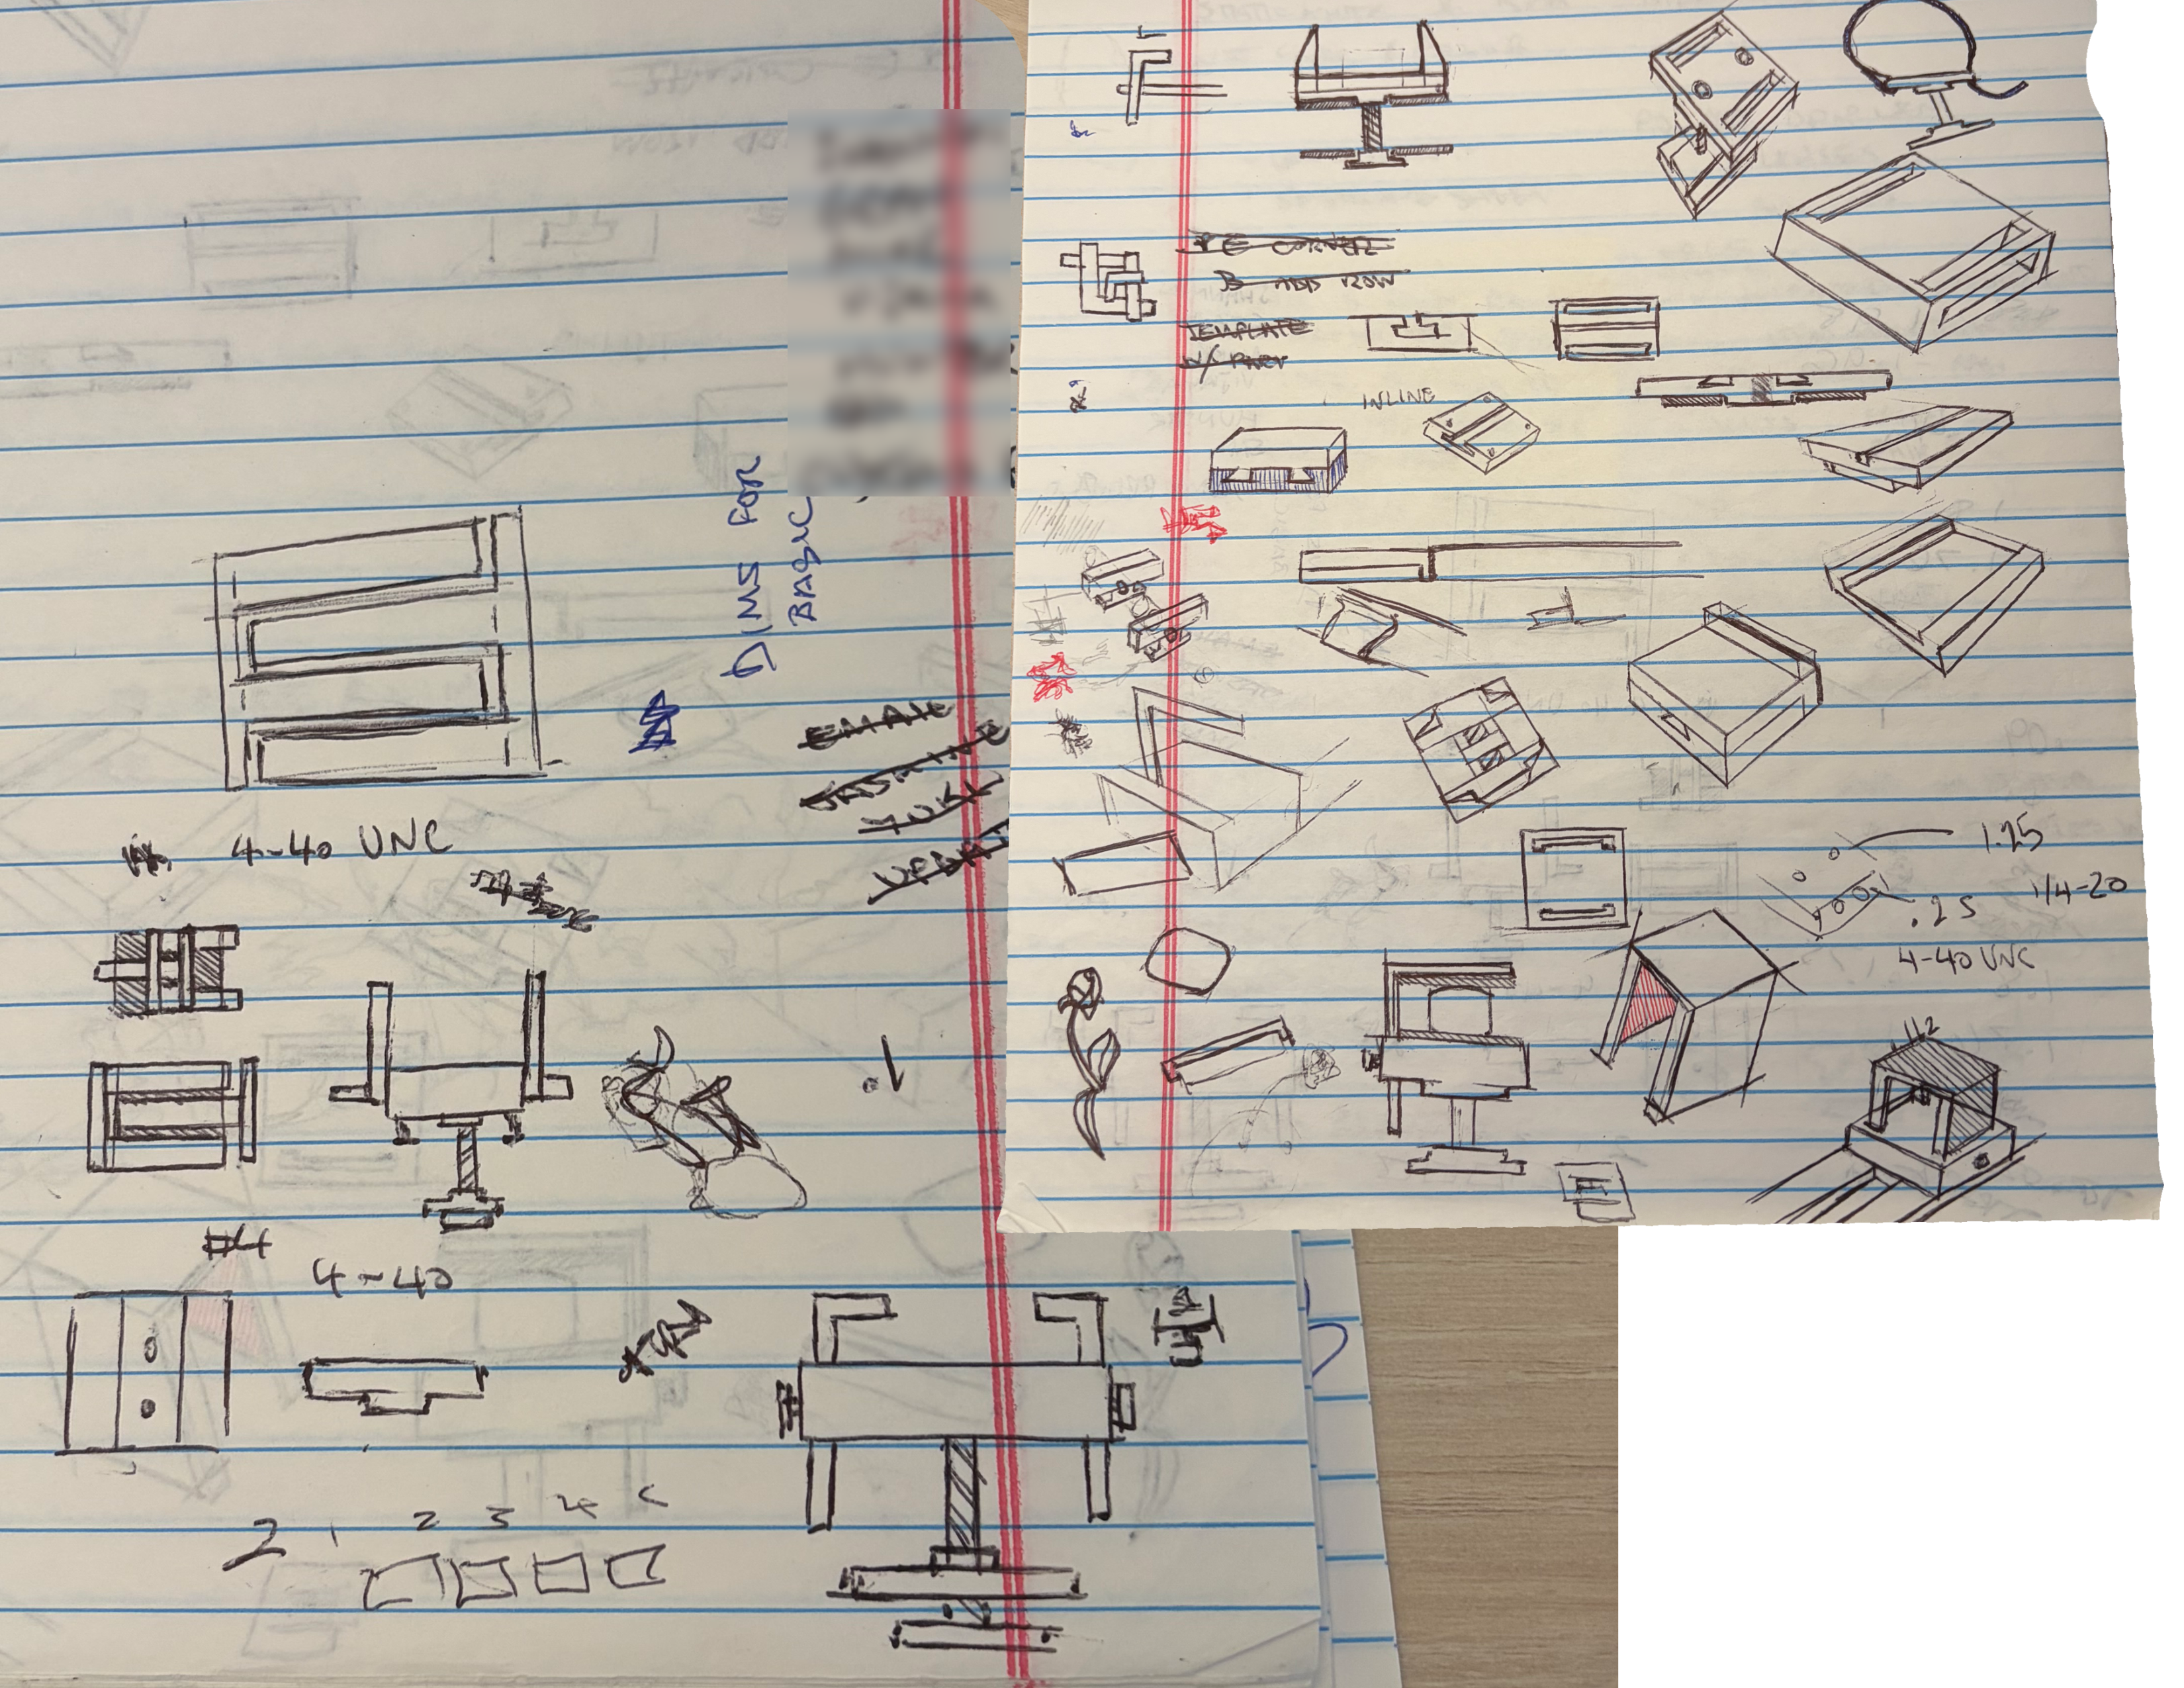
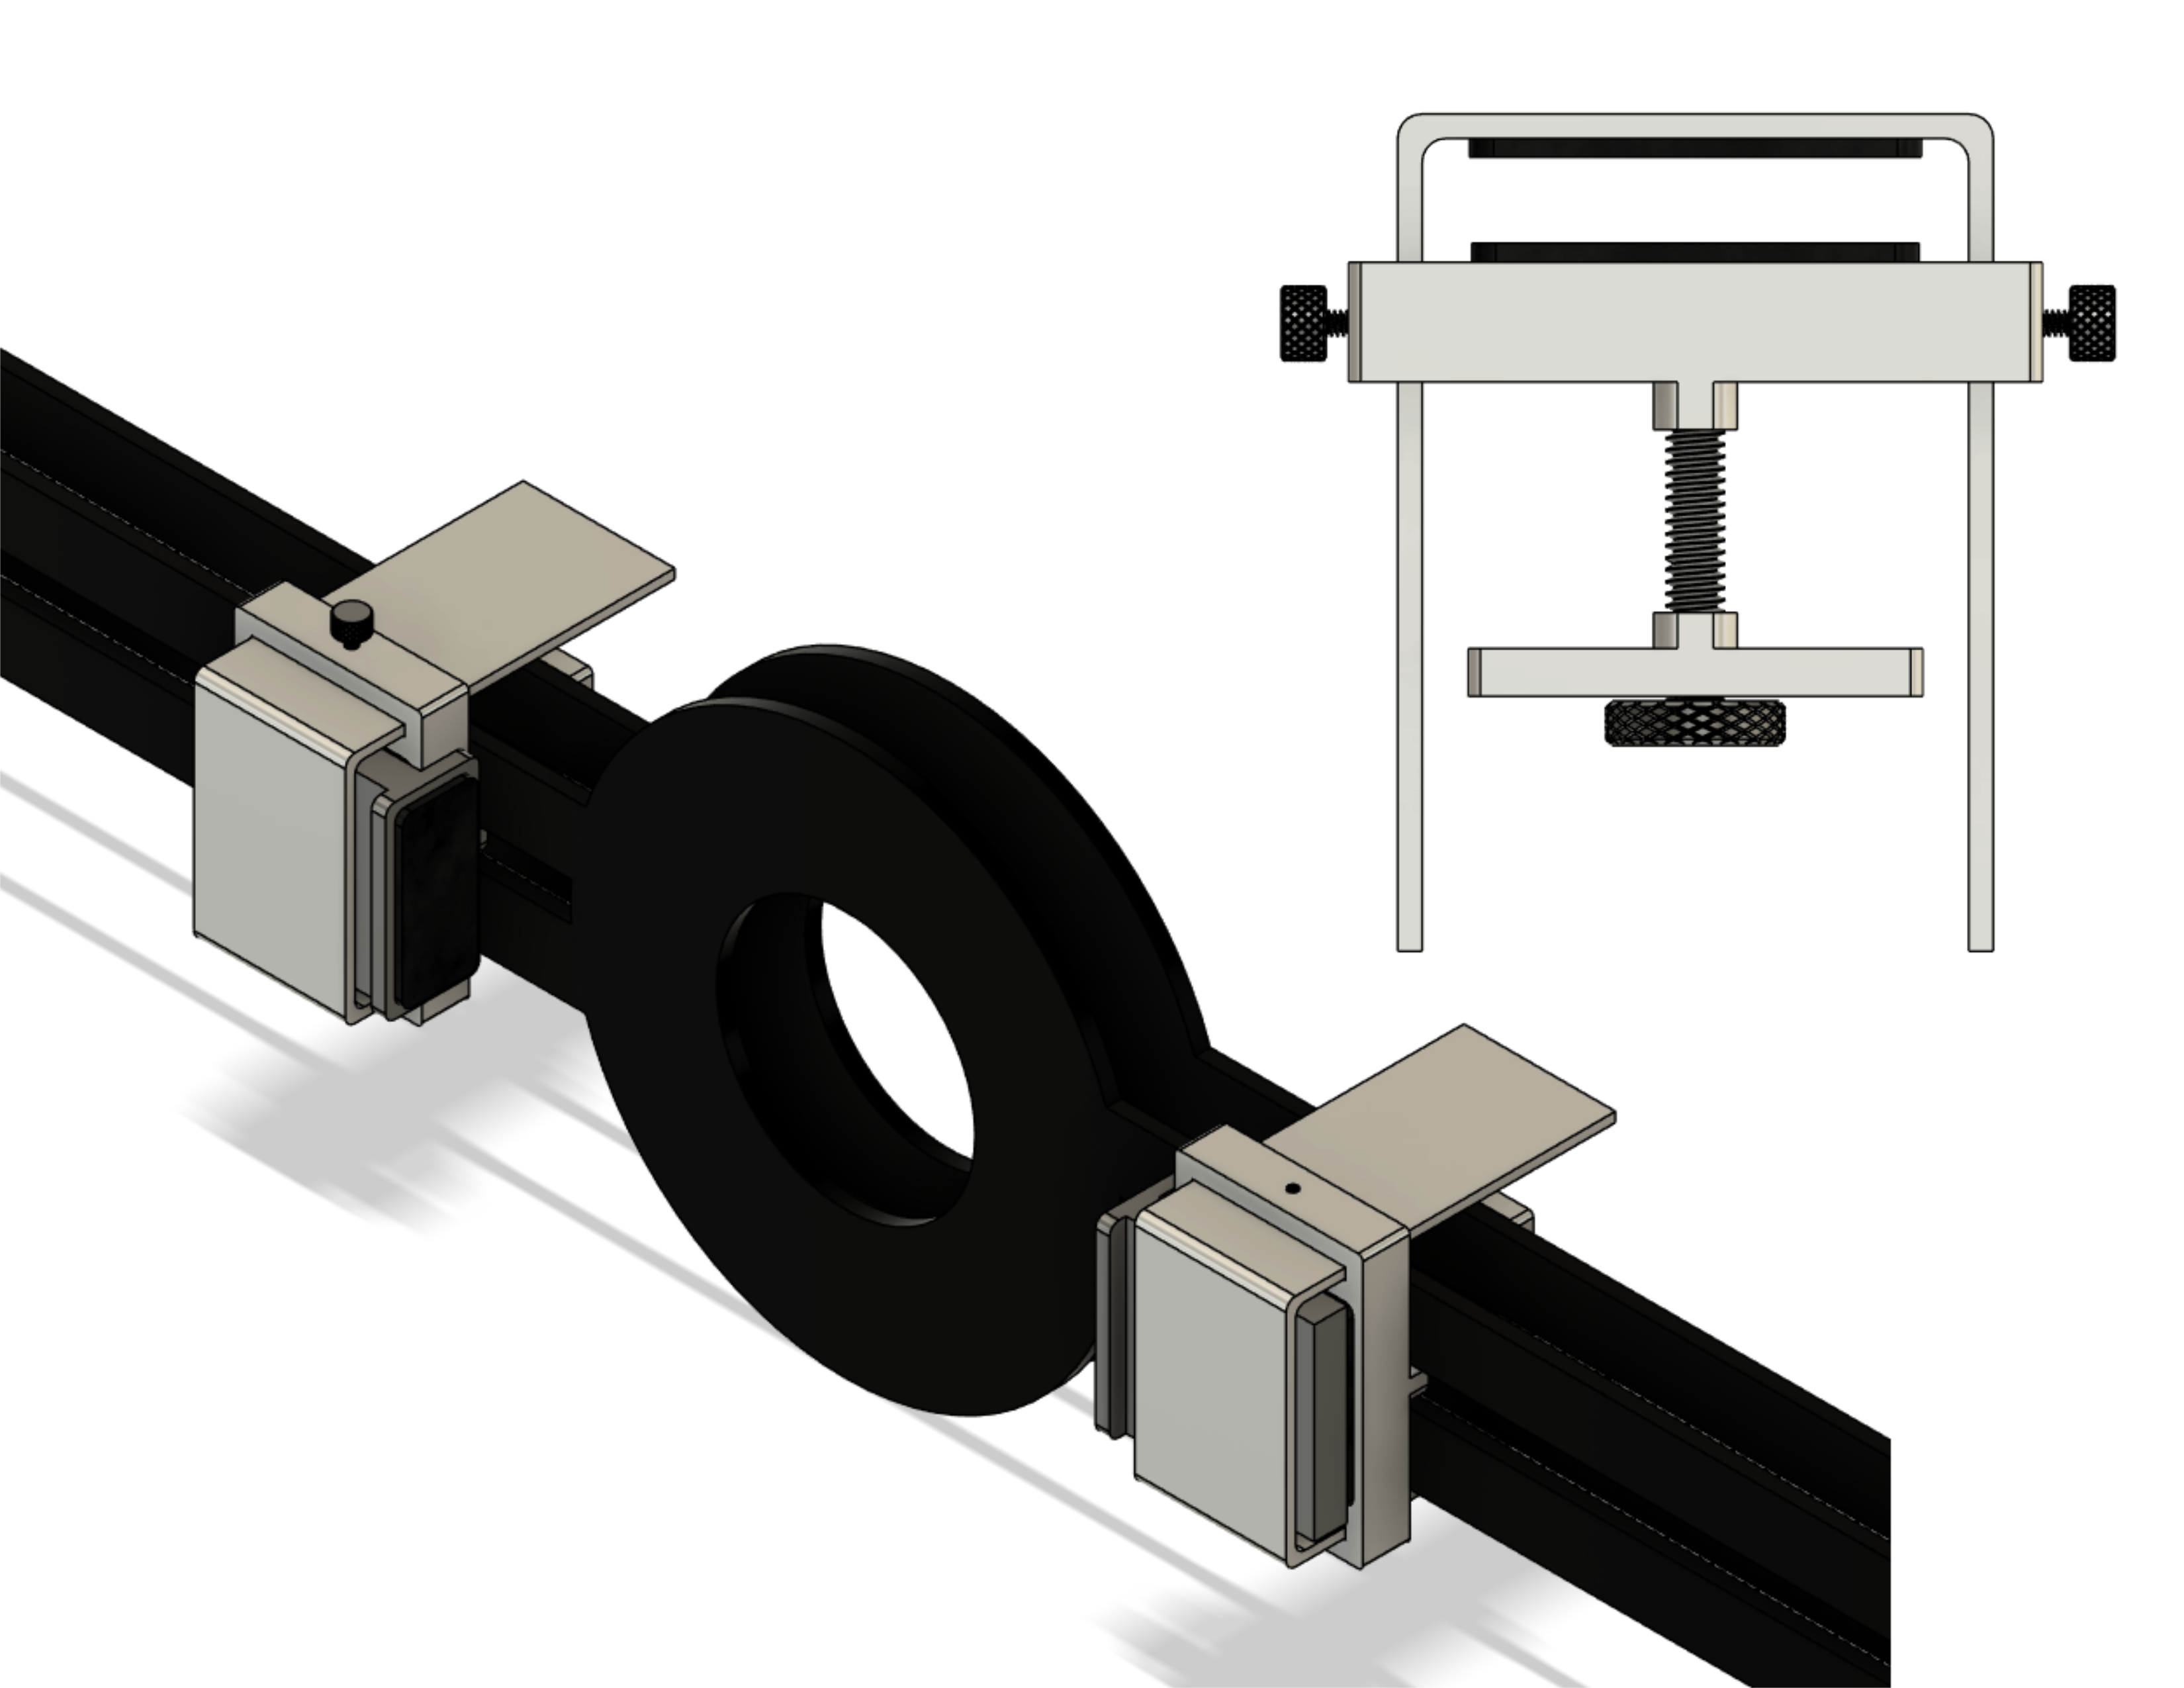
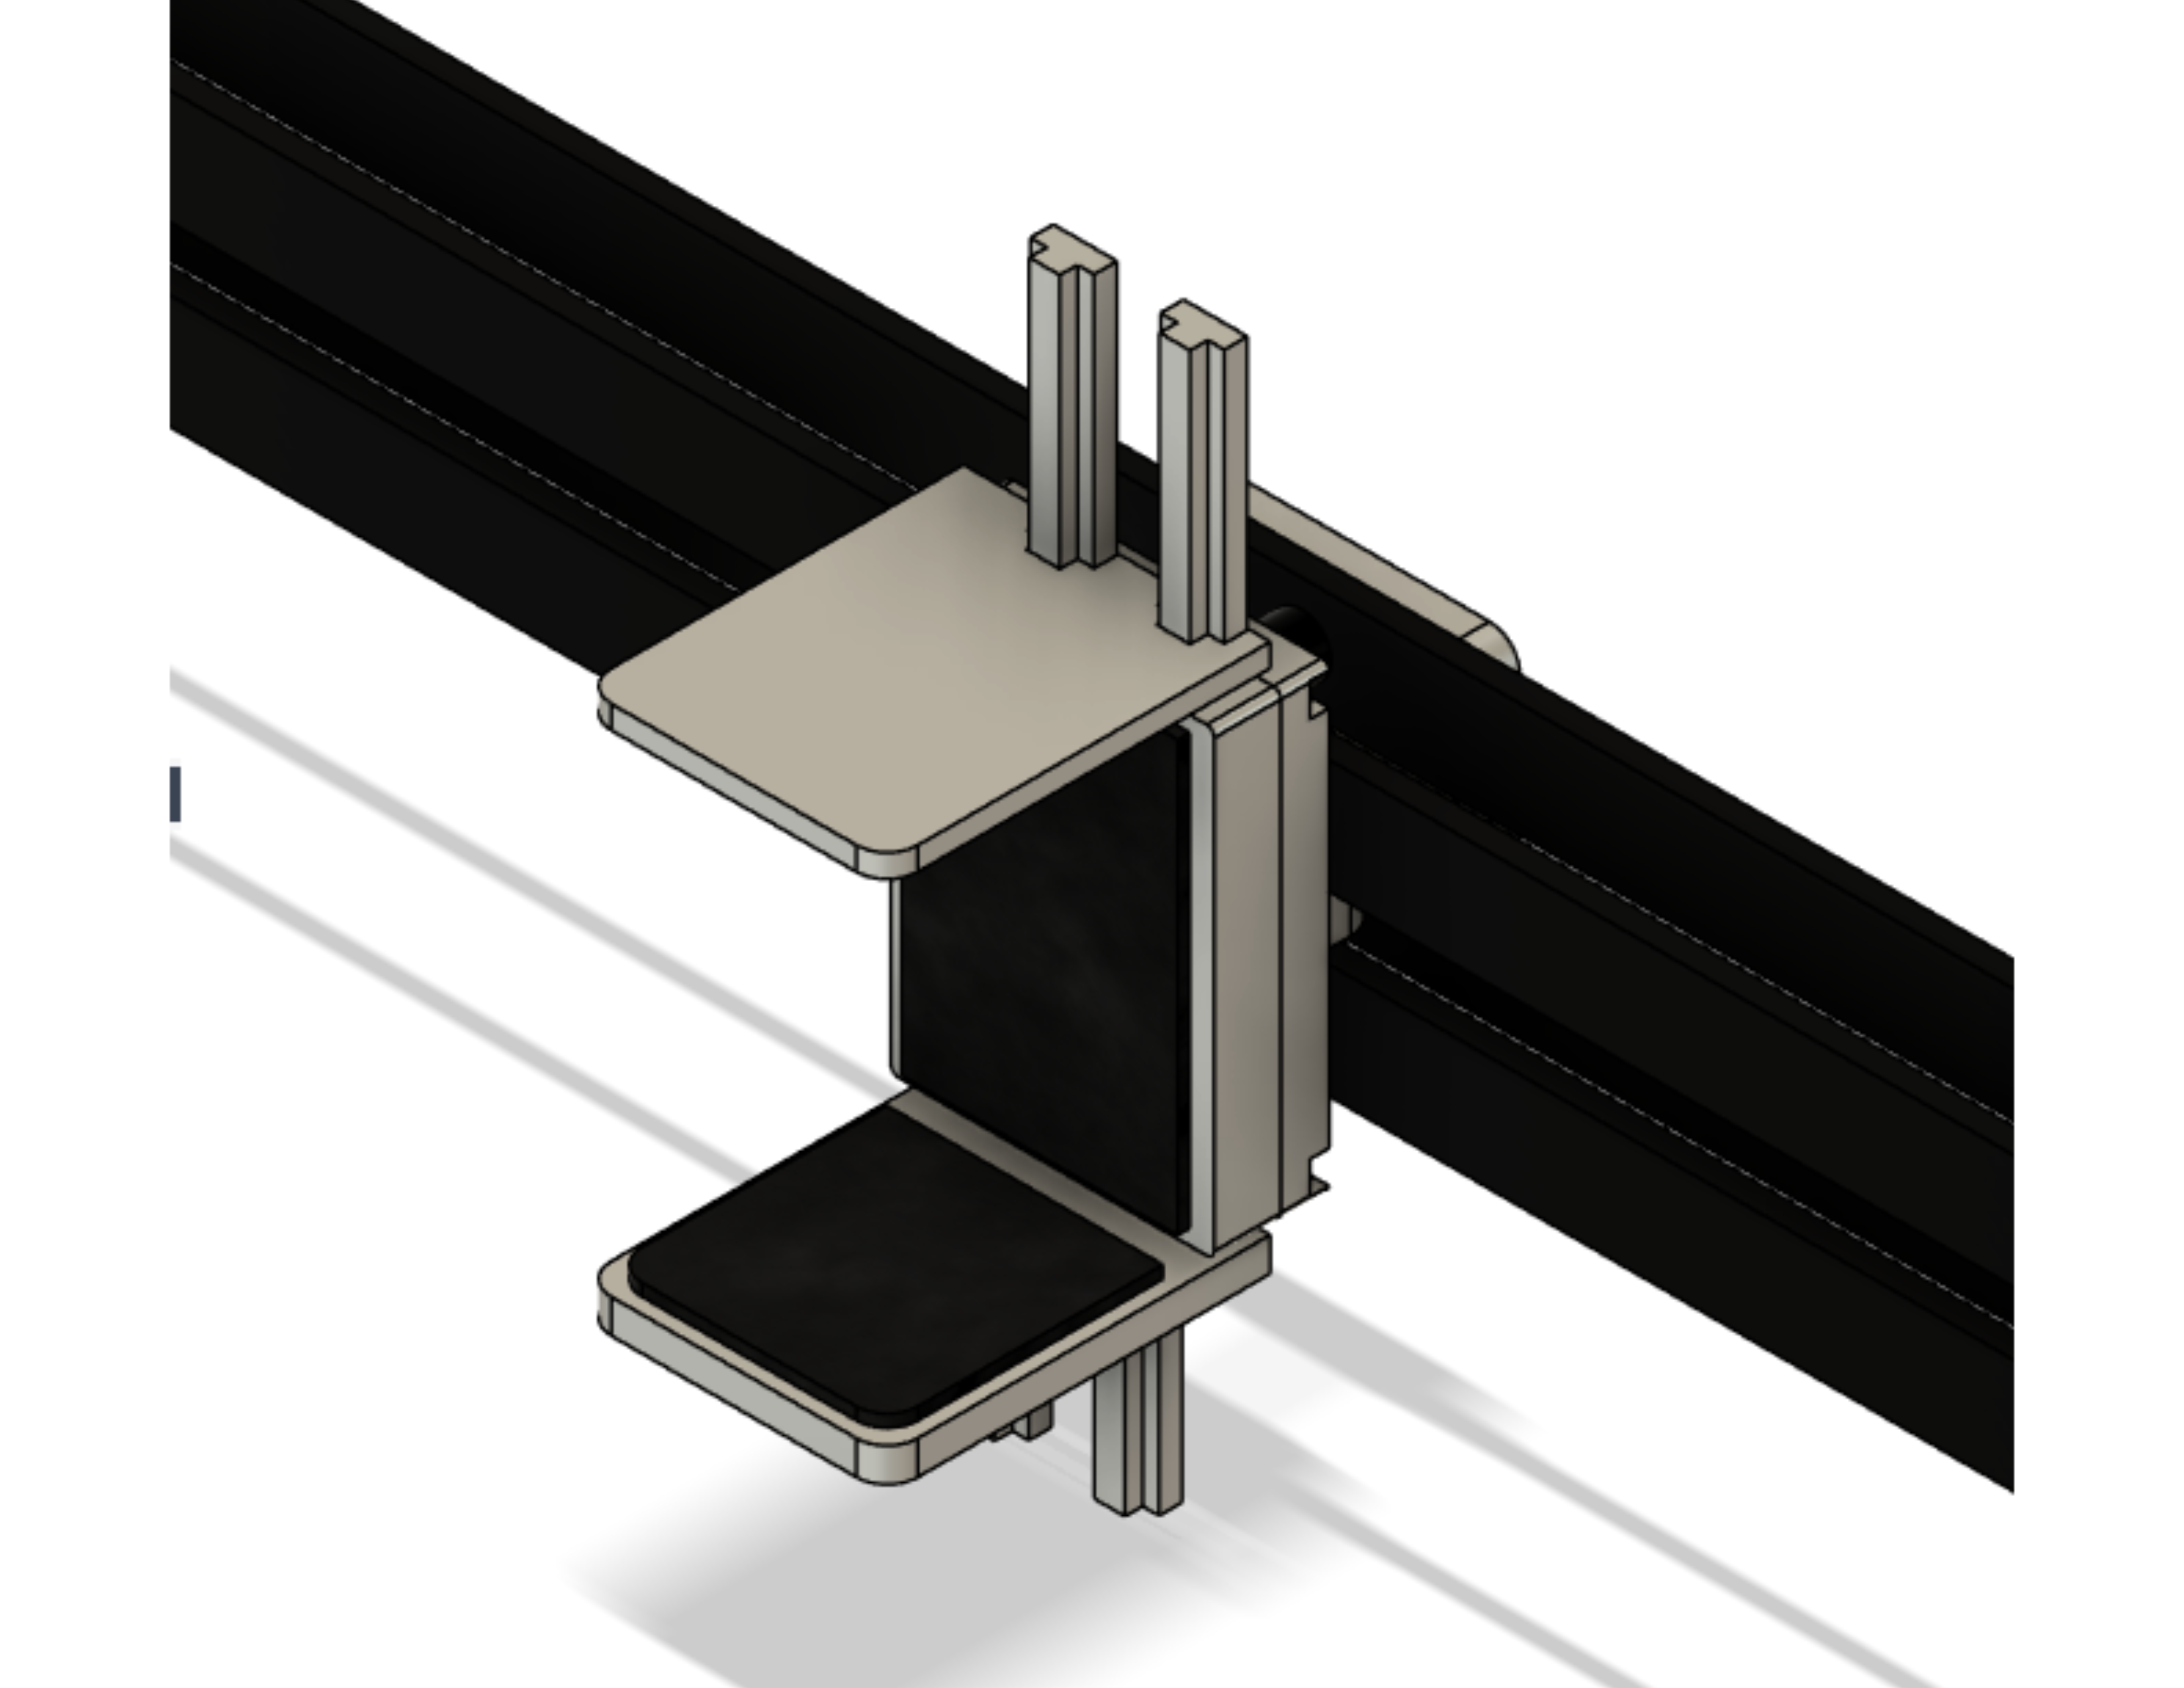
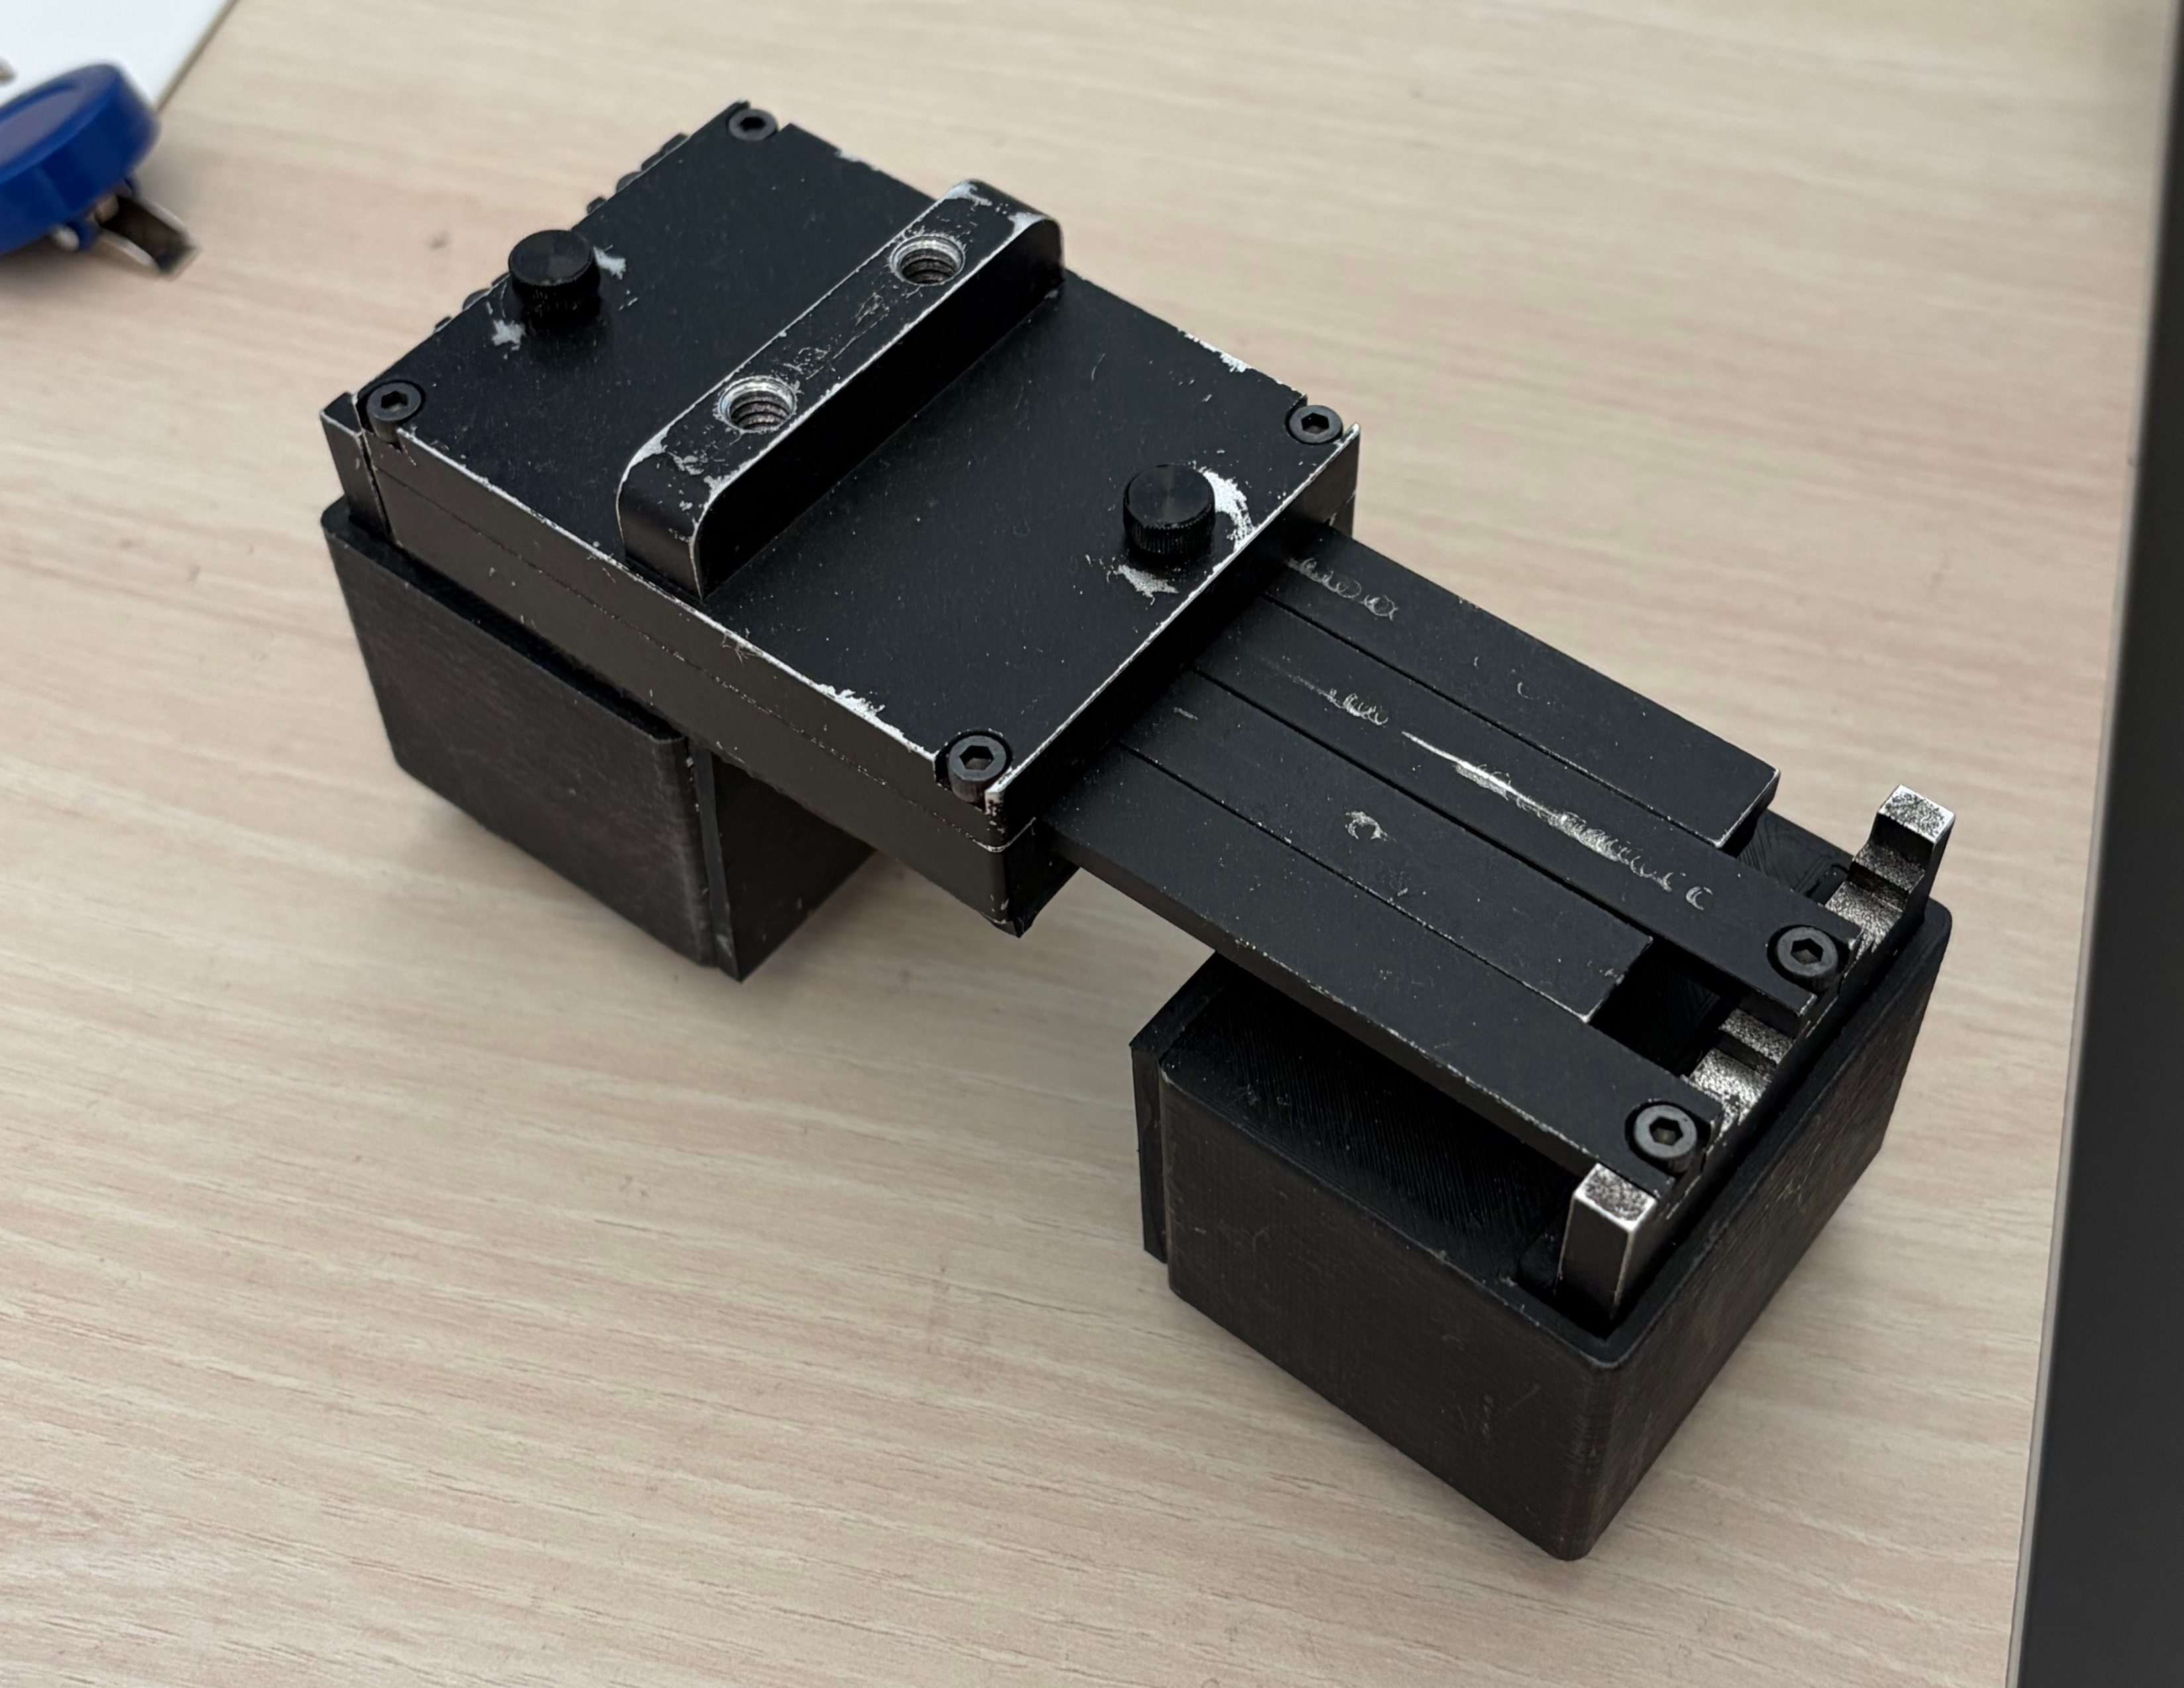
The first setup was designed to hold the widest variety of linear fixtures. Large outdoor fixtures needed more mechanical support than tape alone, so a top-down clamp with side blocks was added to apply pressure to the ends. These top-down clamps were also used for standard-sized fixtures. The third configuration used double side clamps with 3D-printed spacer holders. This option became the most heavily used because it was the fastest and most versatile. All versions were used in pairs.
Photometric Testing Setup 2
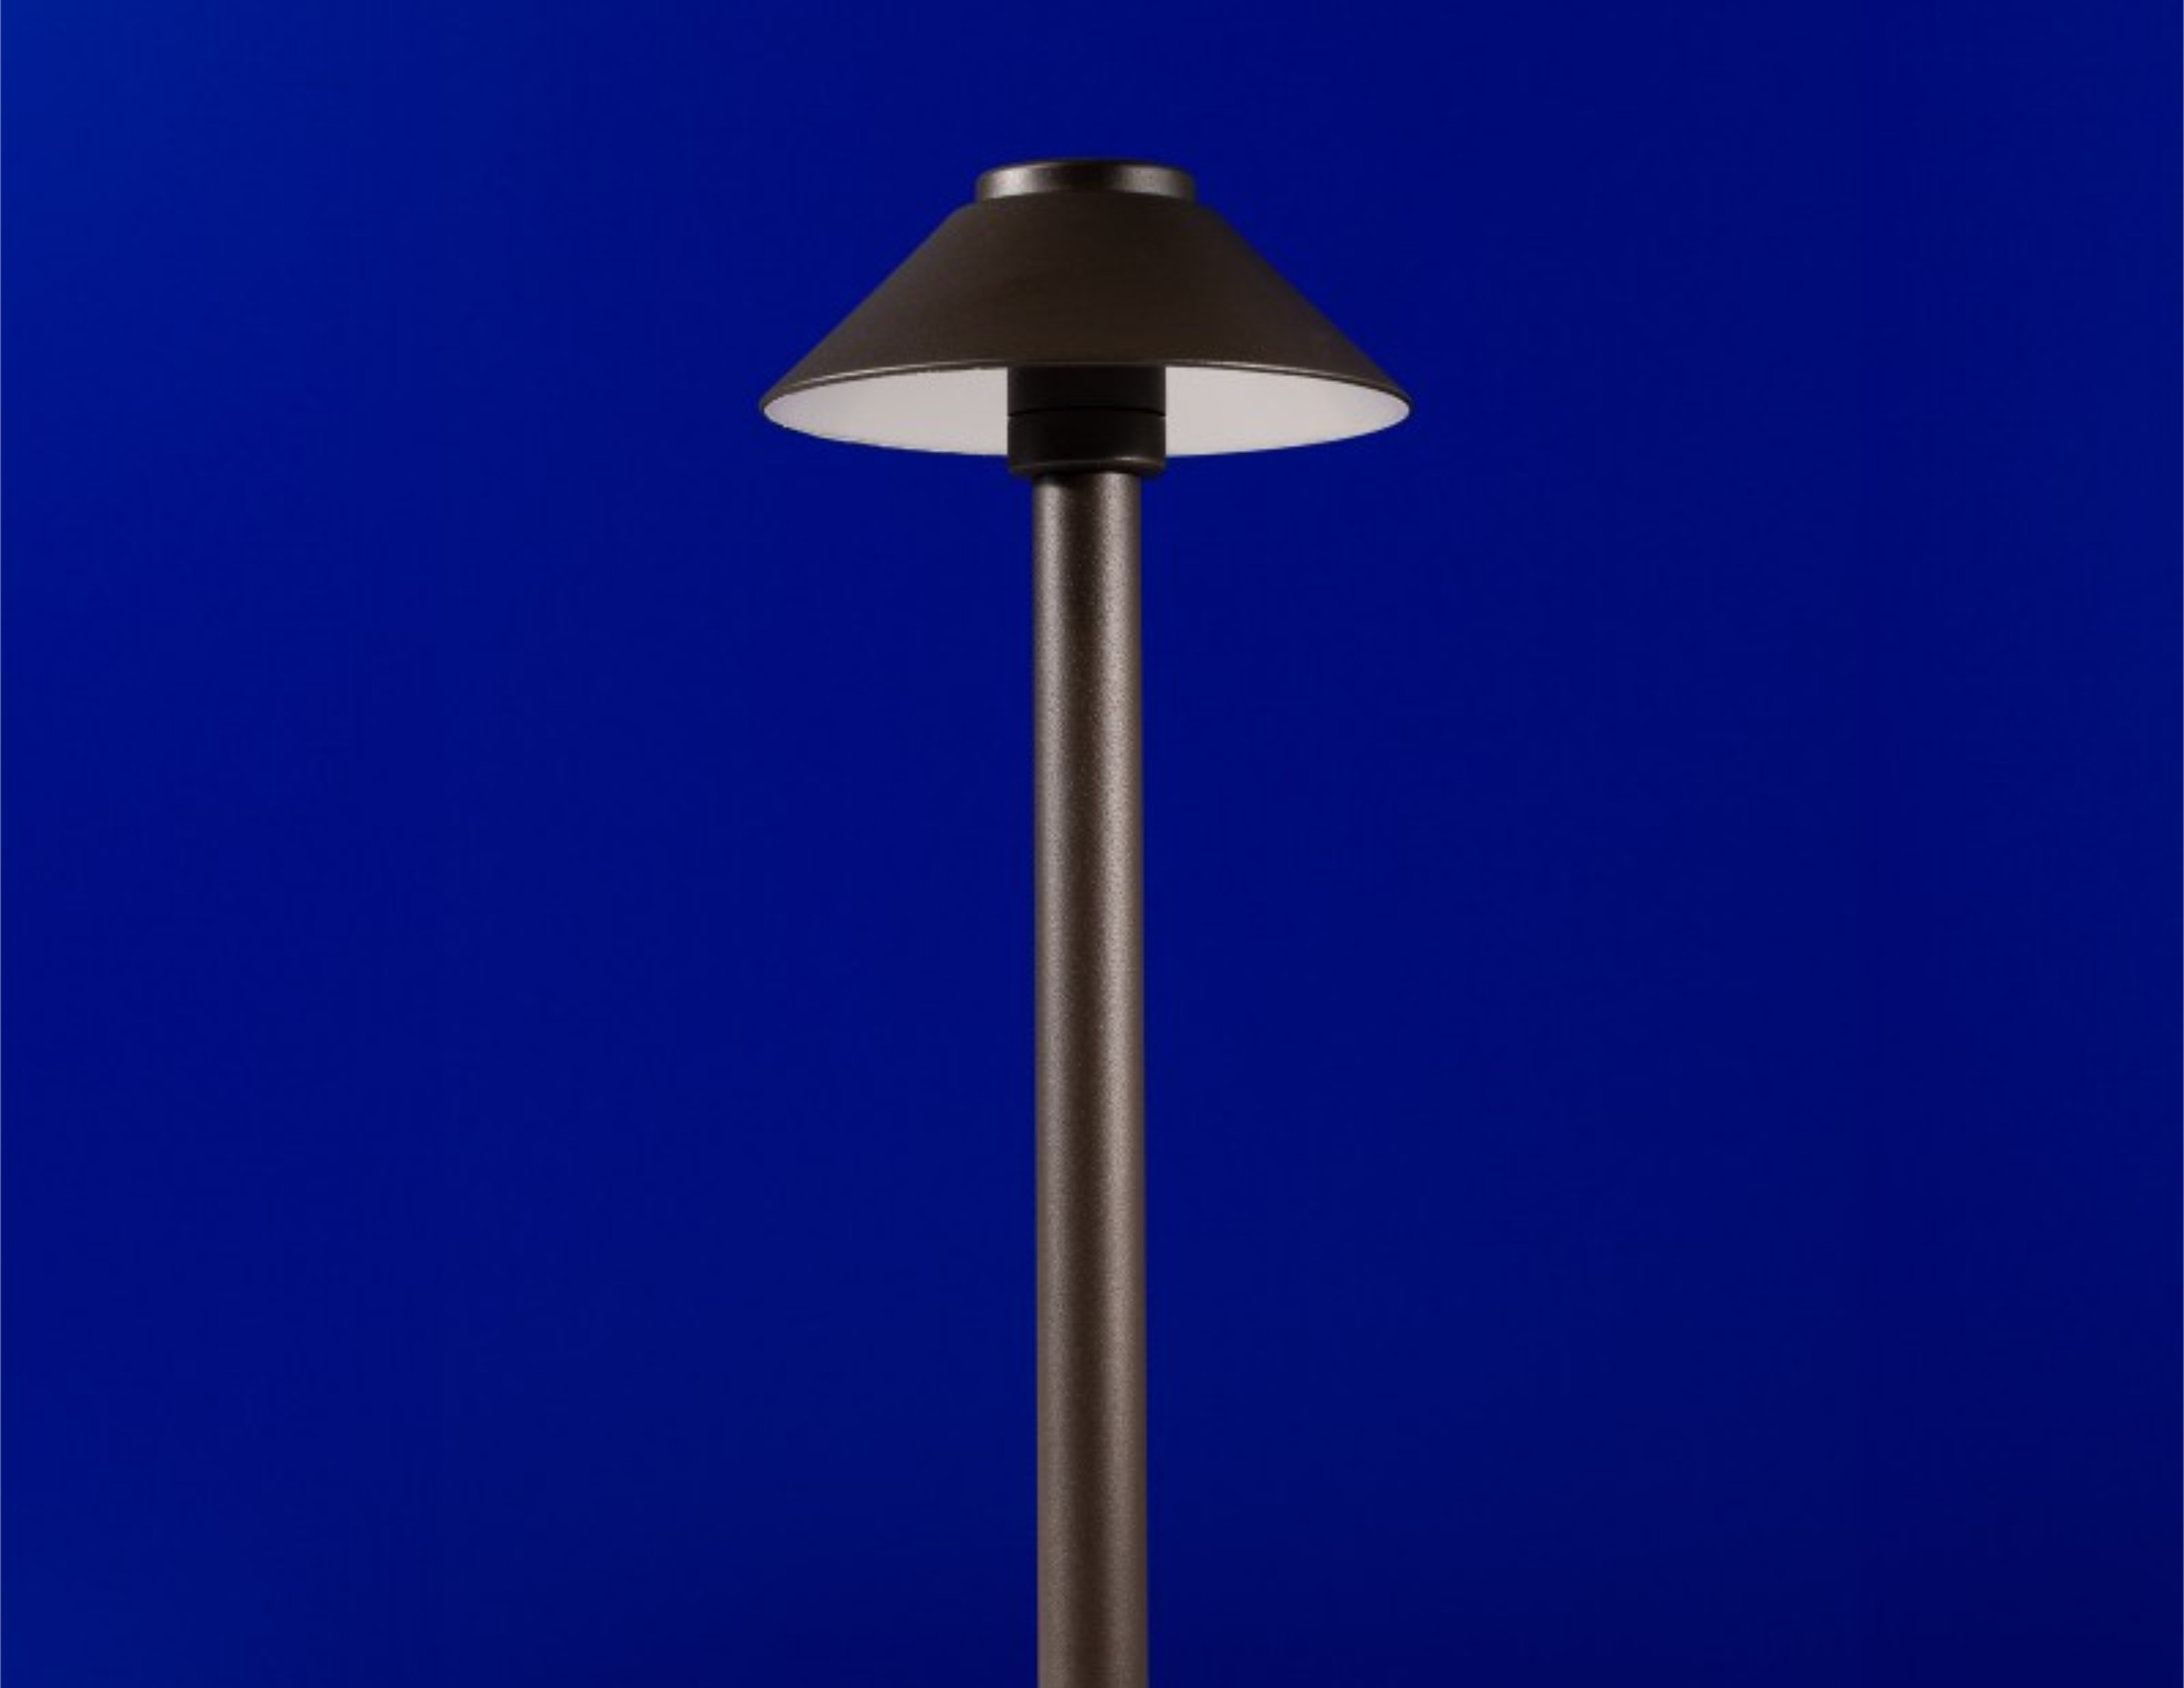
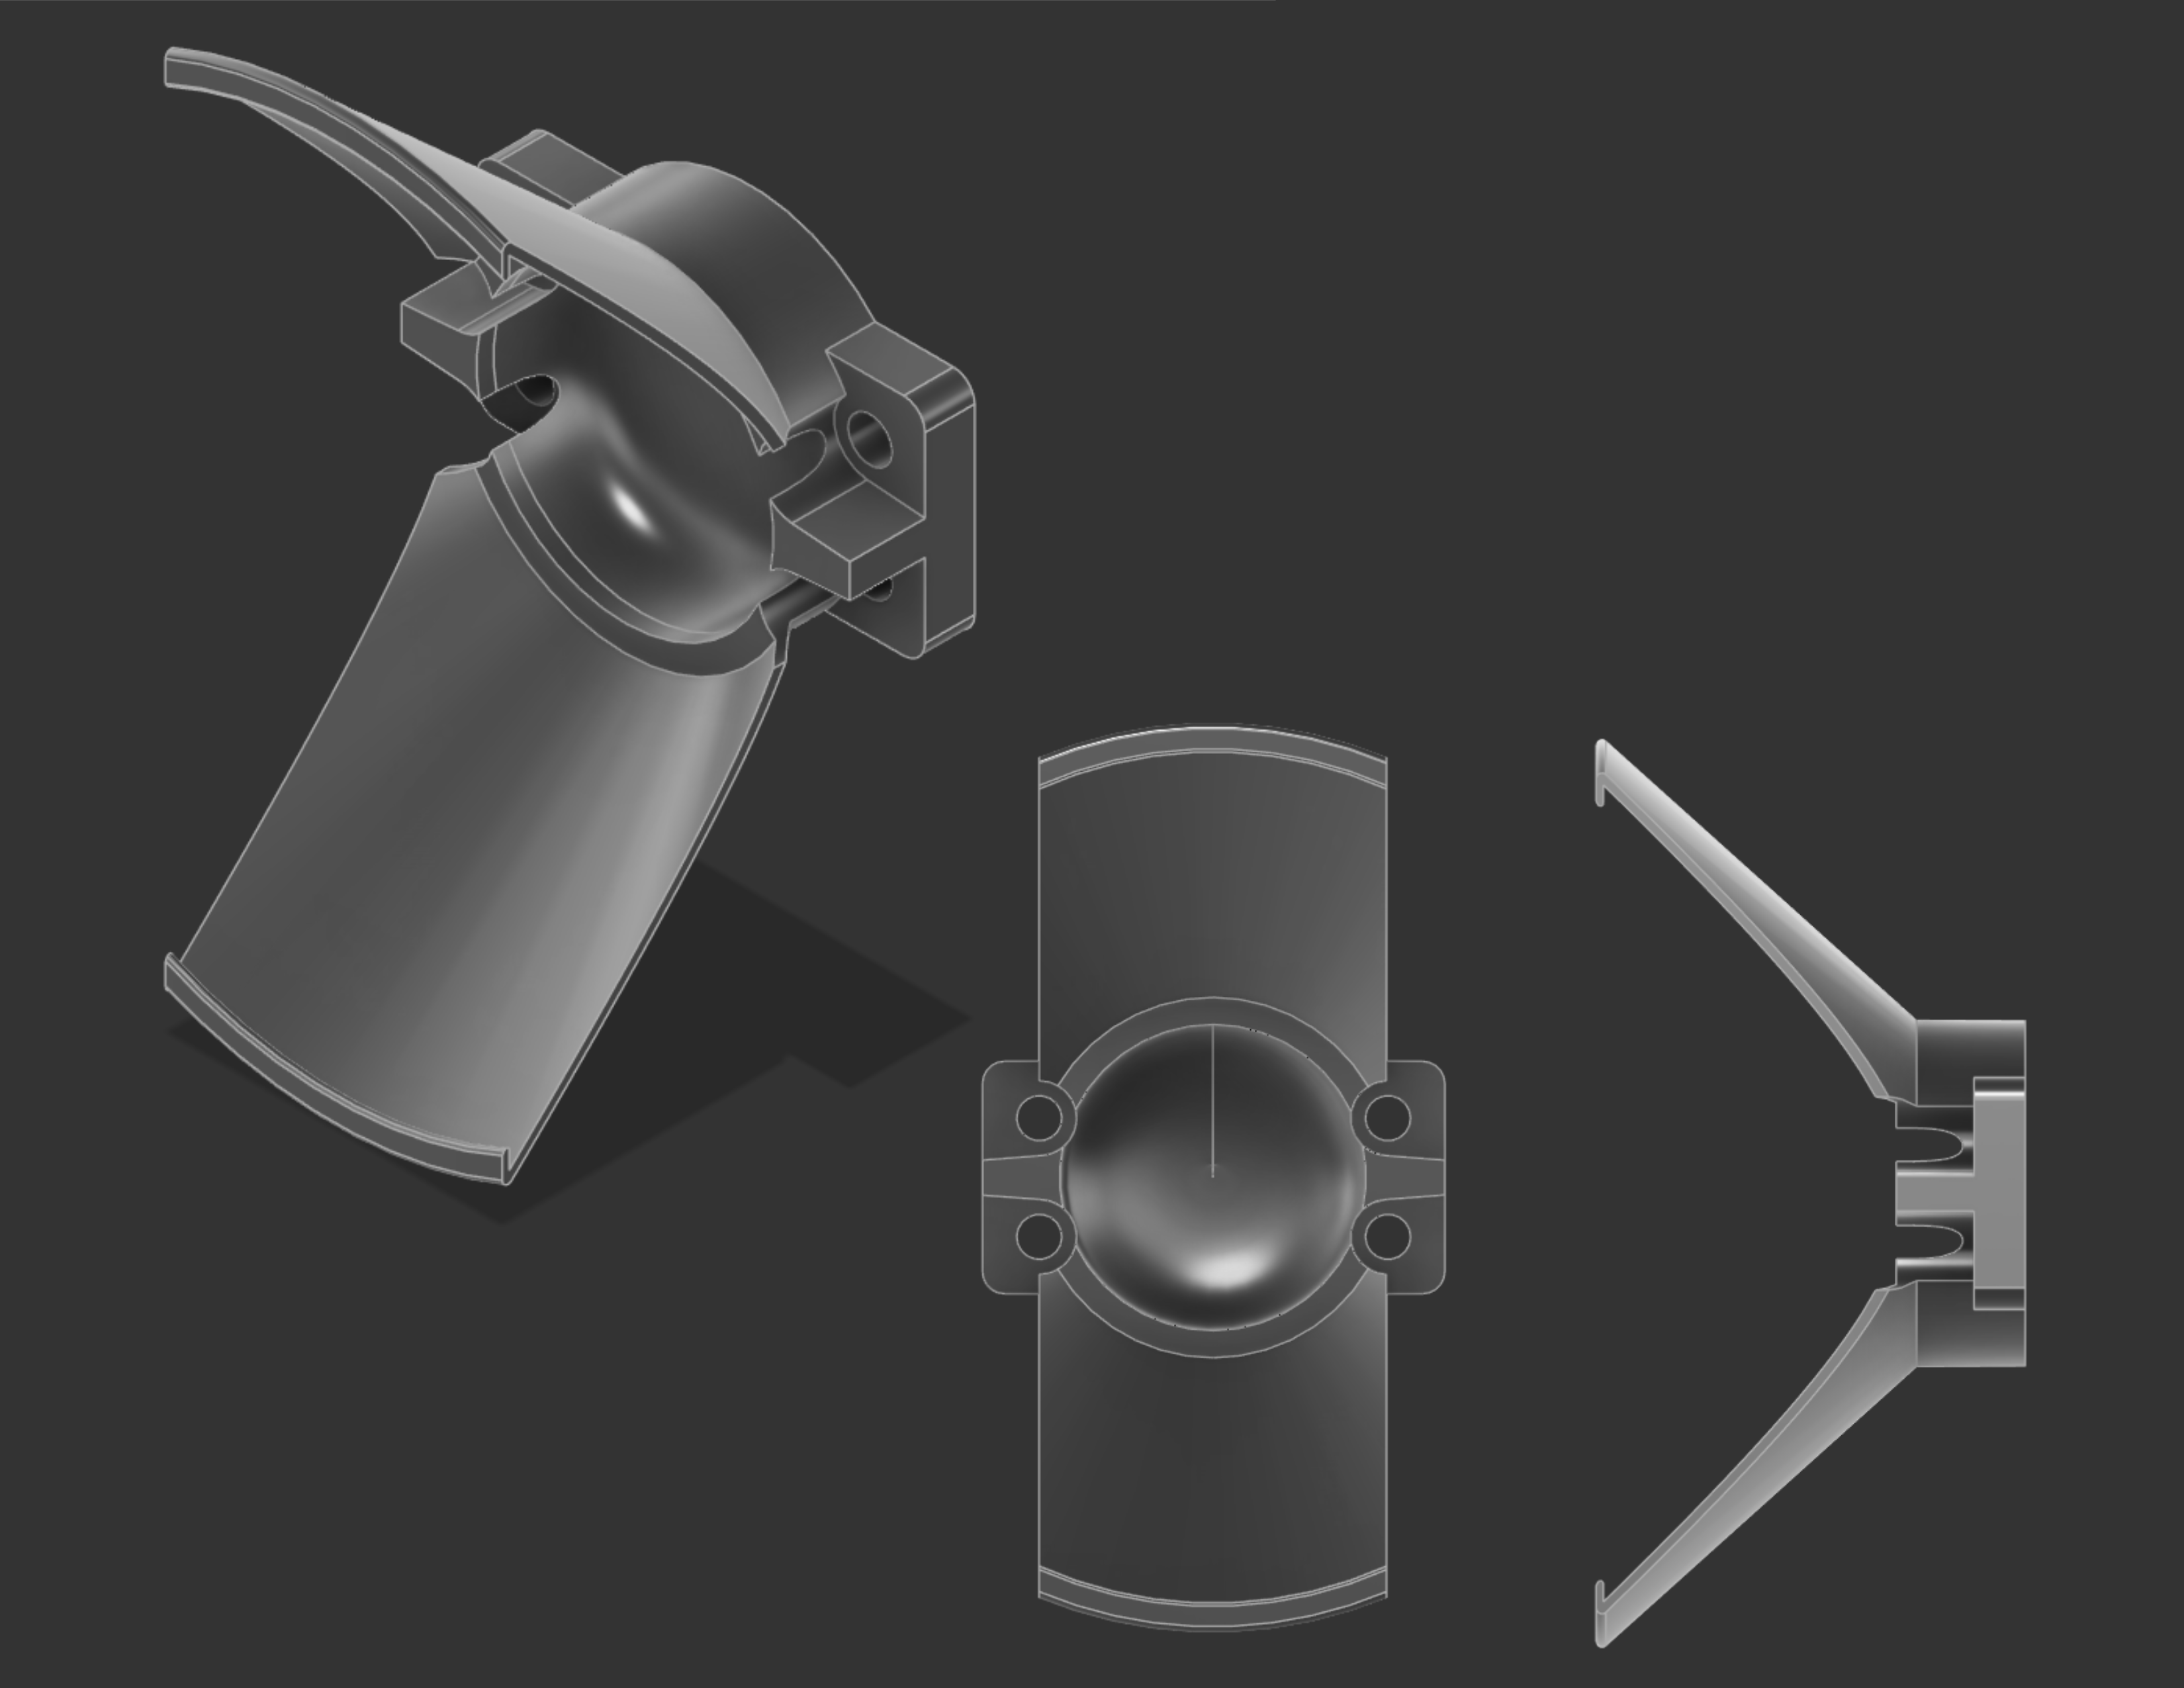
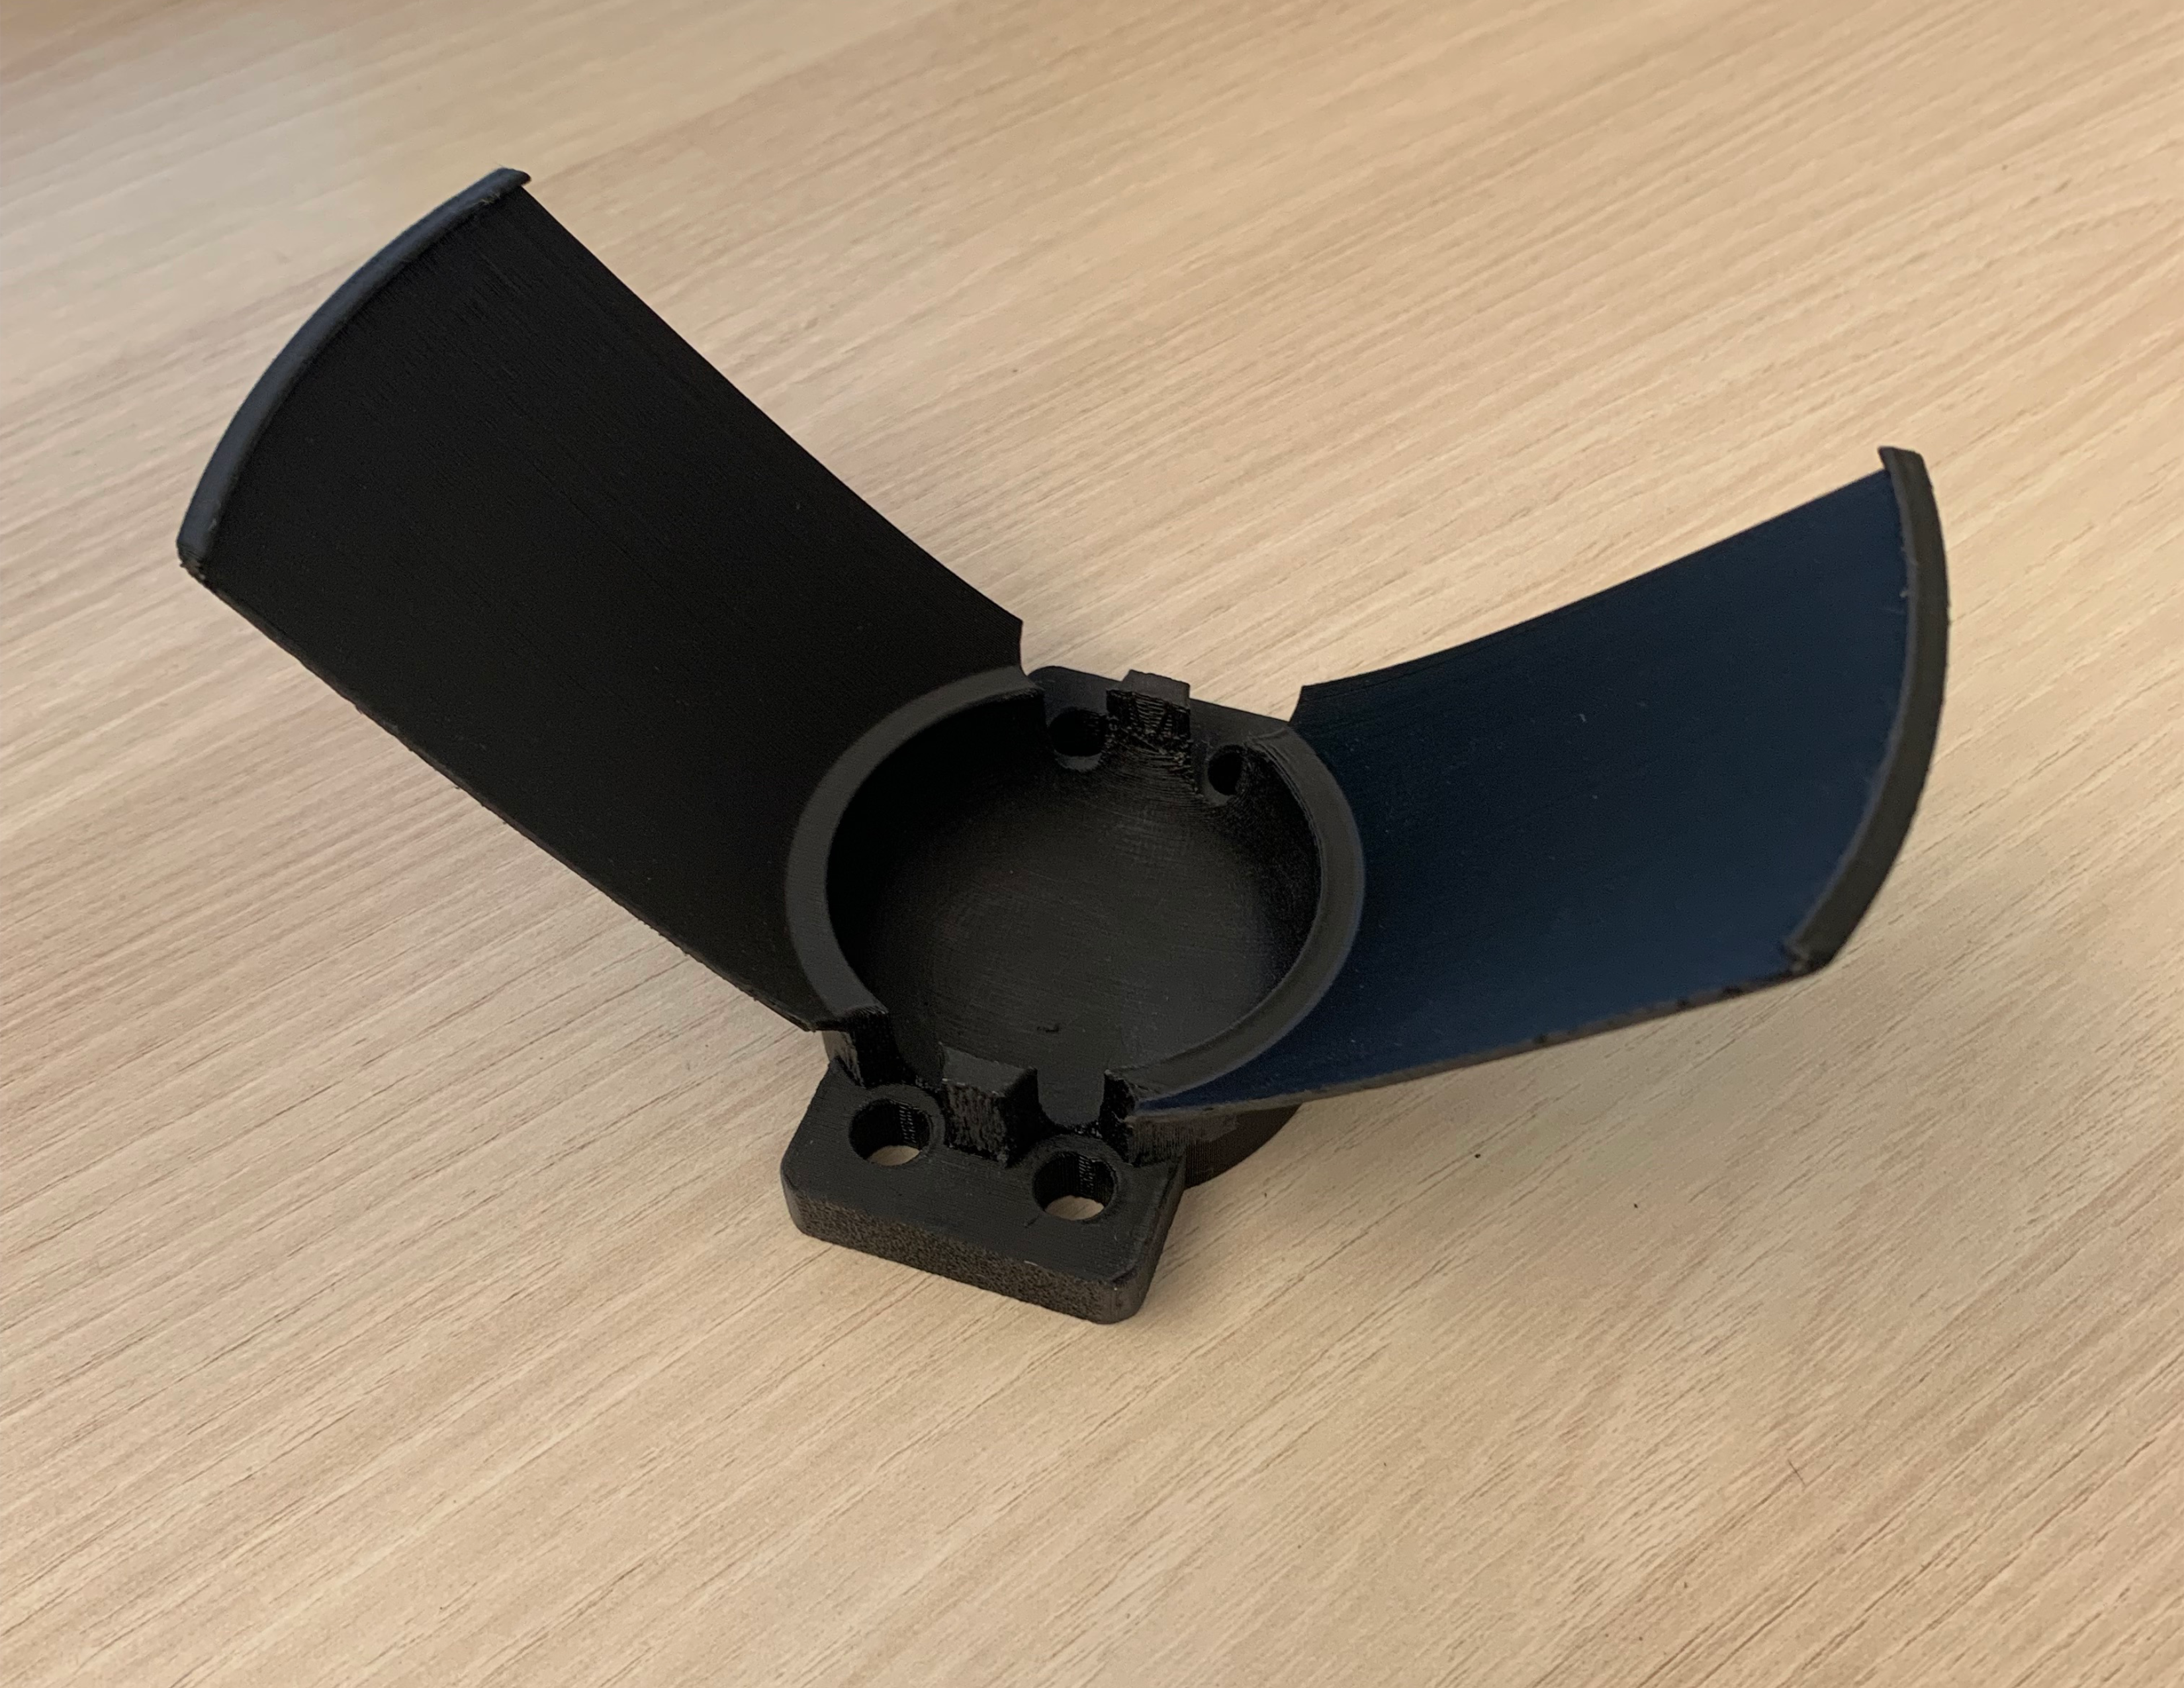
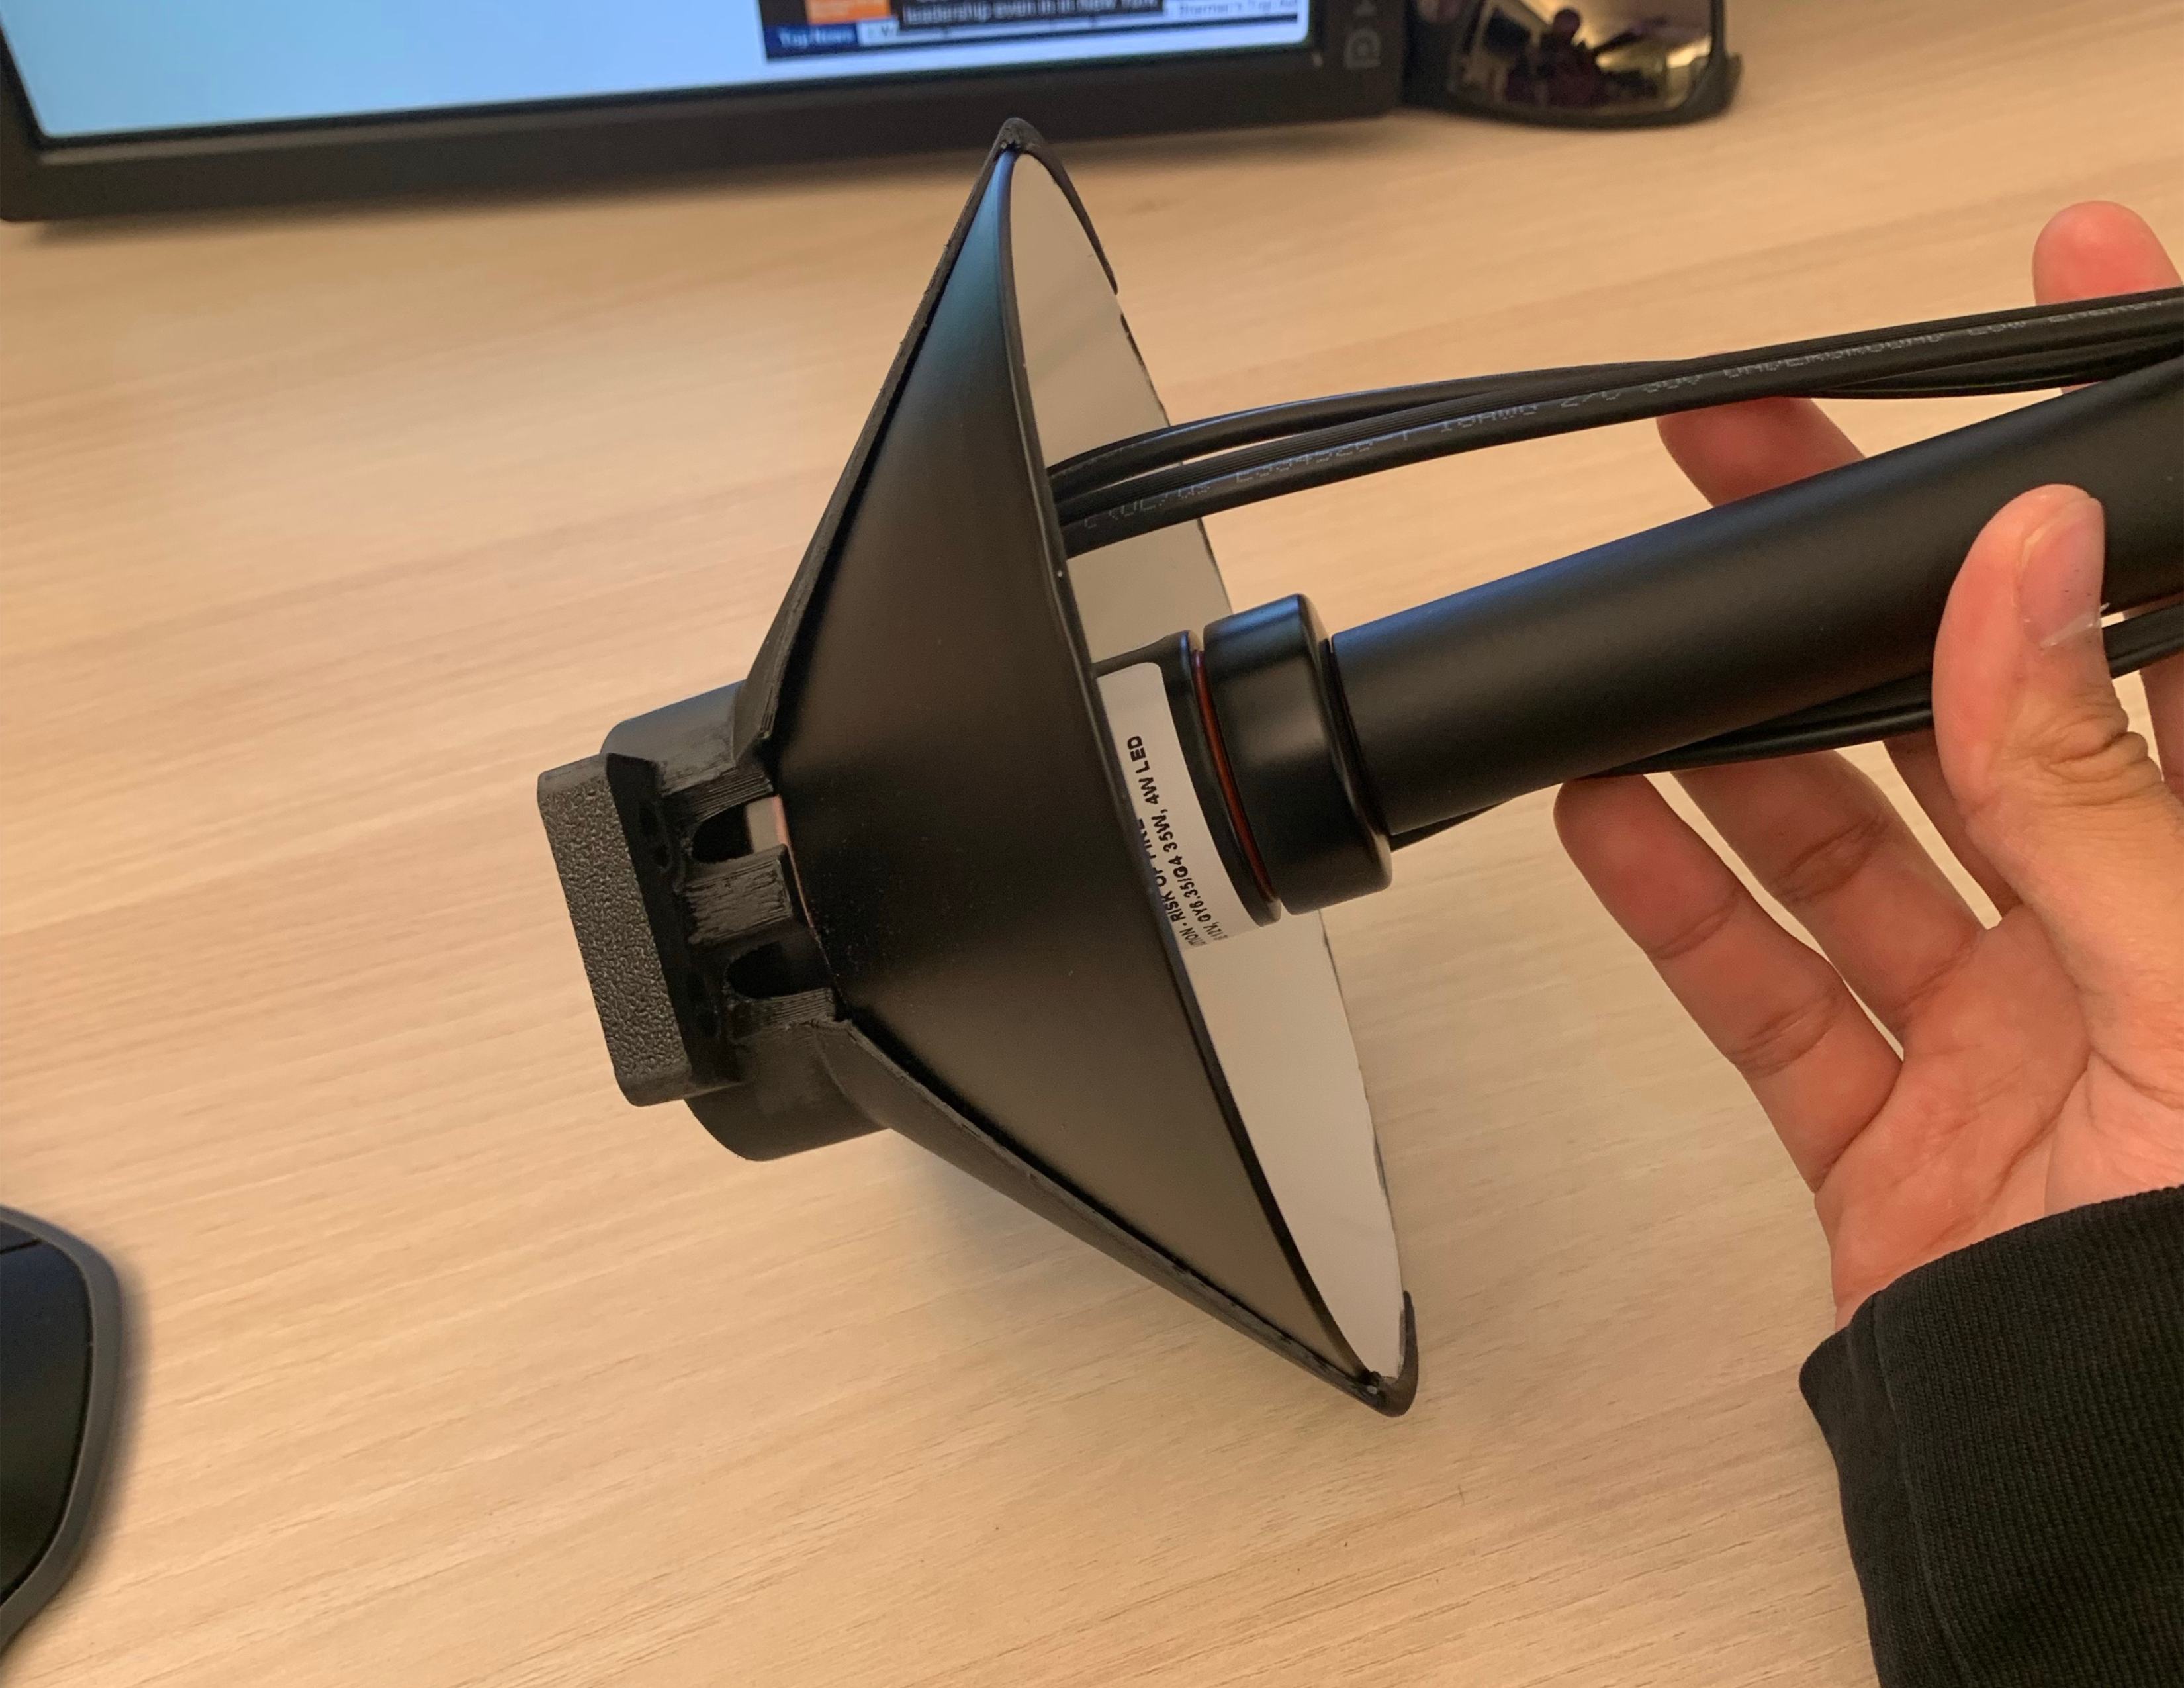
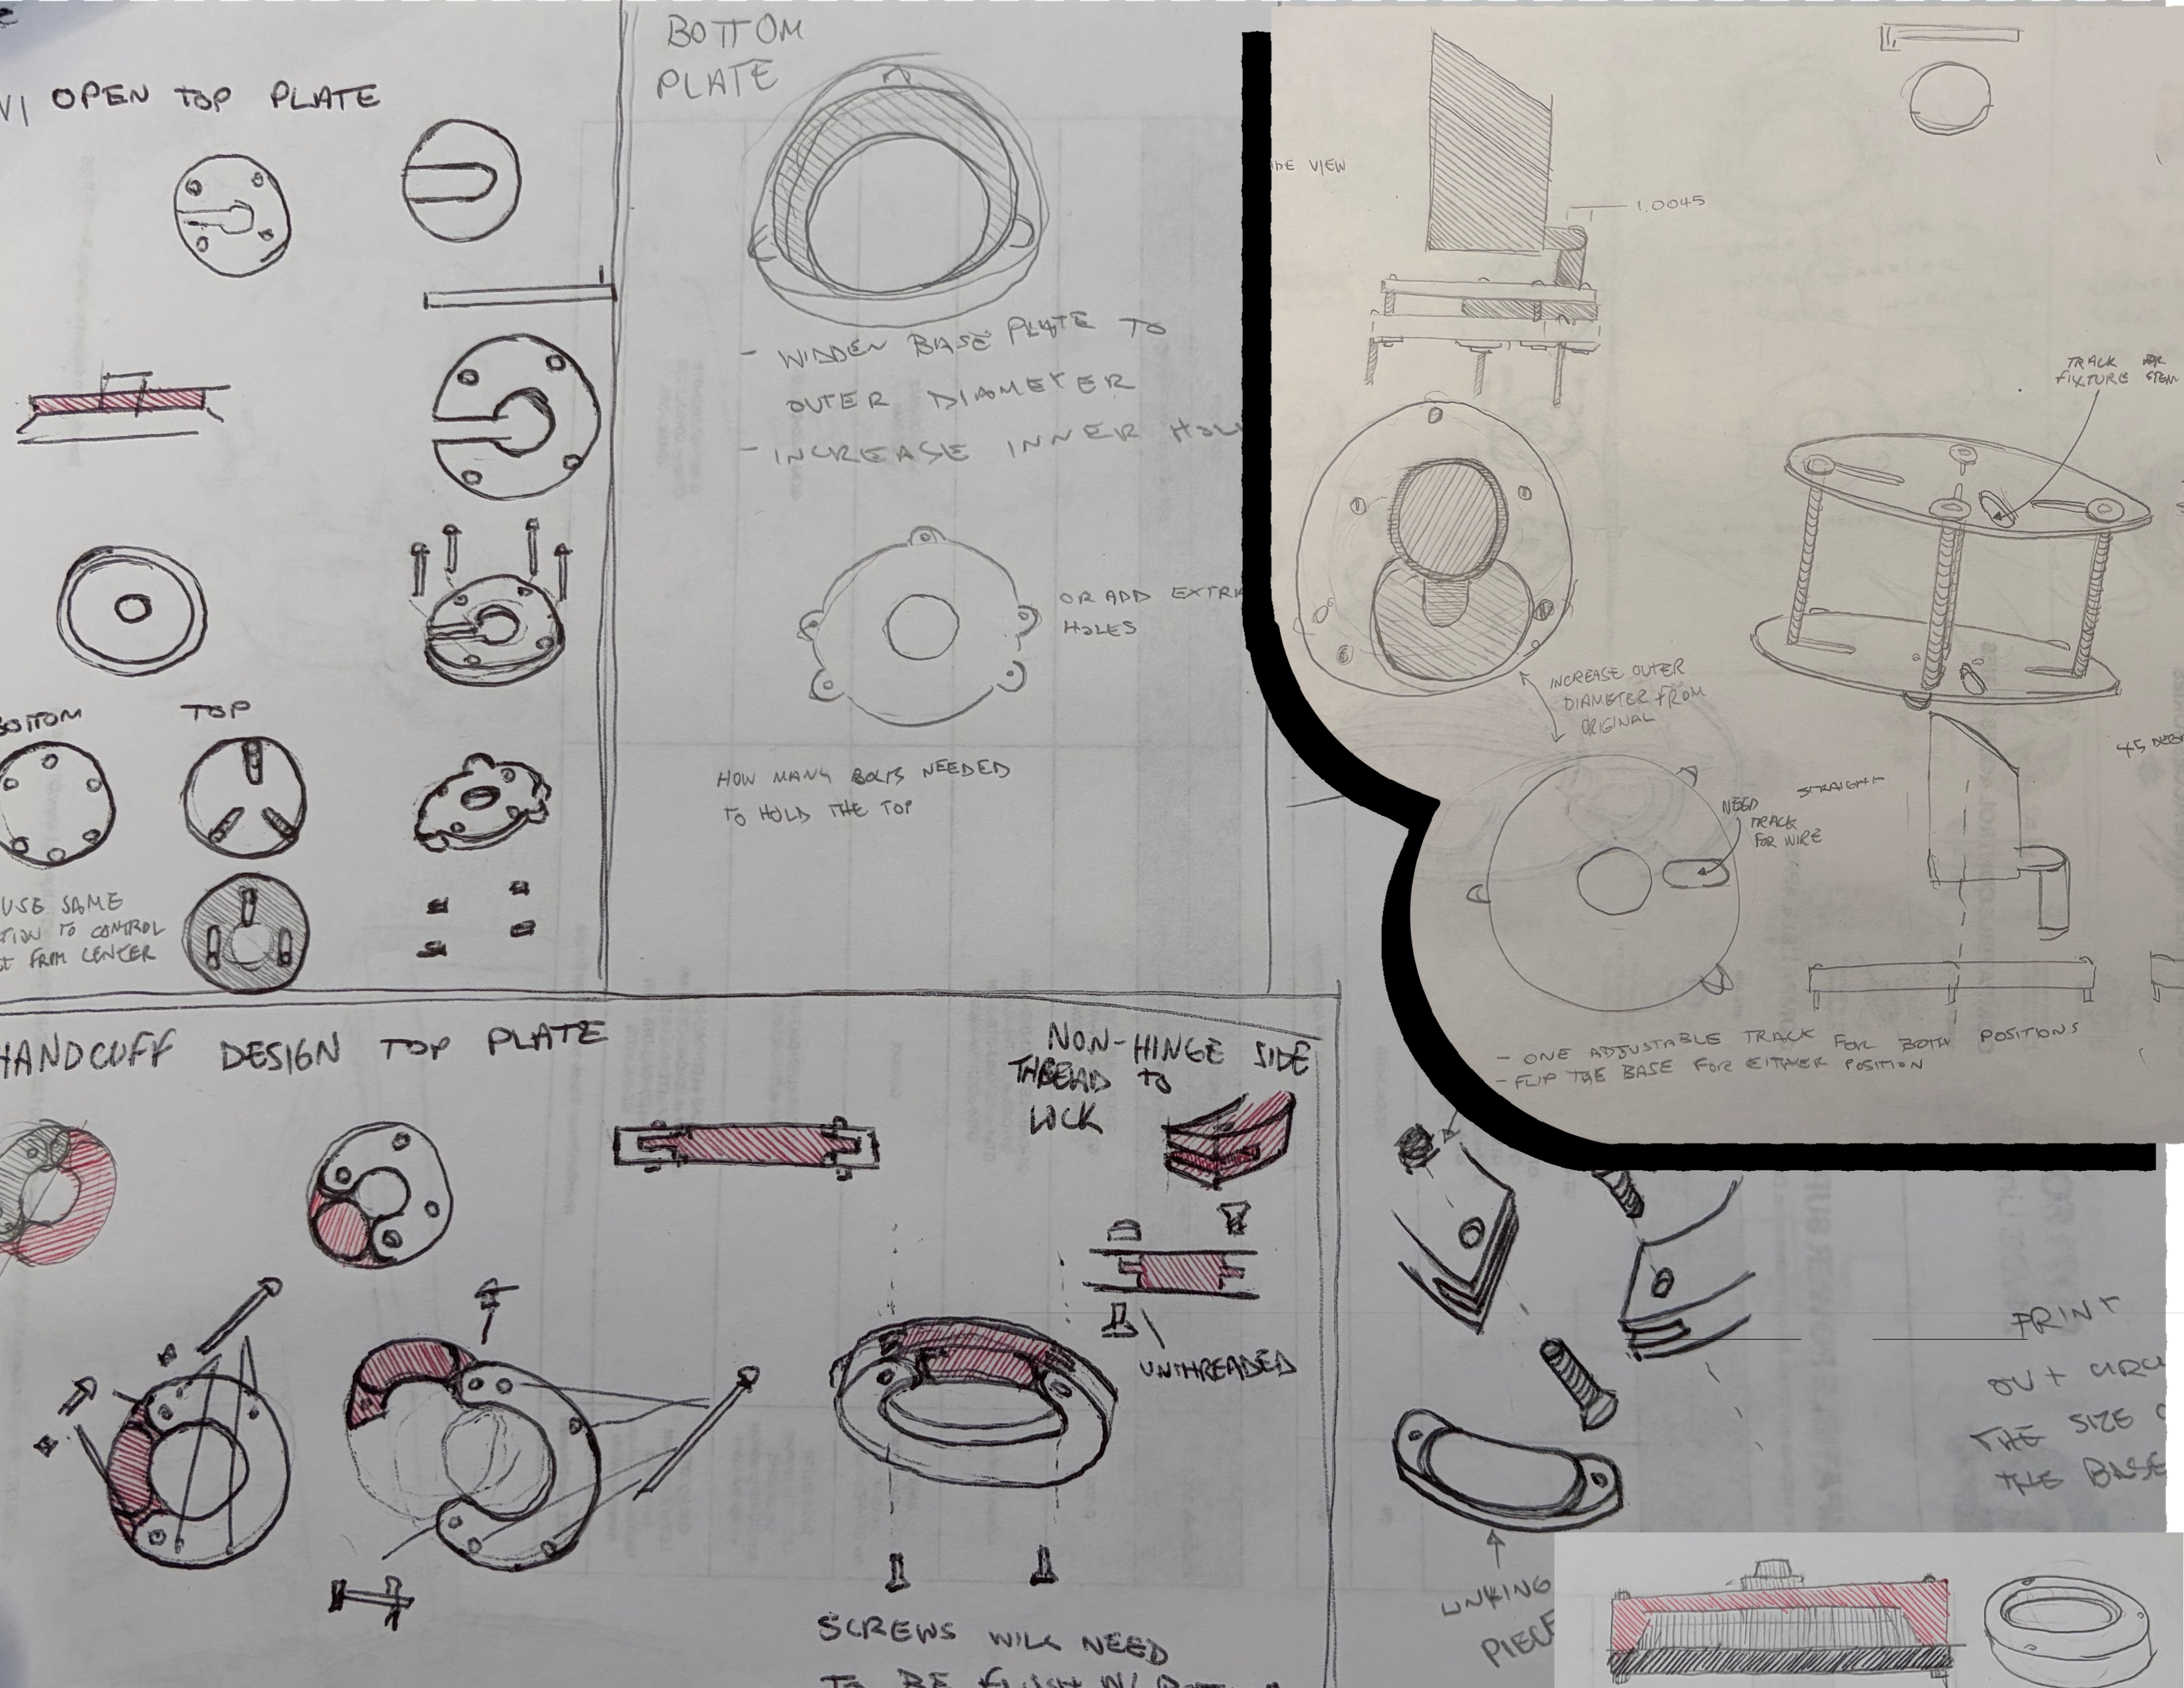
After QTL aquired a landscape fixture company, all of their fixtures had to be tested for full photometric data.The beam is directed at the ground when installed so testing required the bottom of the light to be pointed at the sensor.
Photometric Testing Setup 3
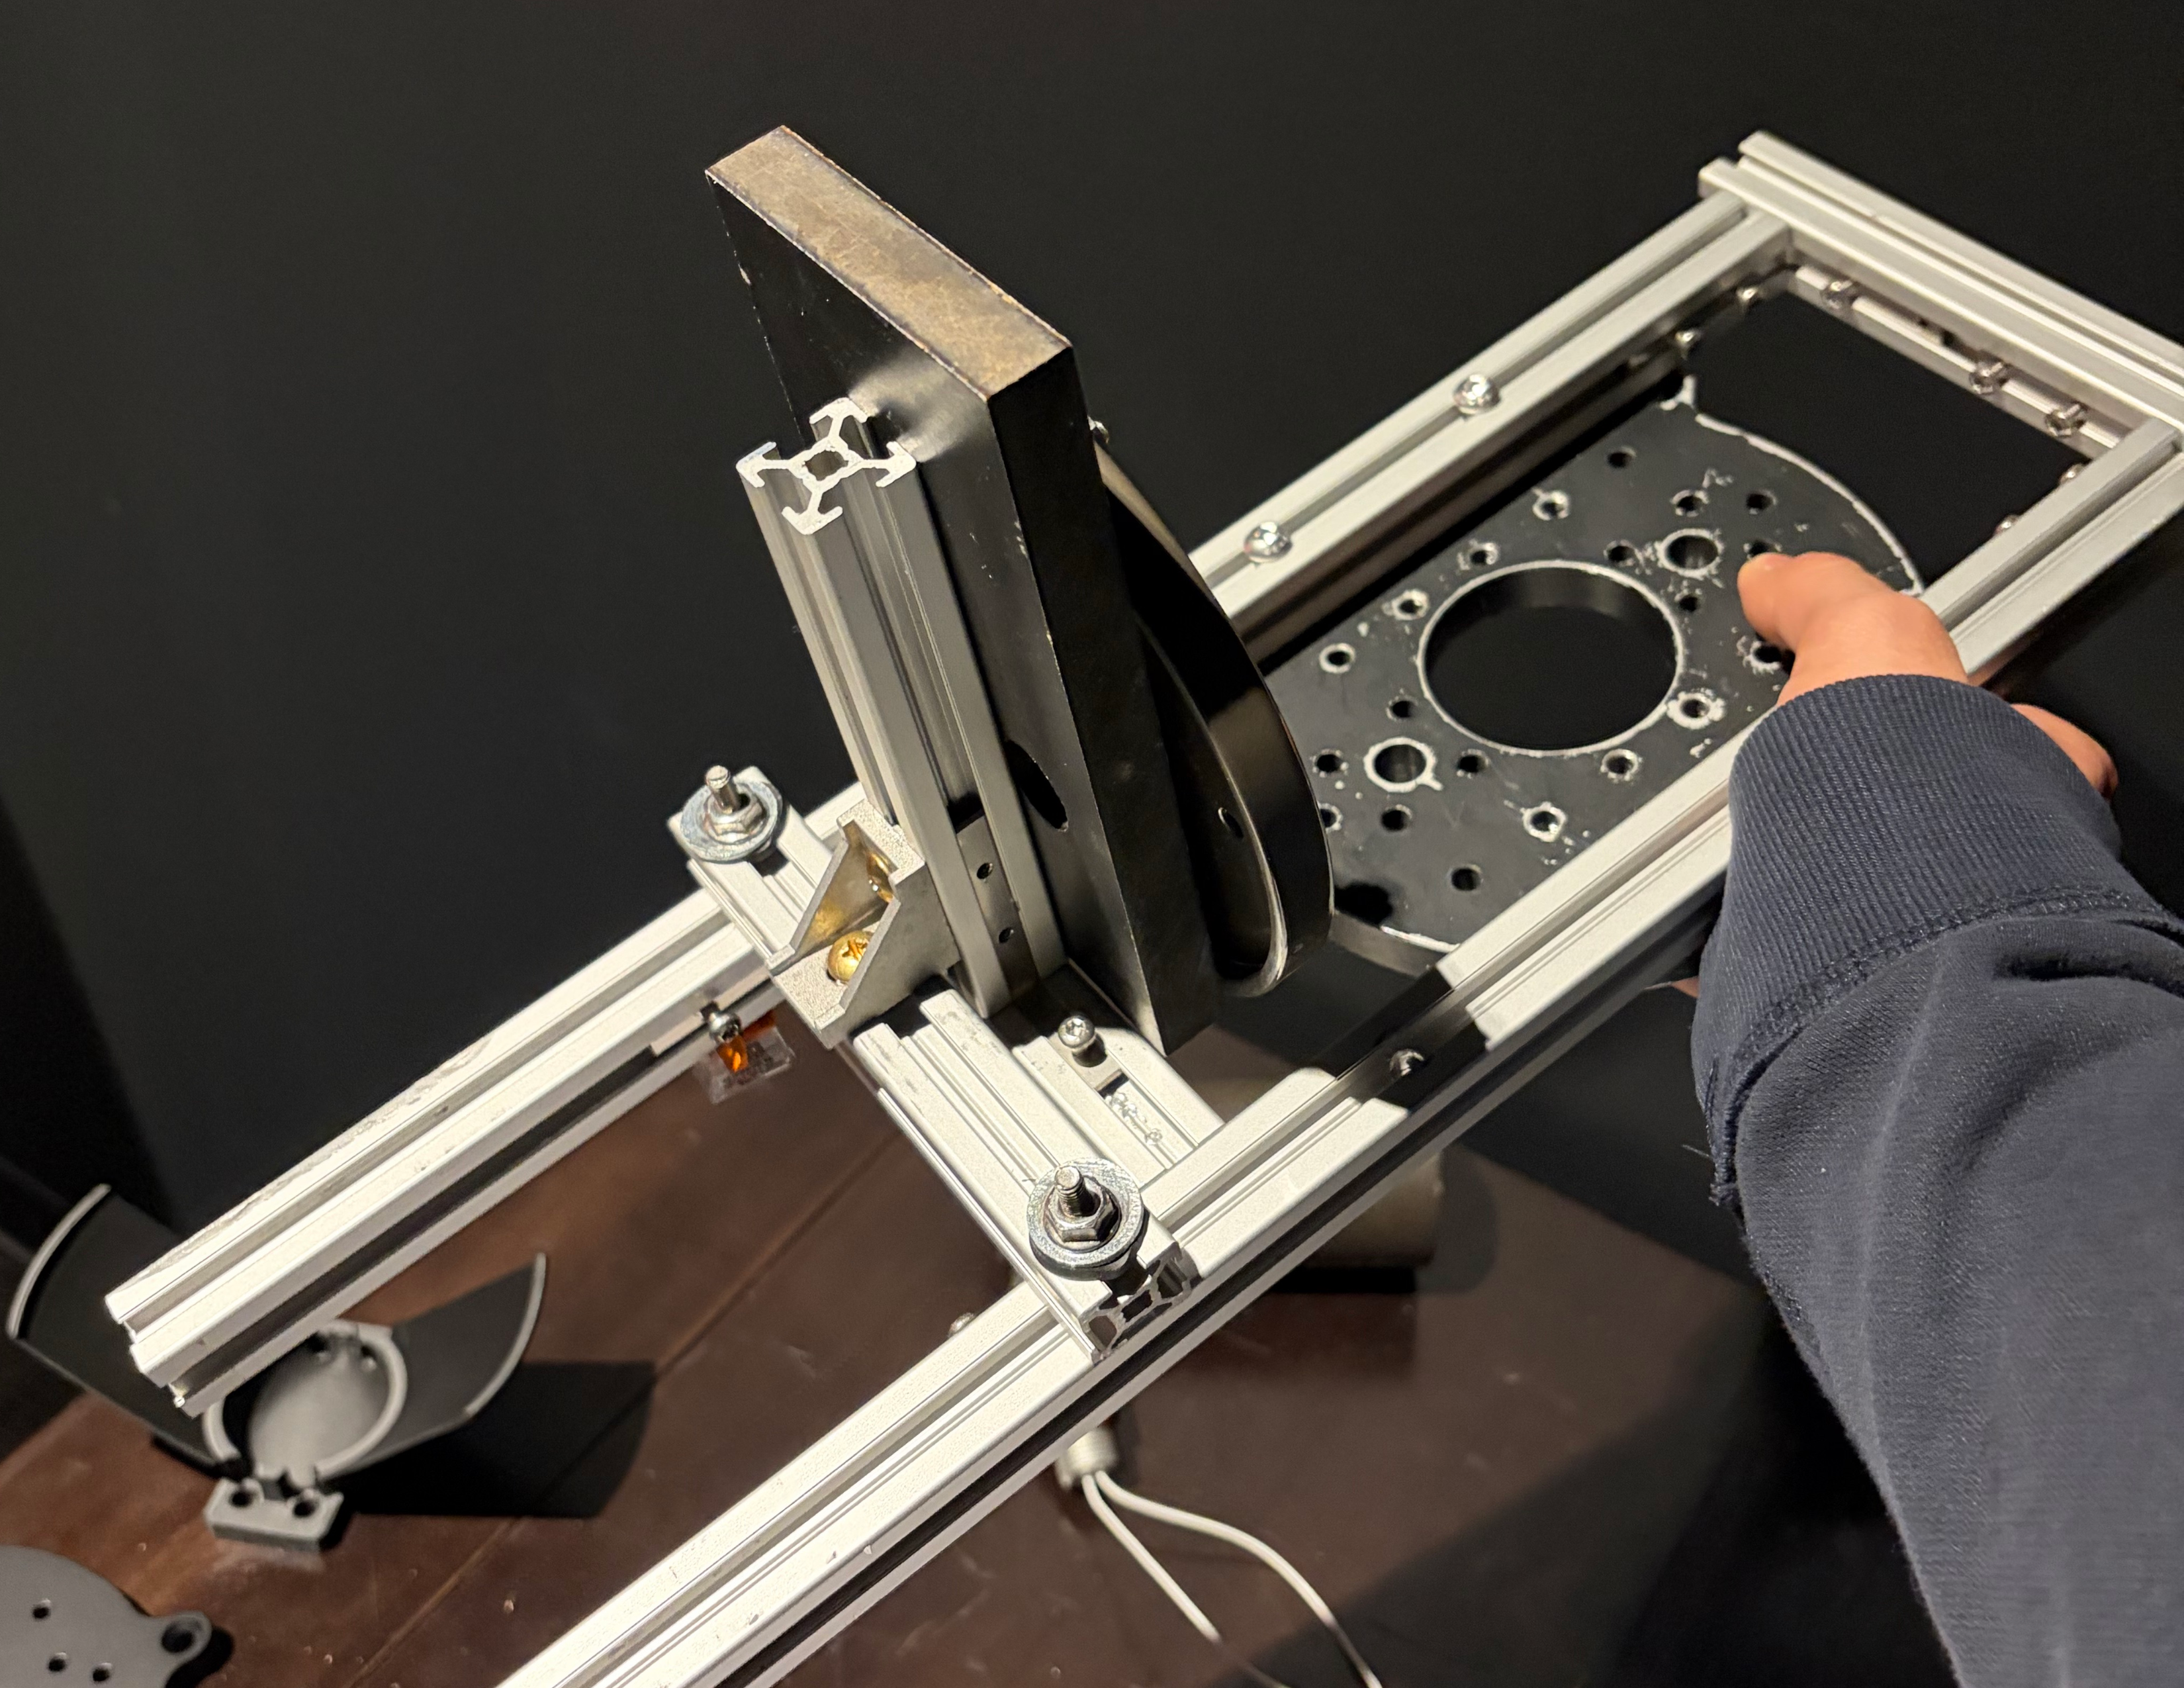
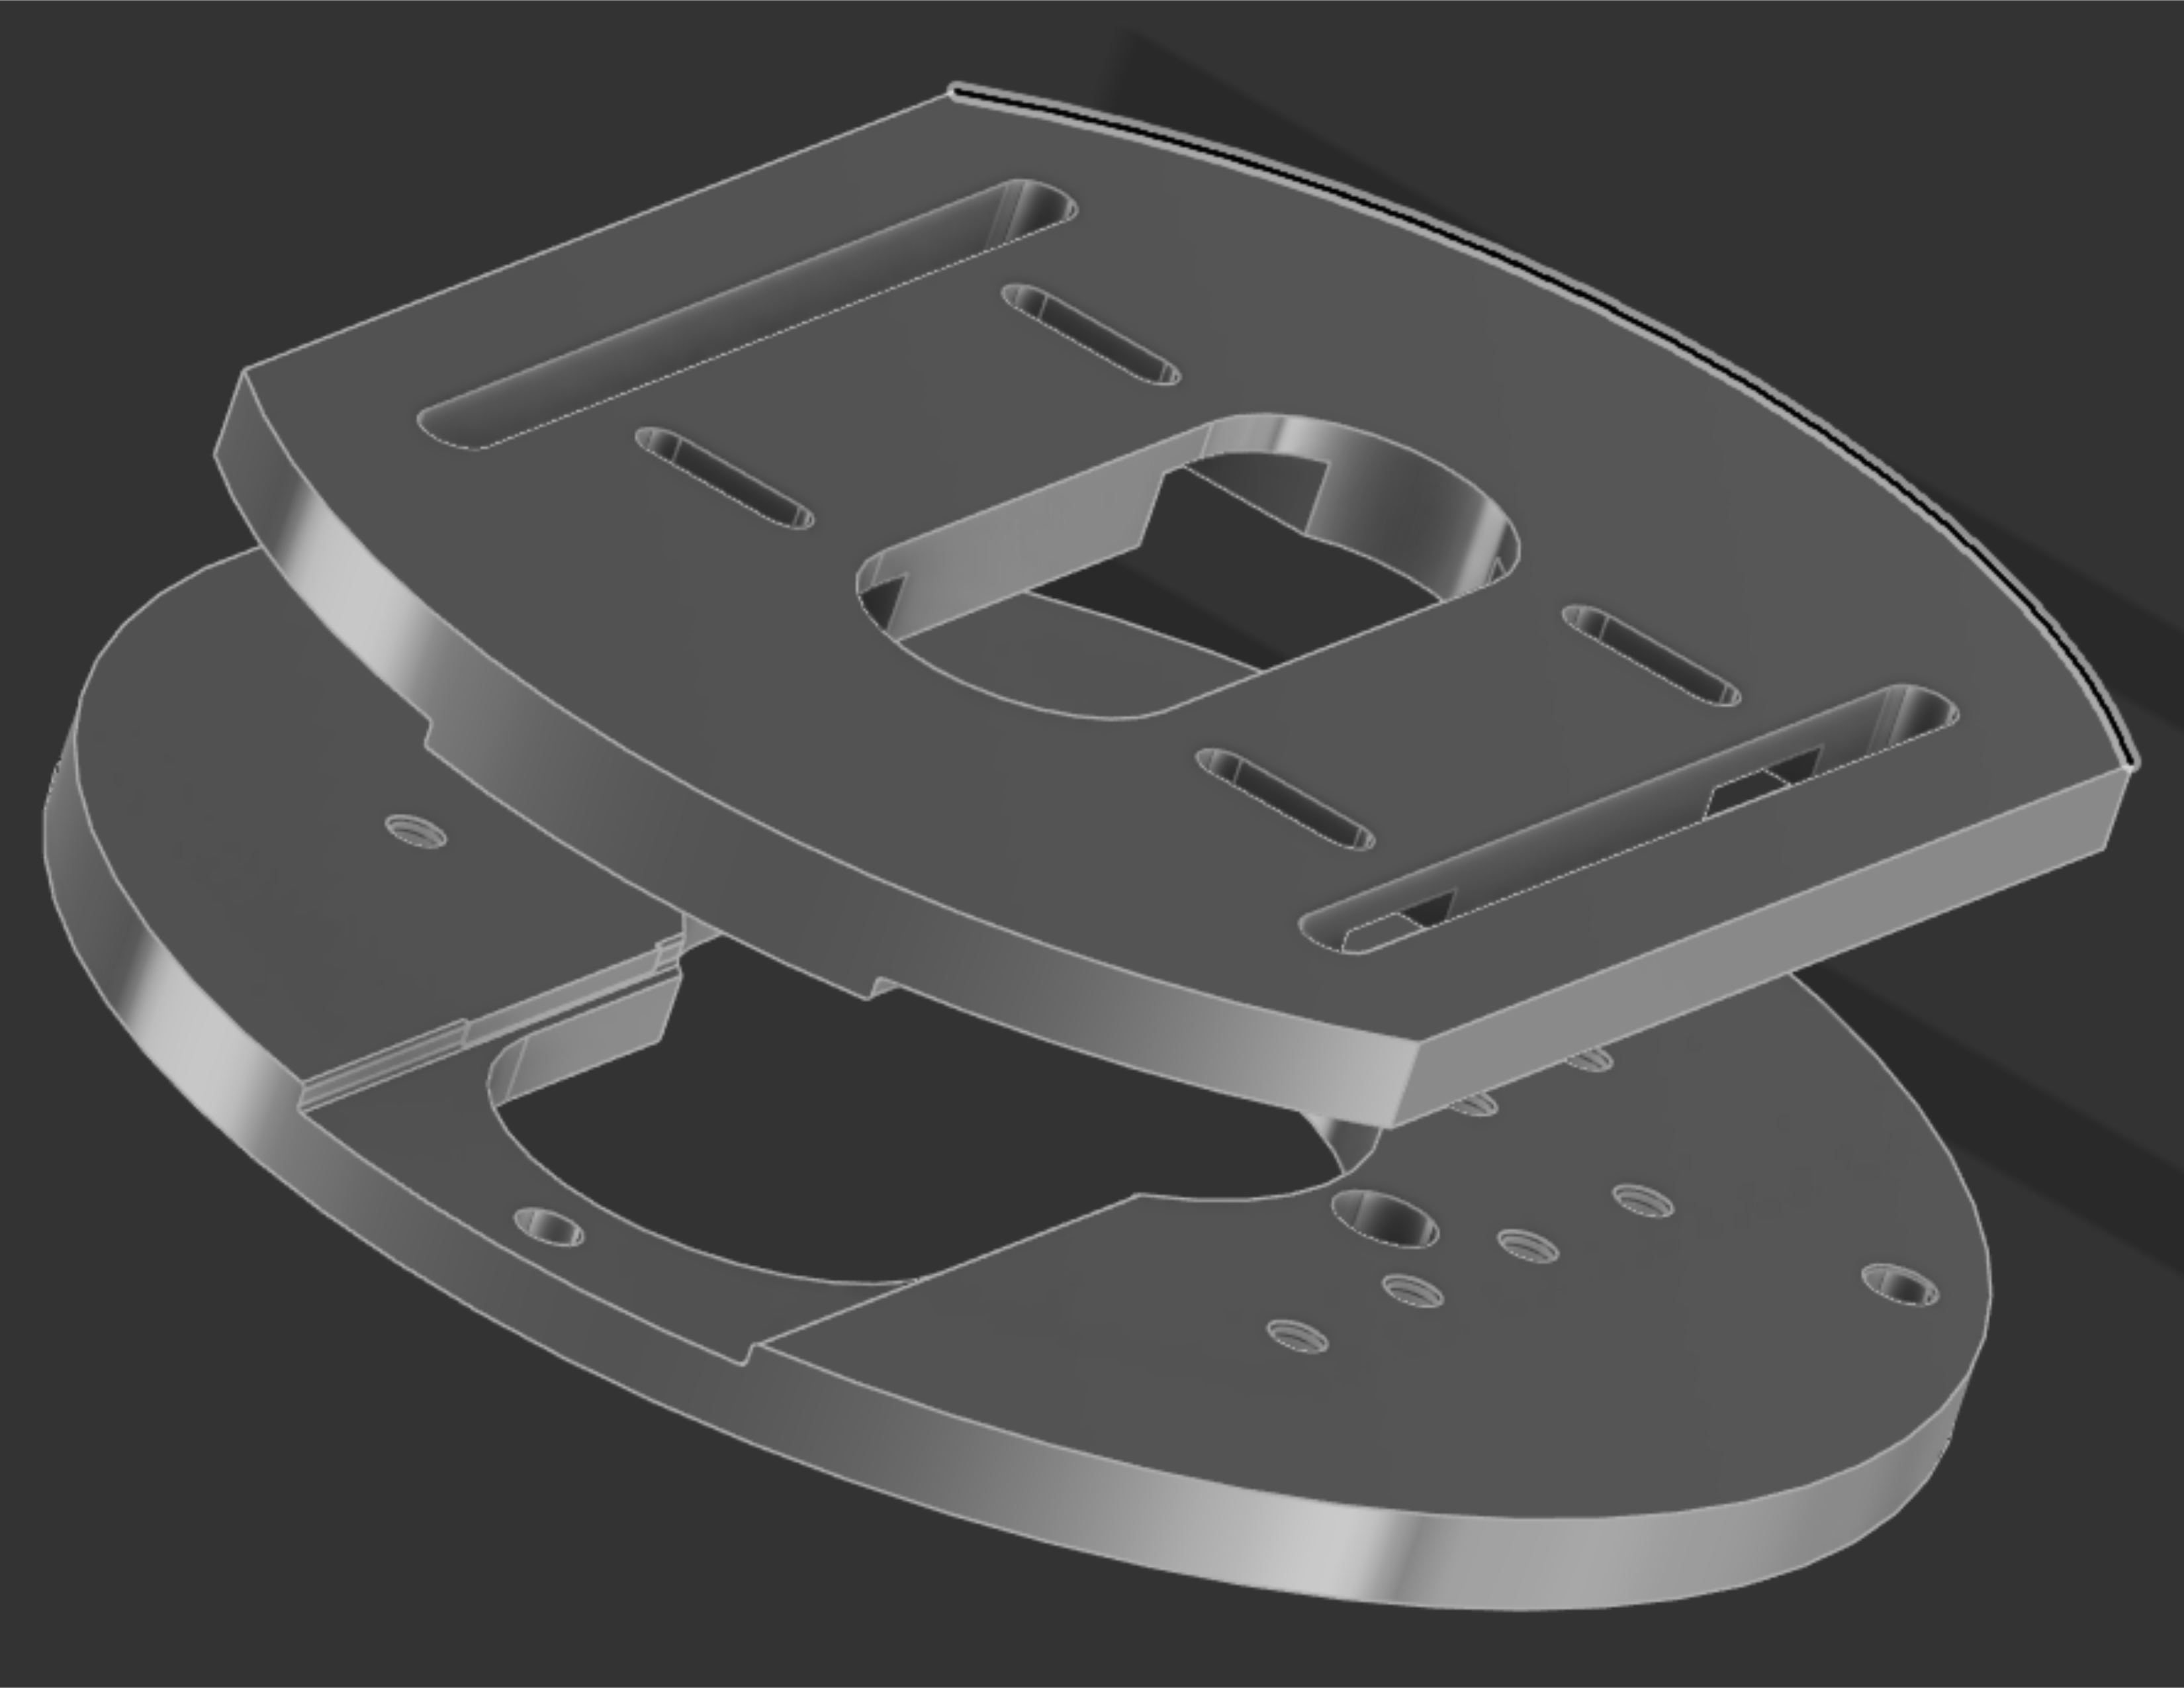
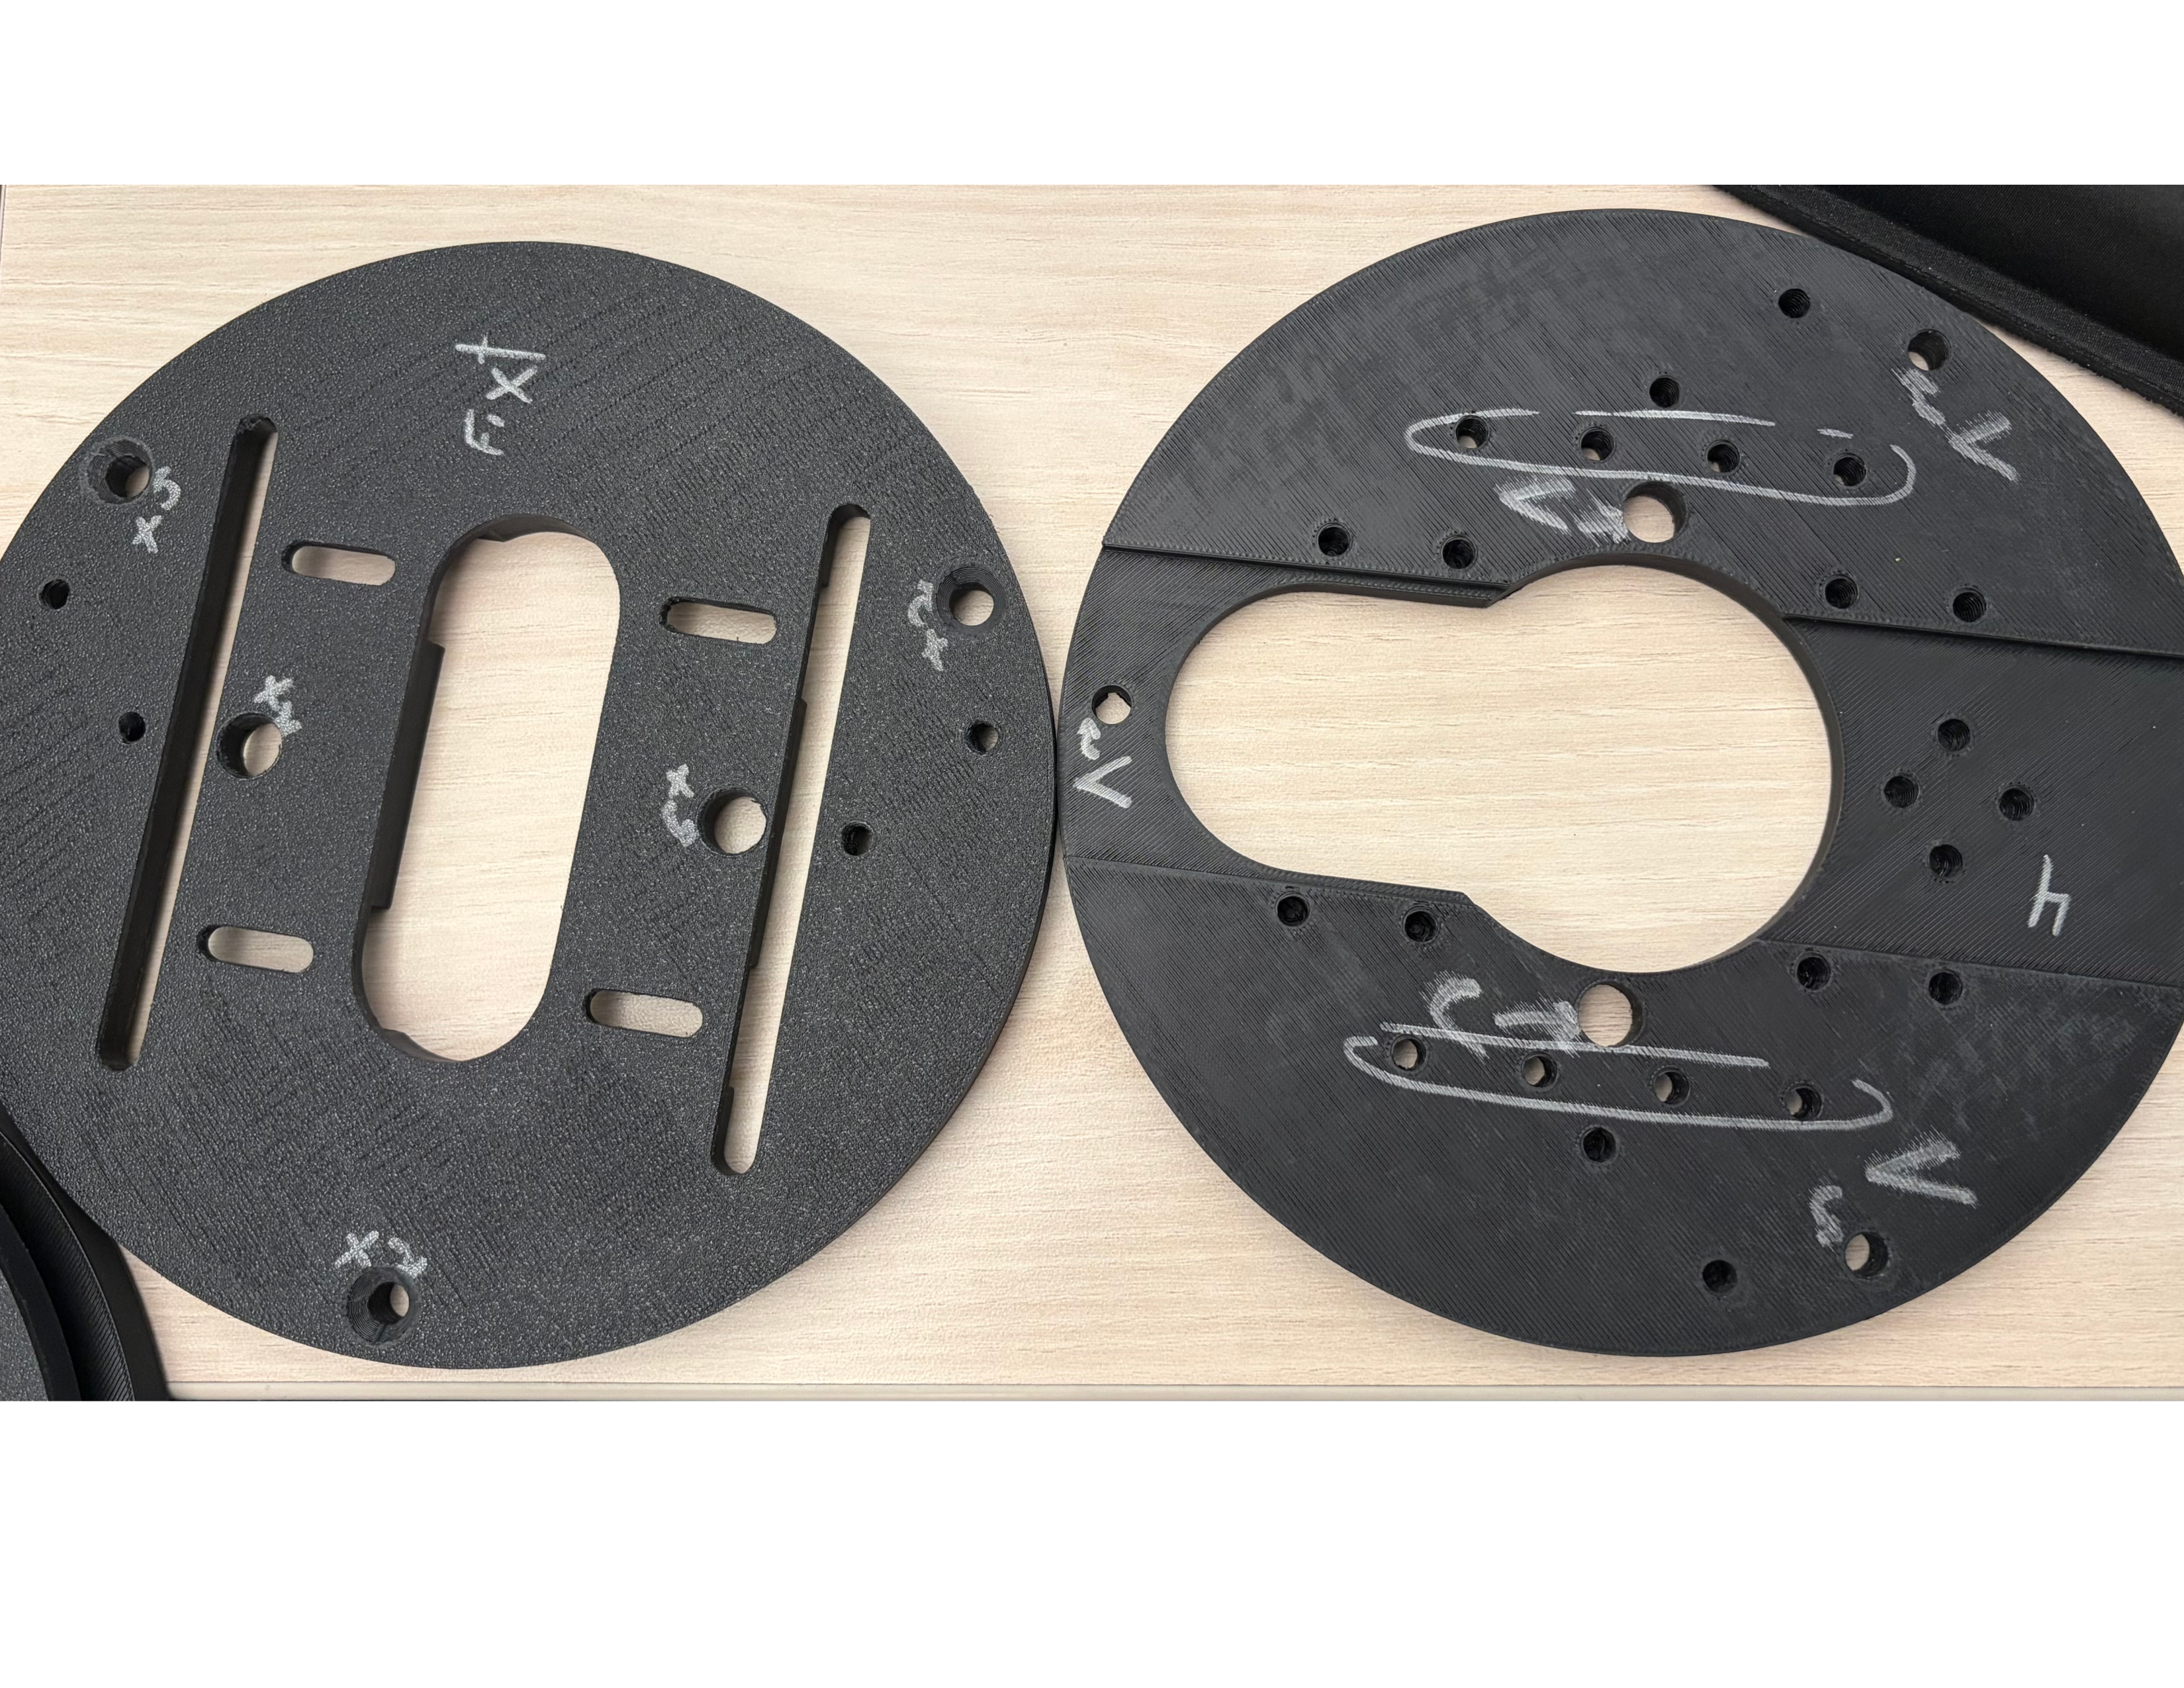
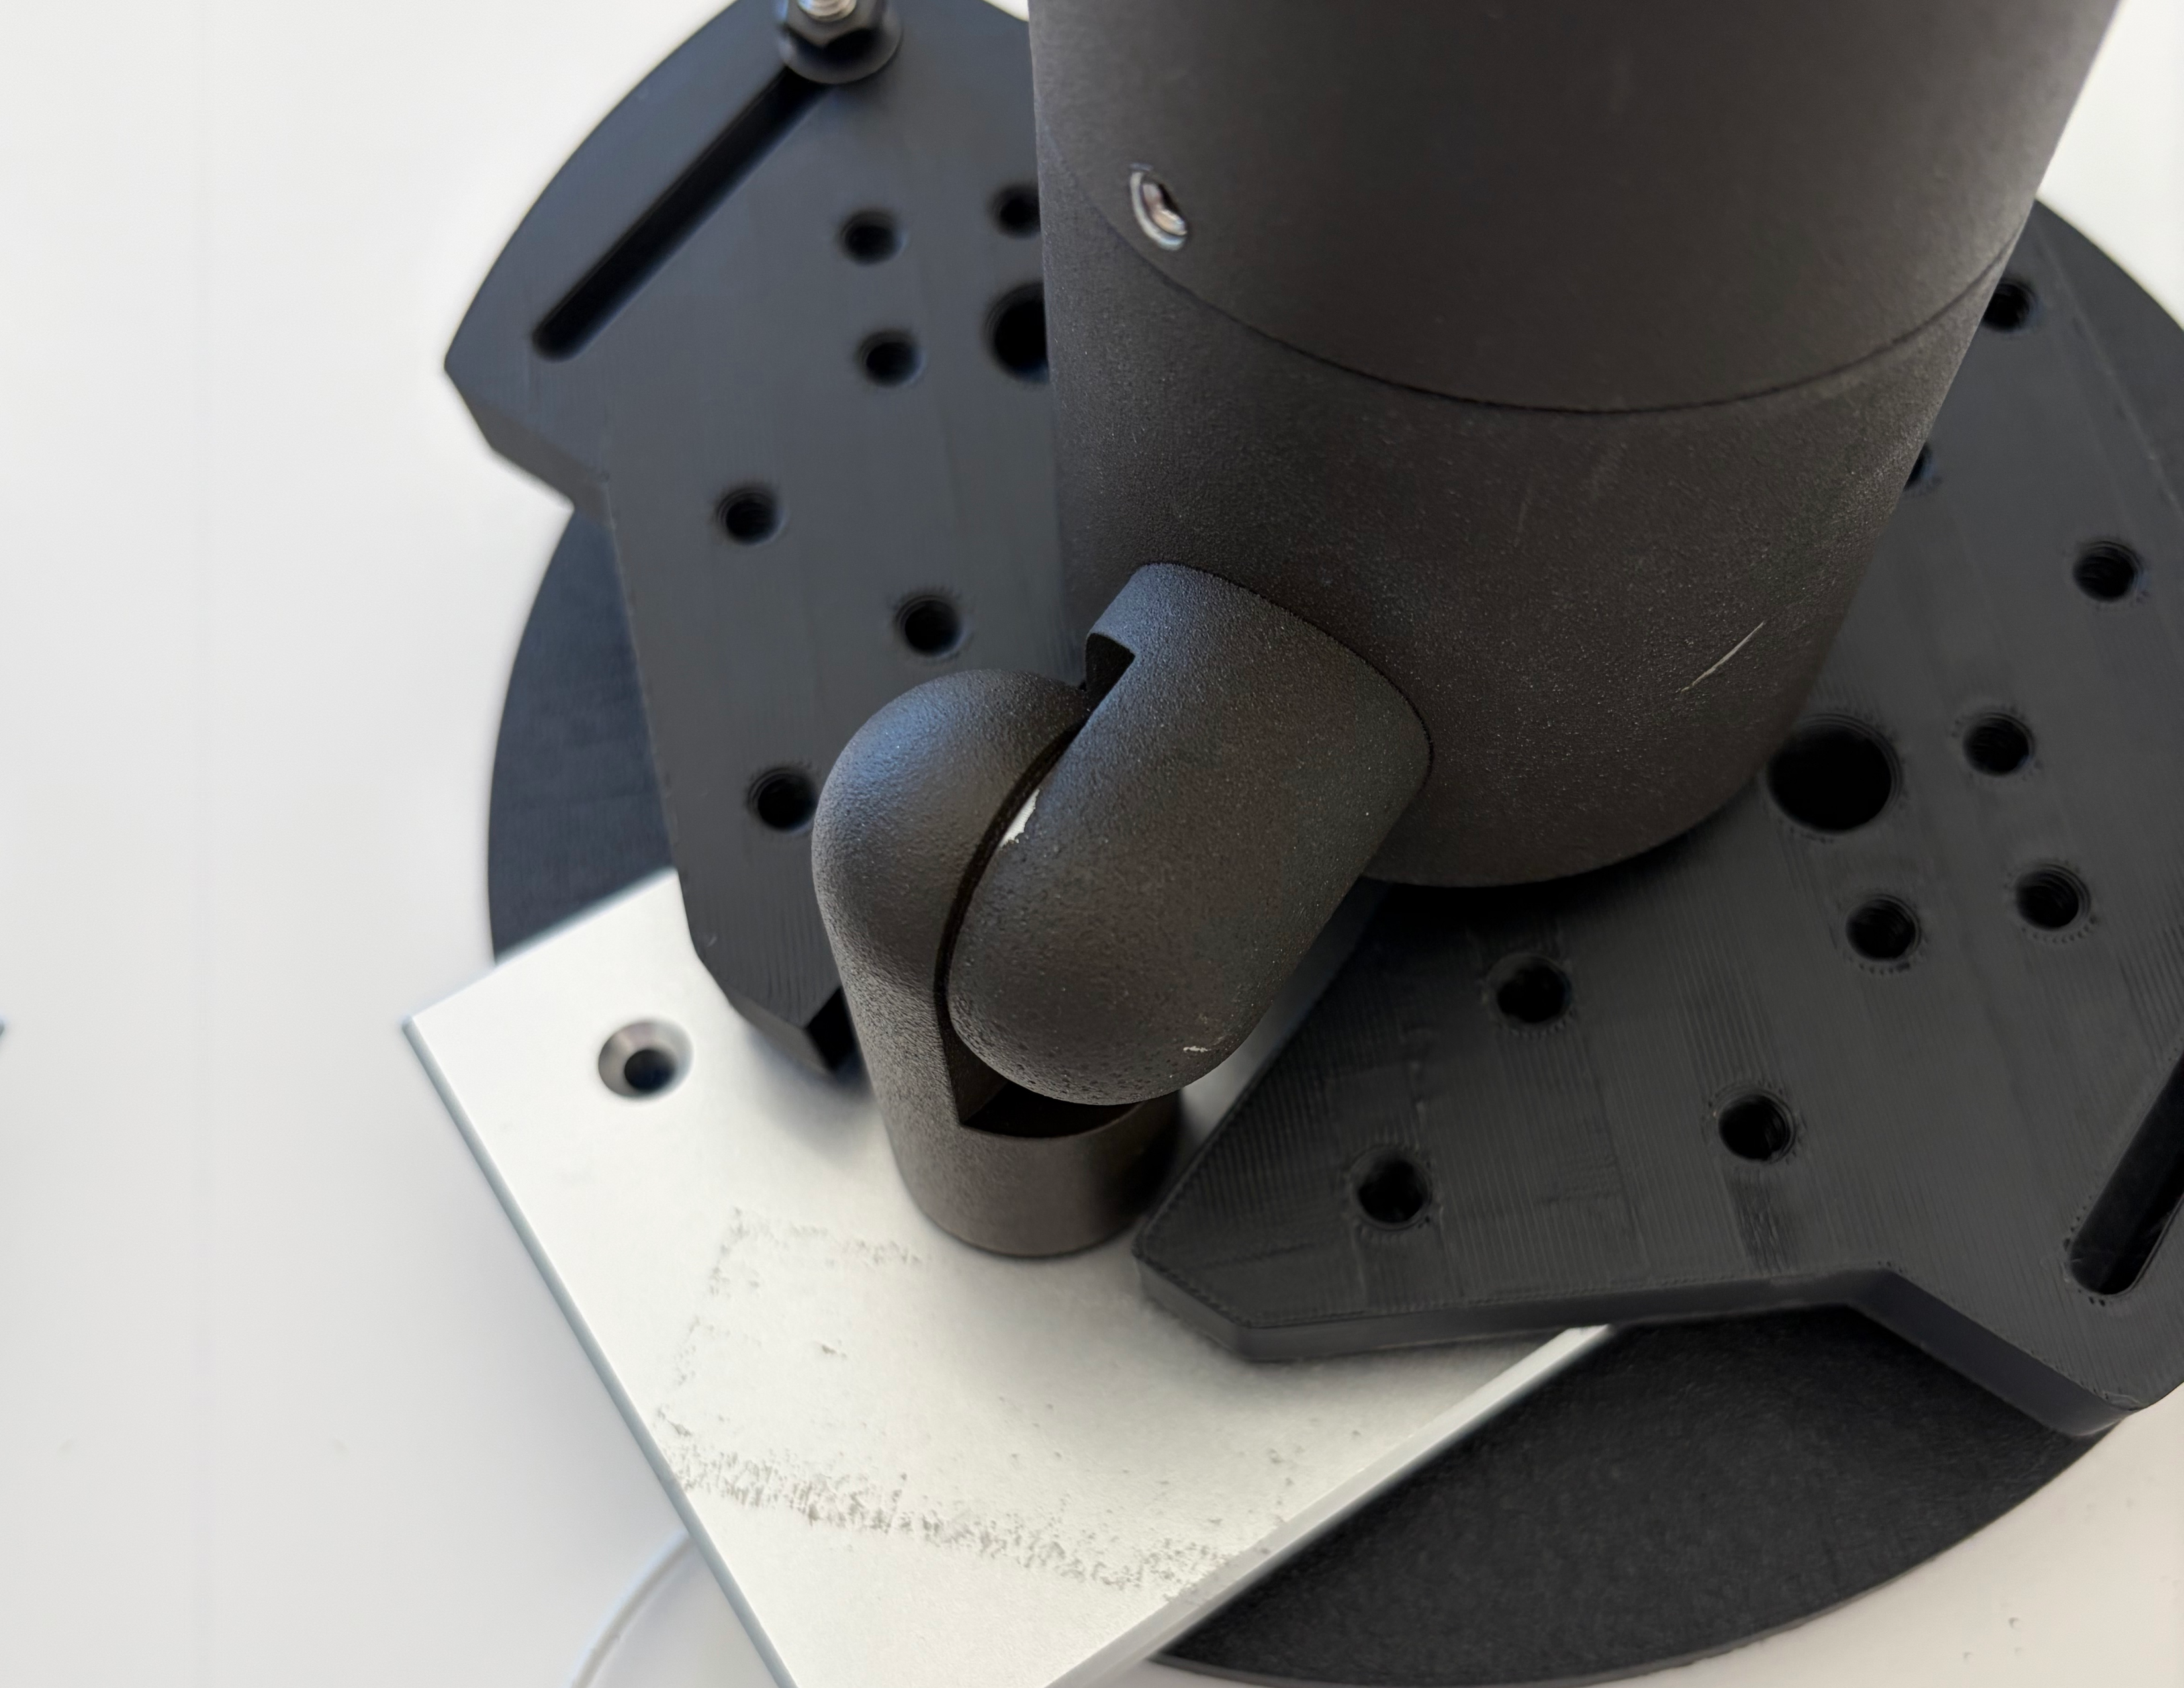
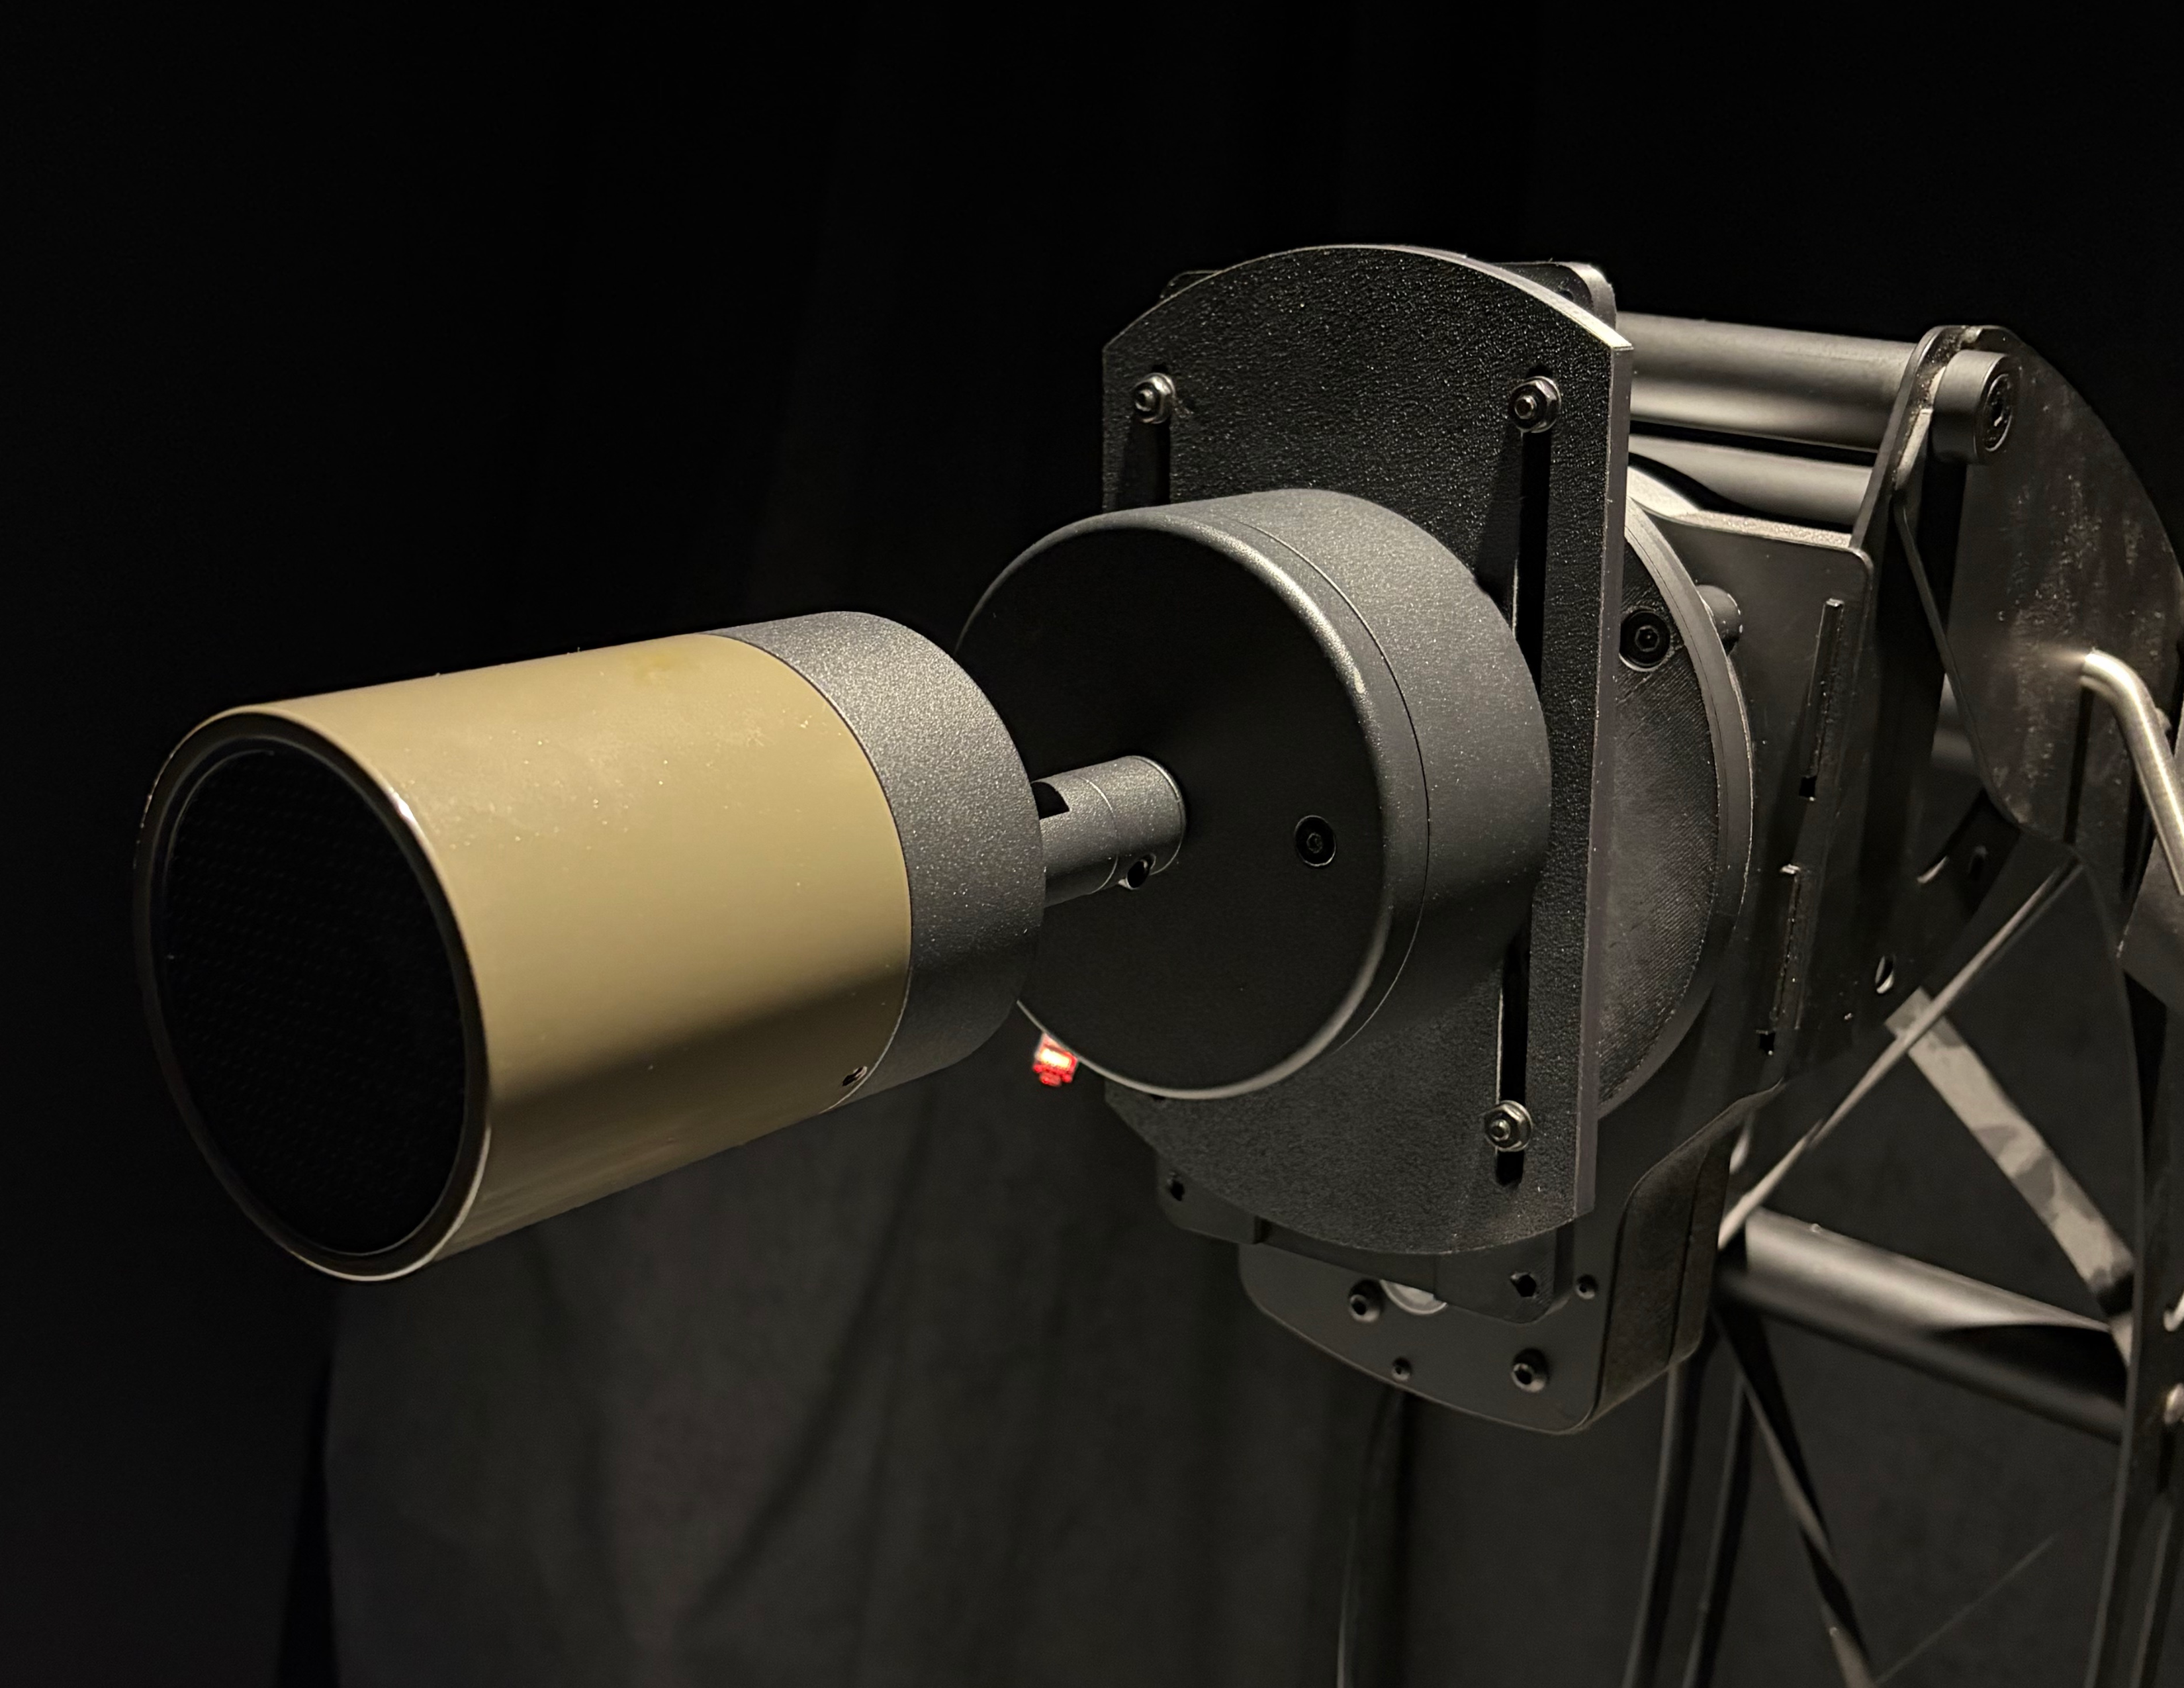
When testing additional landscape fixtures a new setup was needed to capture different angled beams and also holding the power supply. There were two main size variations that needed to be tested. The final mounting plates were 3D printed out of ASA to make them stronger than the standard PLA mounts.
Production Tools
Sometimes production would need extra tools in order to meet a time crunch with modified materials or a custom product needed custom process. These were tools and jigs made to help in the assembly of the final product.
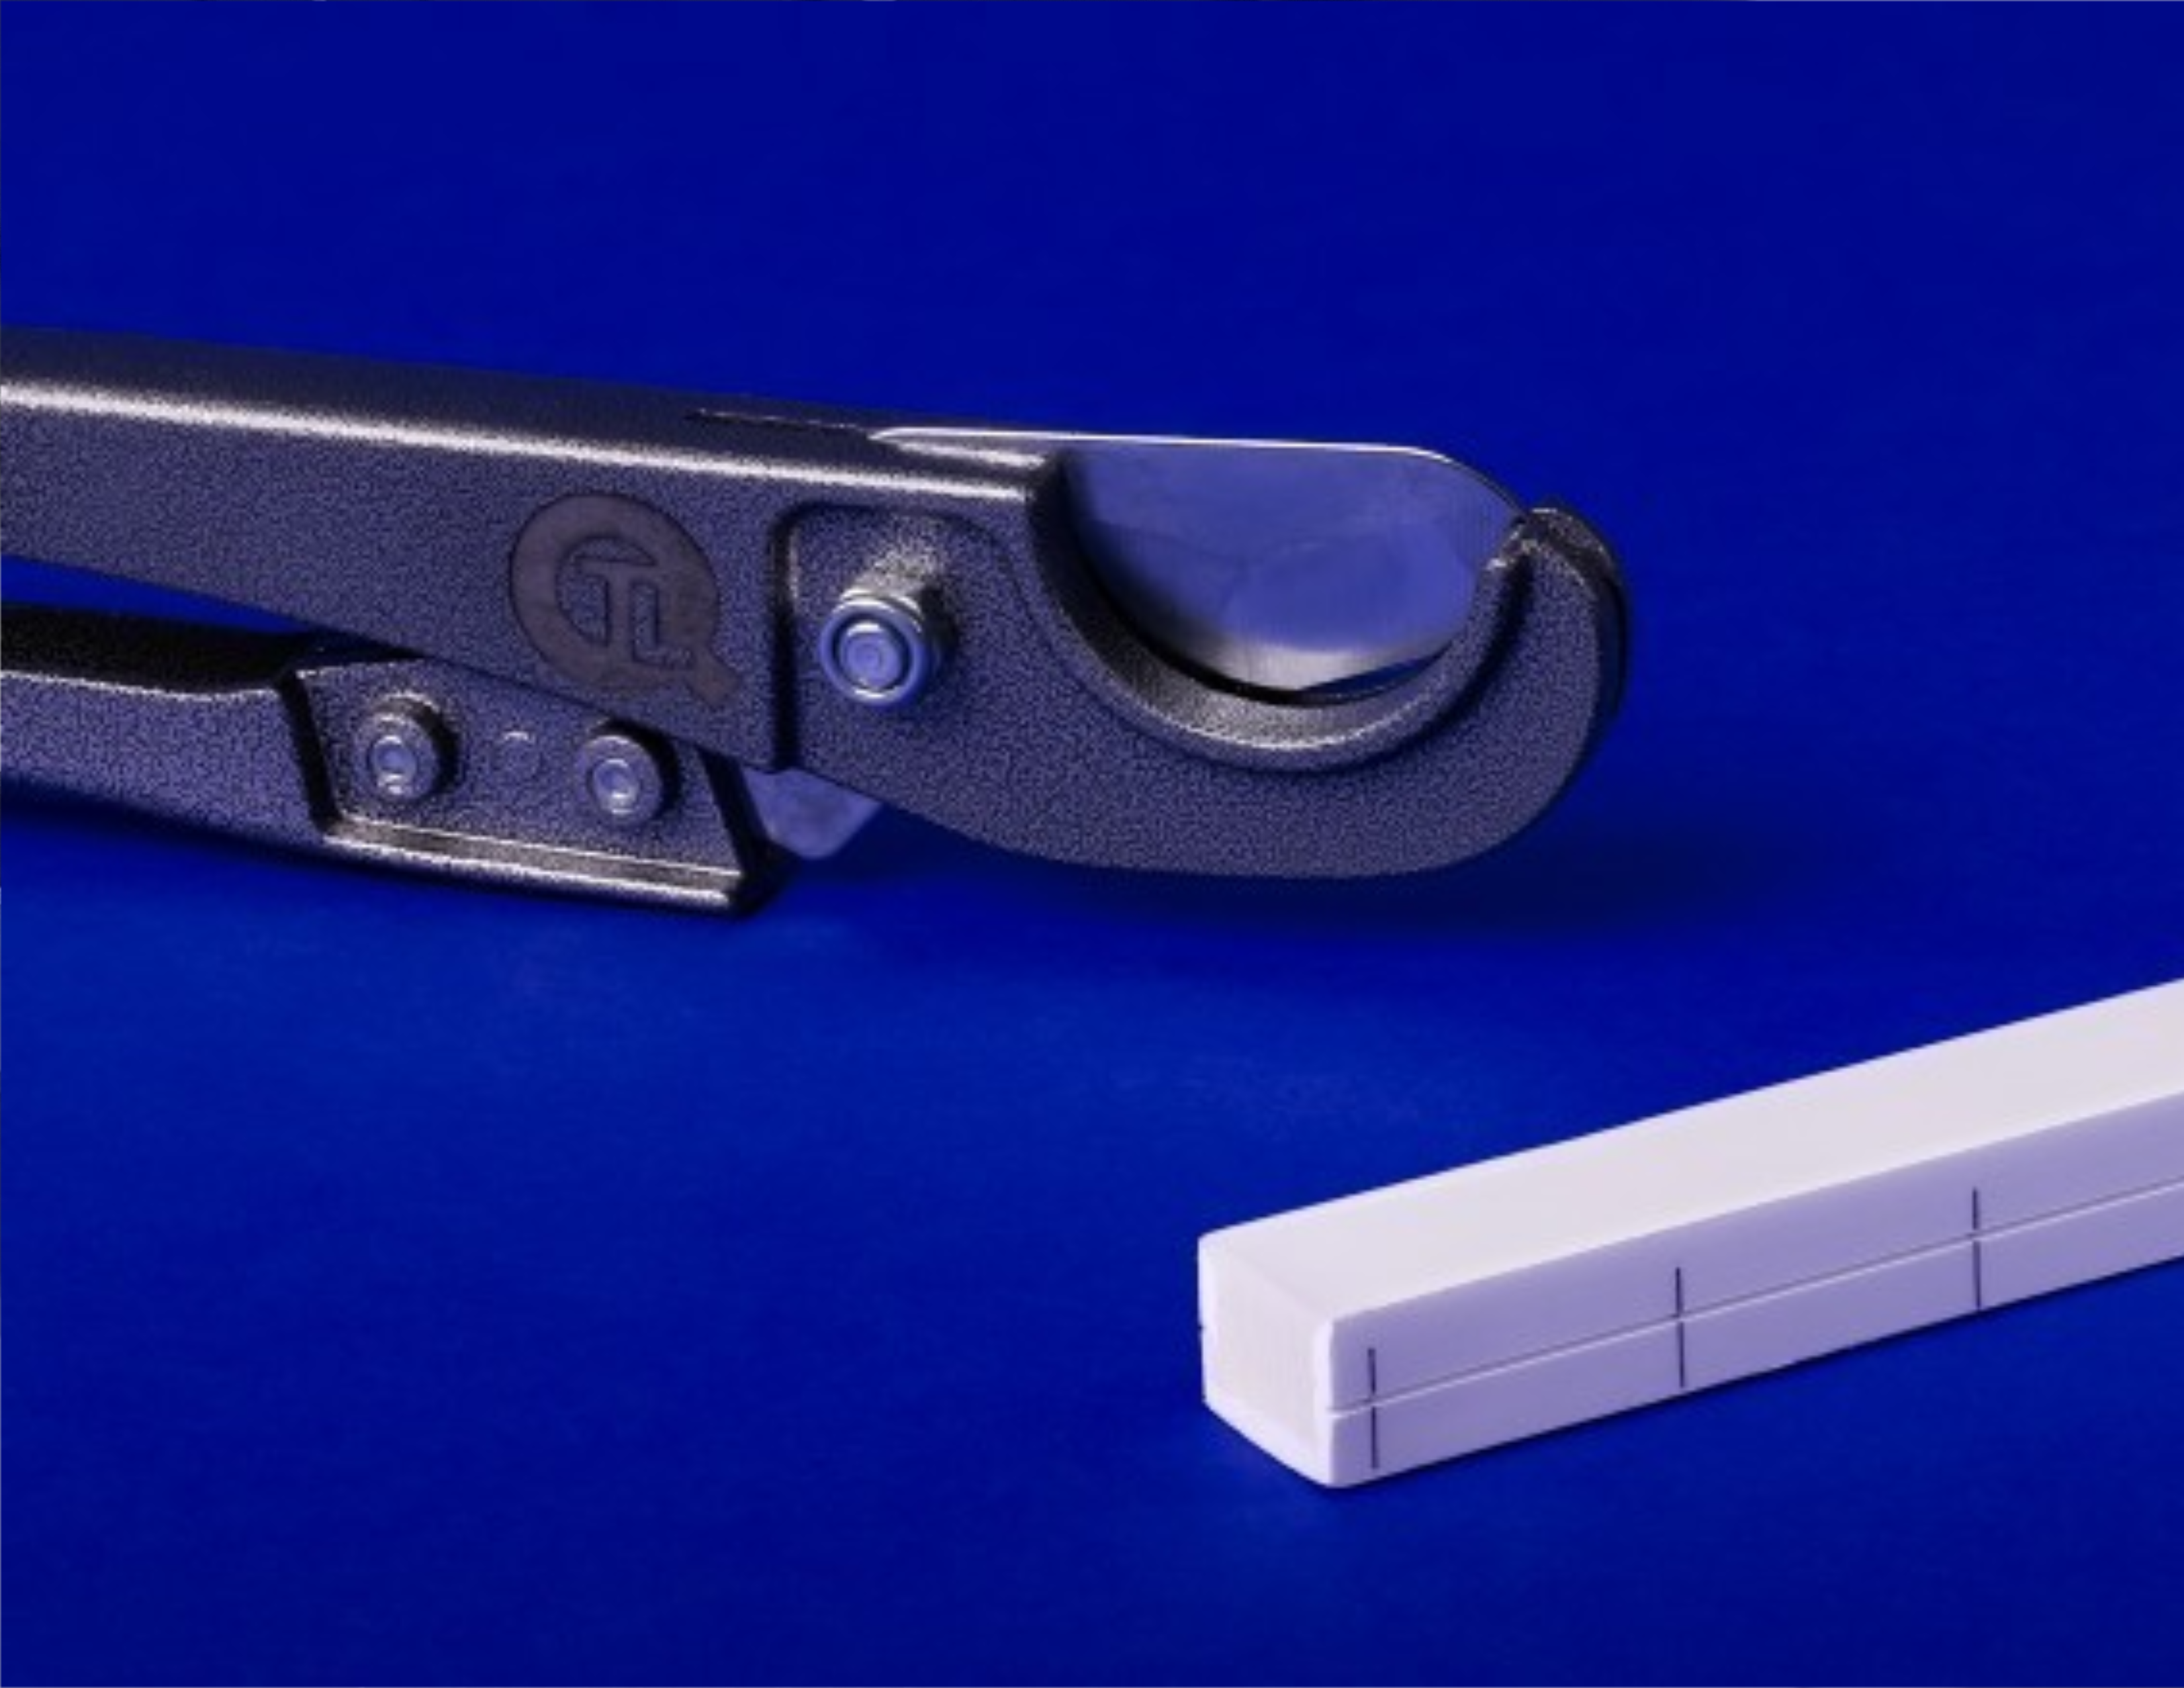
White Optic Cutter
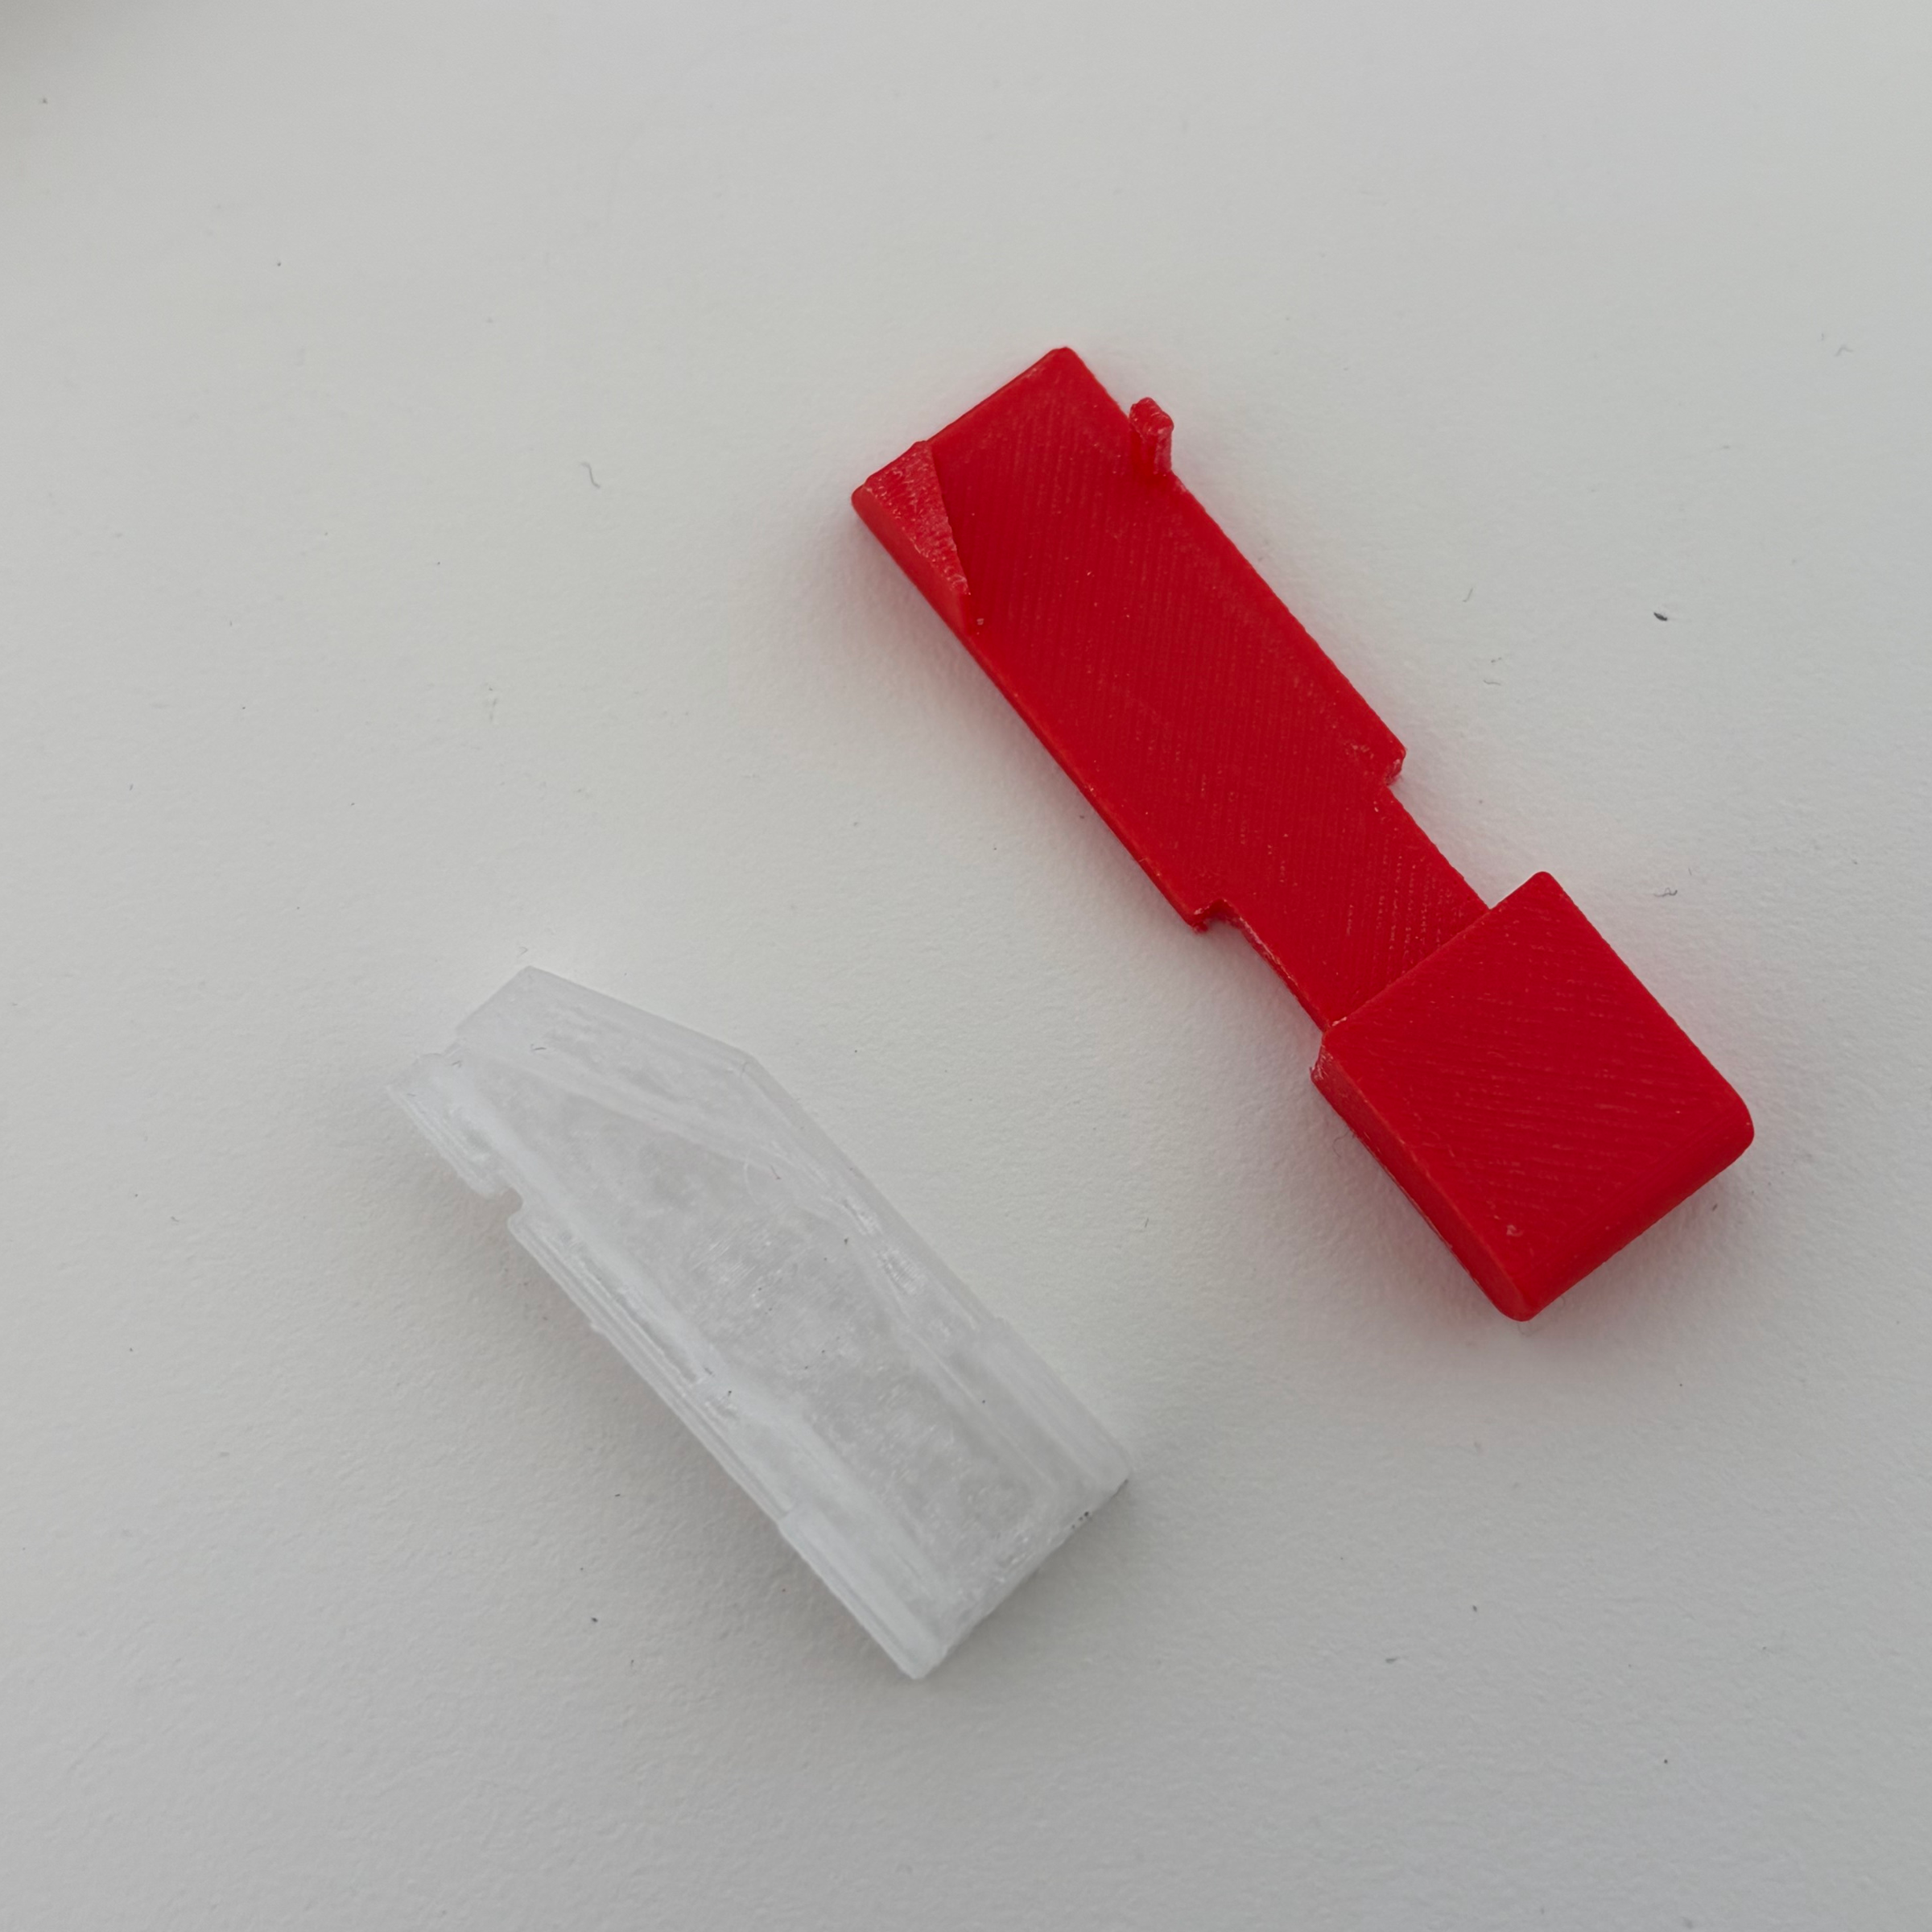
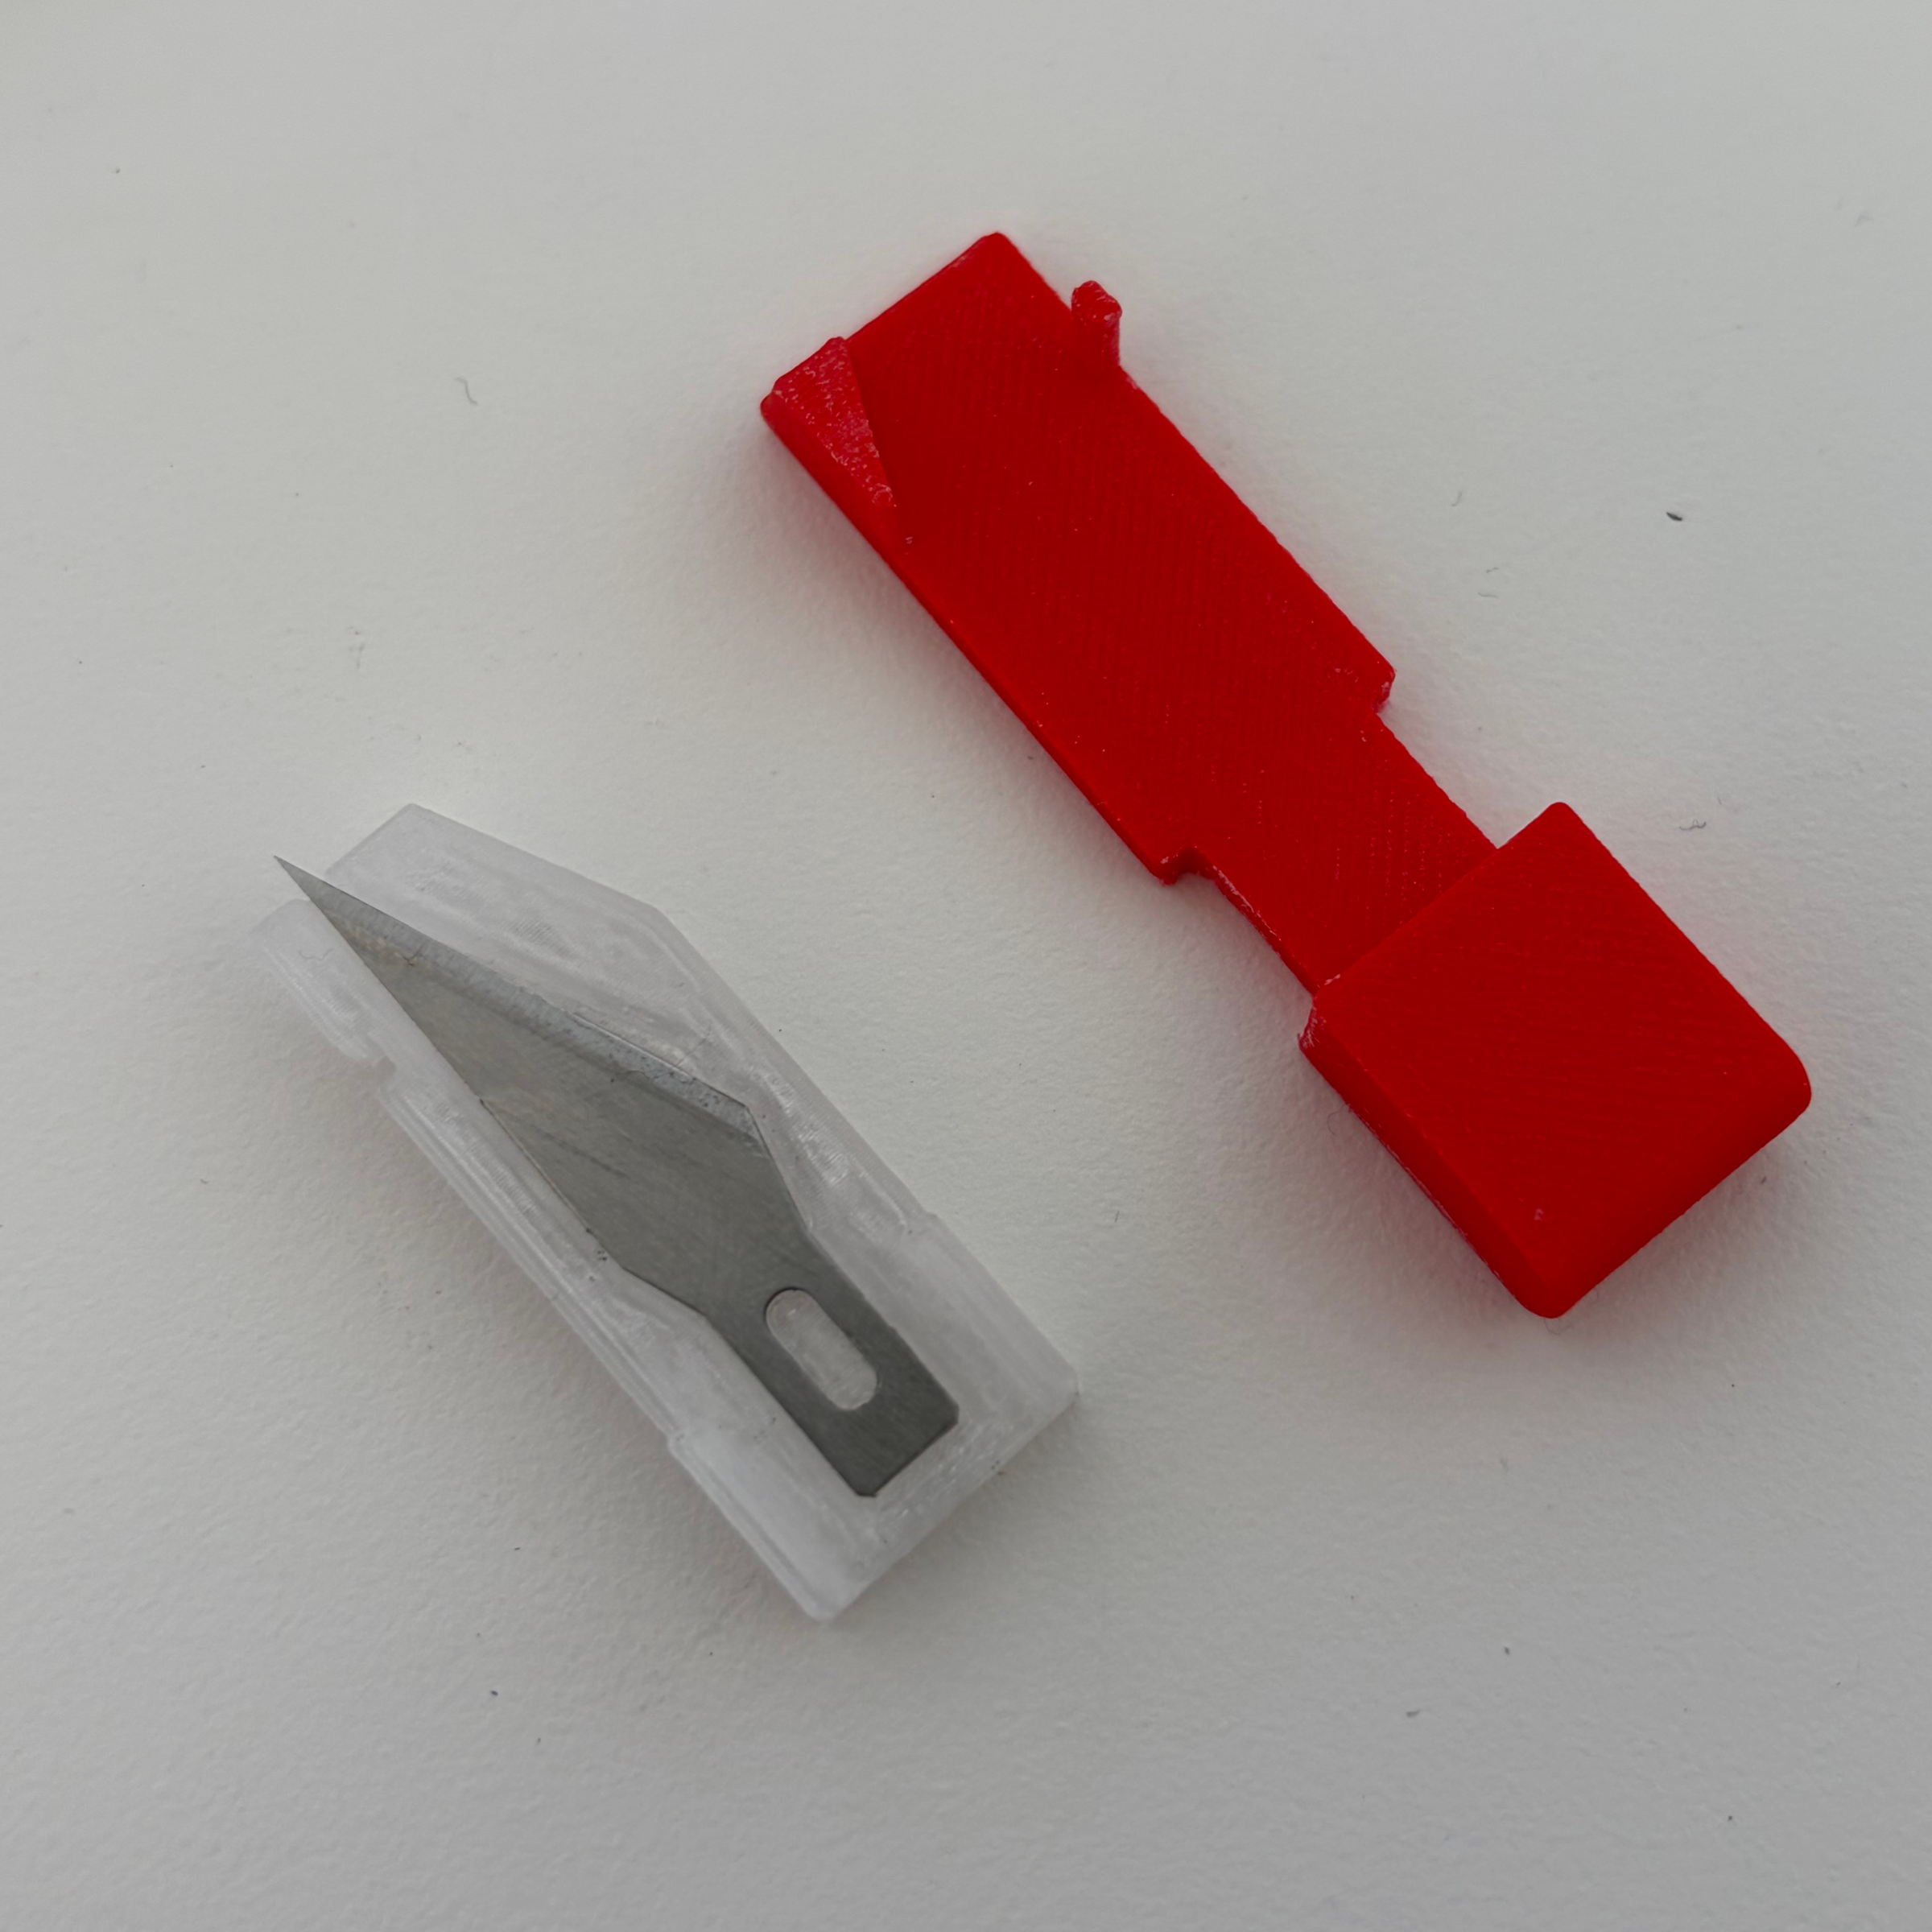
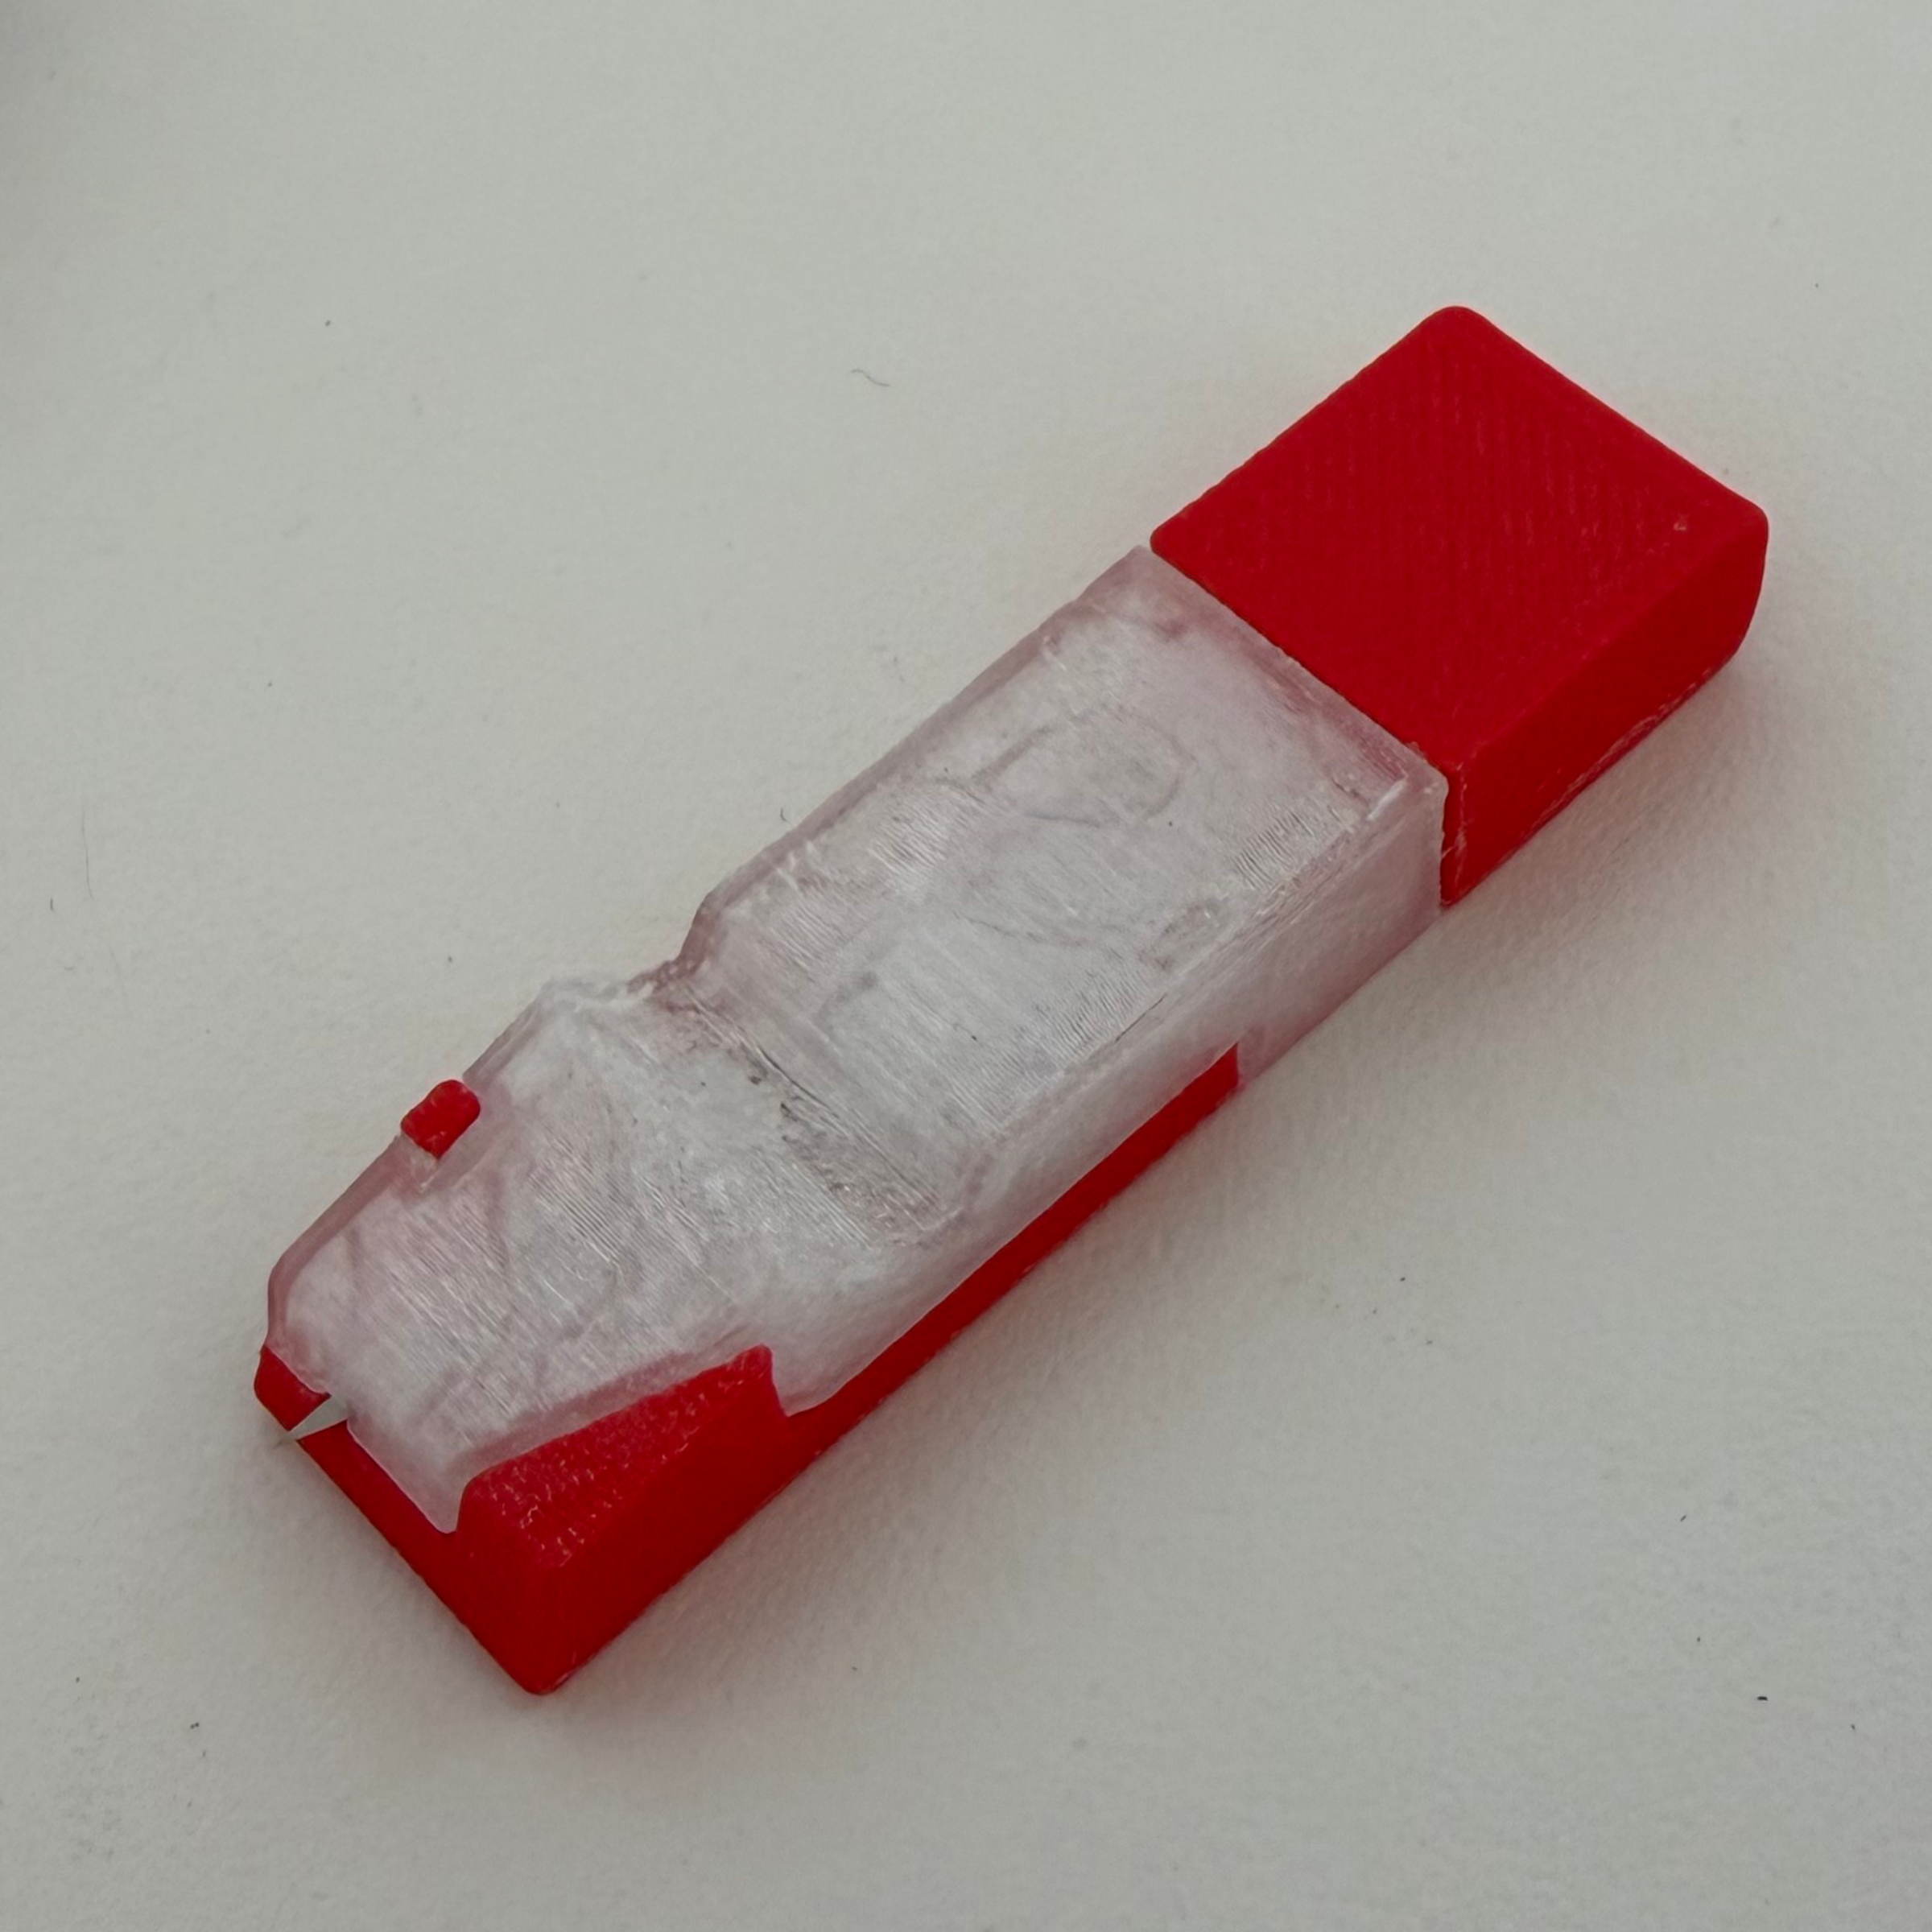
3D printed holder for an X-Acto blade. This was made to assist production in trimming paper white optics for an urgent job. They were FDM 3D printed and had the shape of the extrusion to perfectly hold the blade at the right place and depth.
Production Documentation
A large part of customs is preparing production for assembling the new products. Custom instructions could involve just modifying a few steps in an otherwise standard process or a whole new process. I made all of the graphics through a combination of drawings exported from Fusion of our CAD and line art in Illustrator.
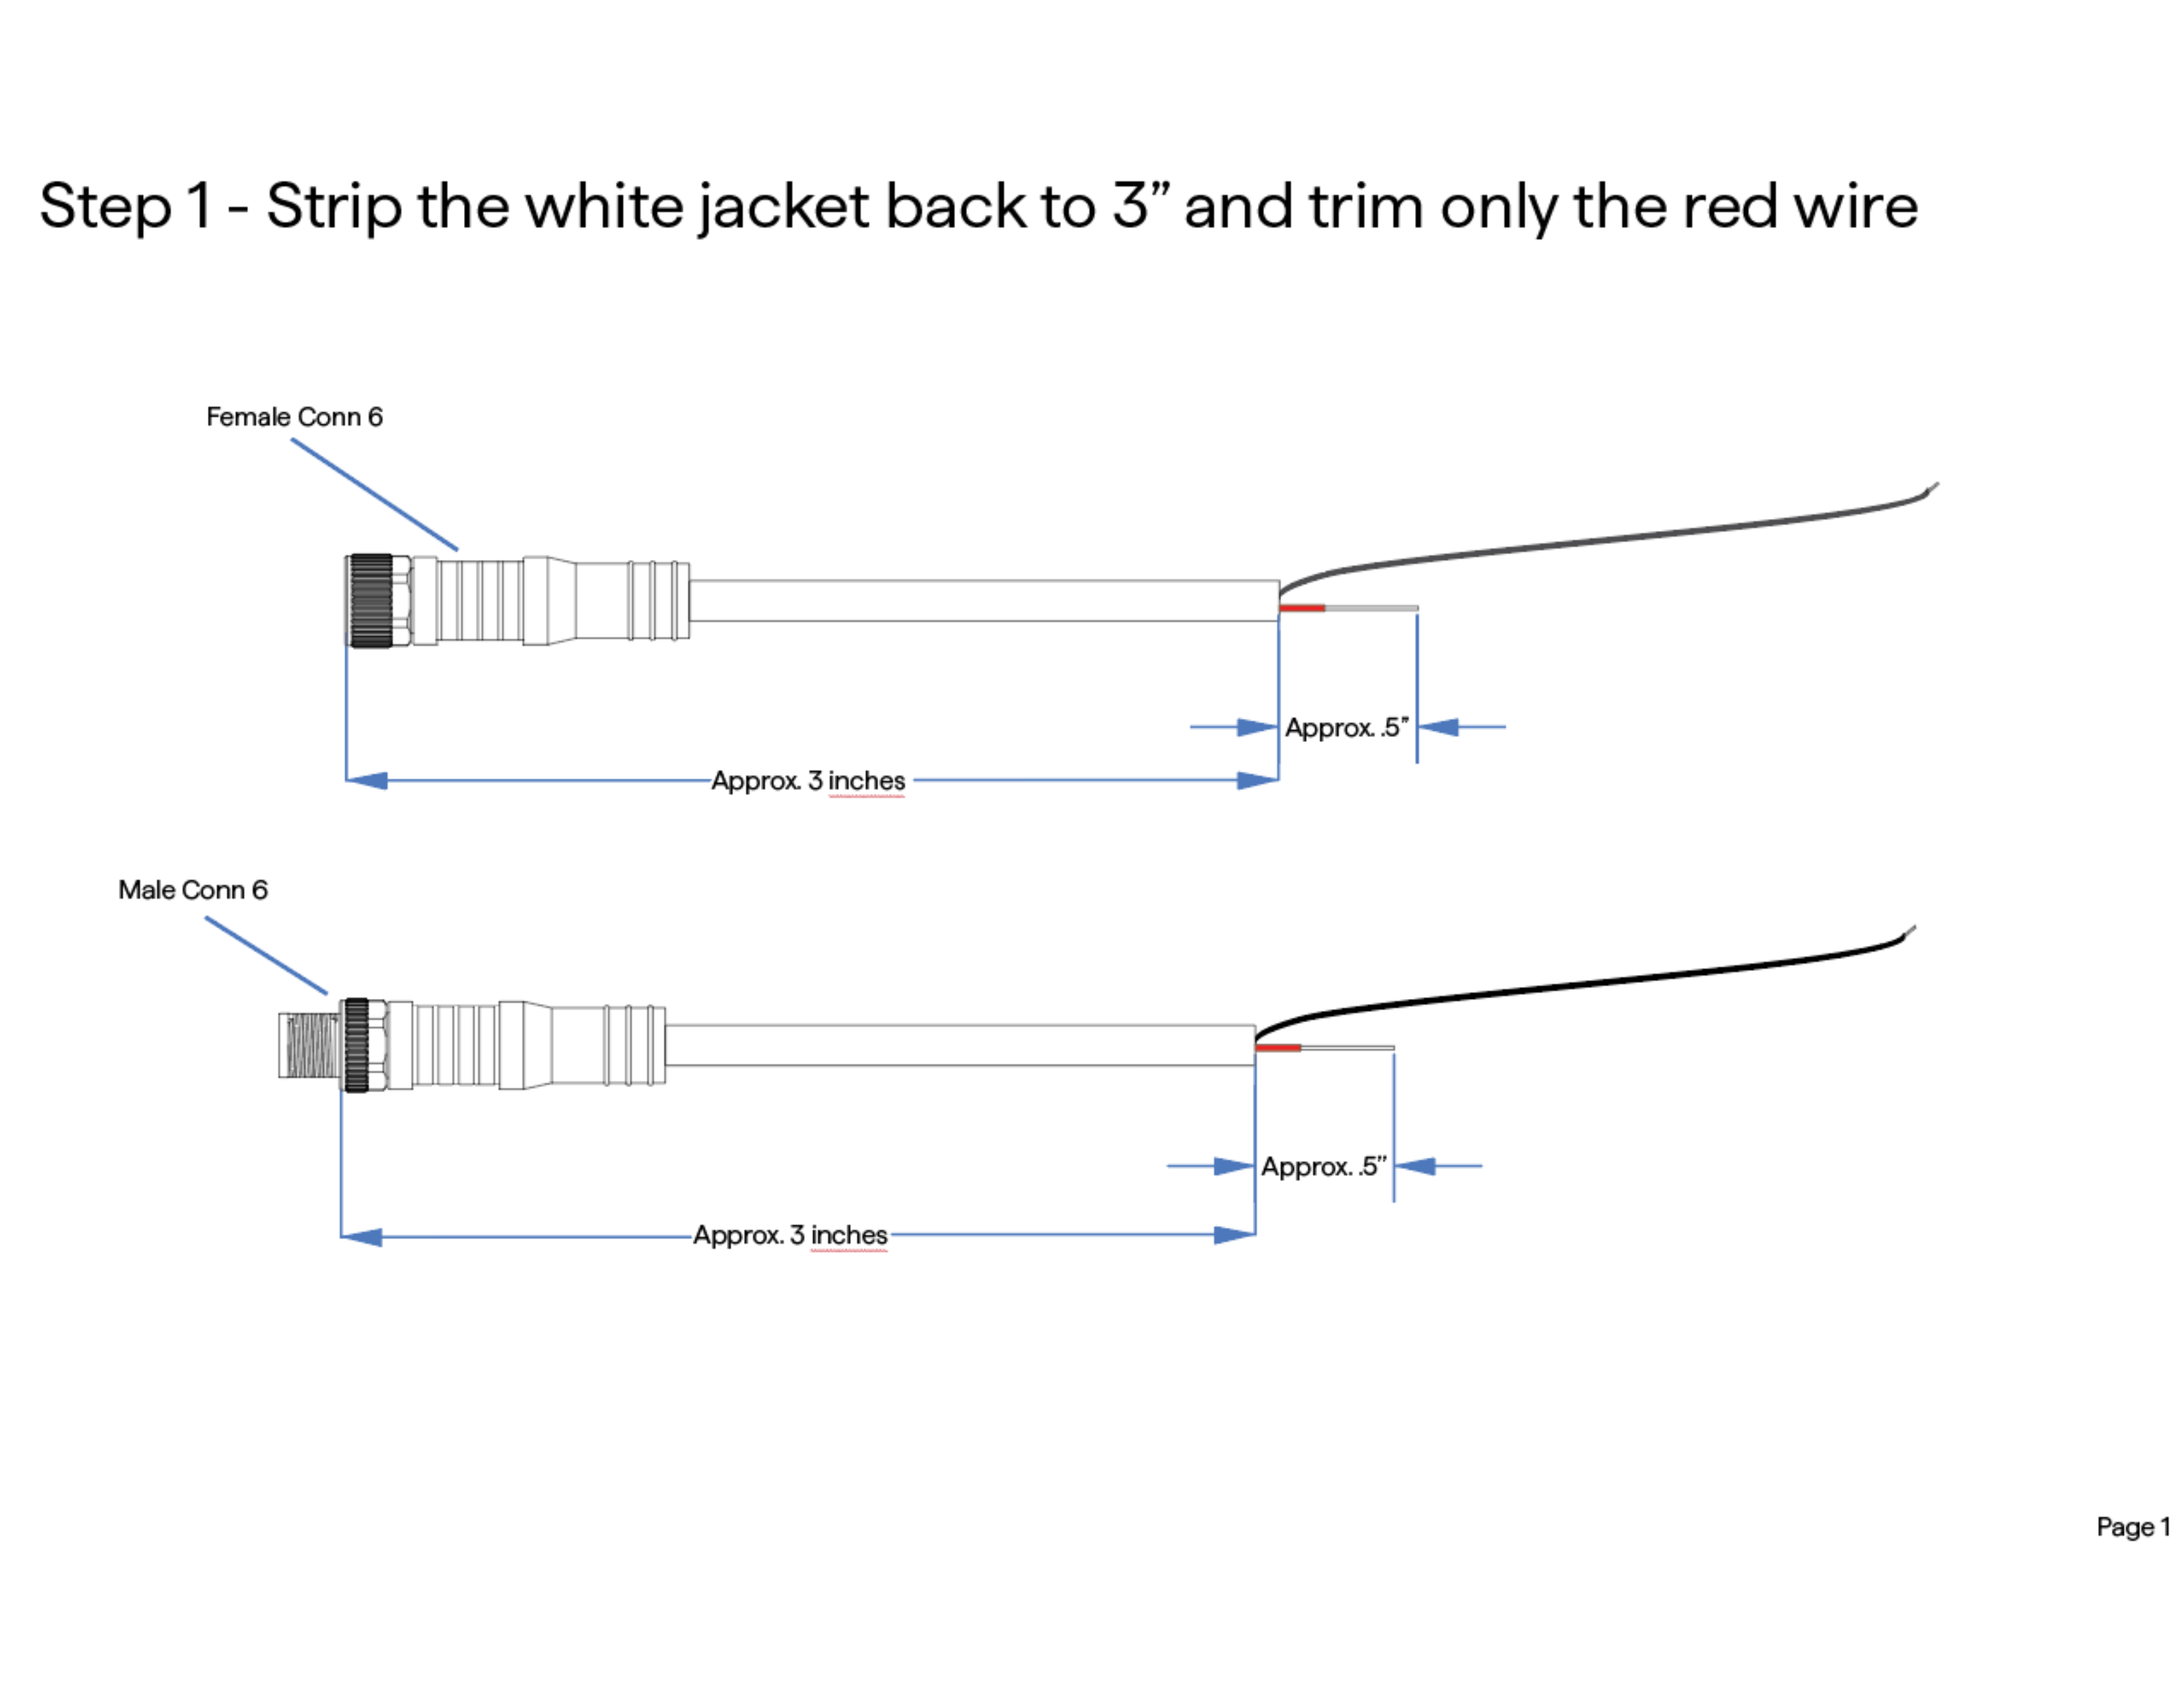
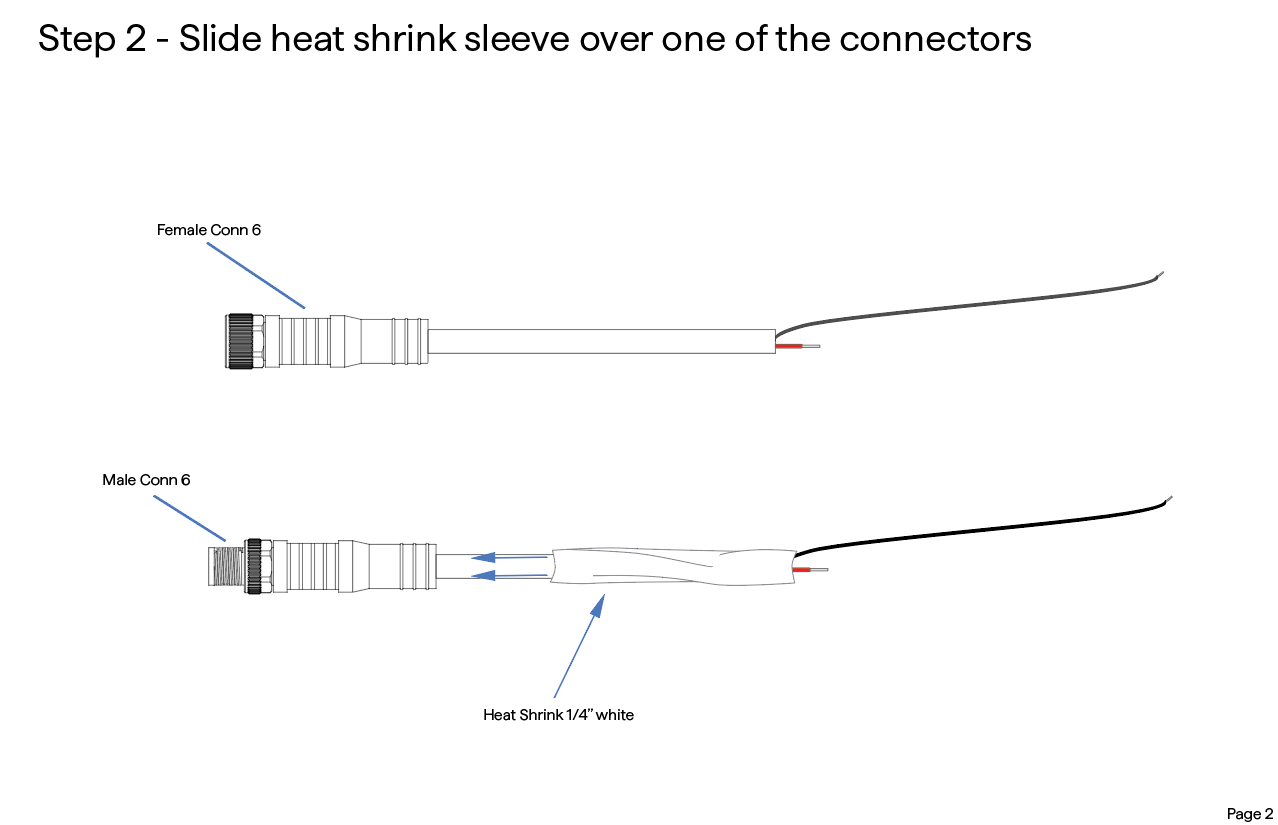
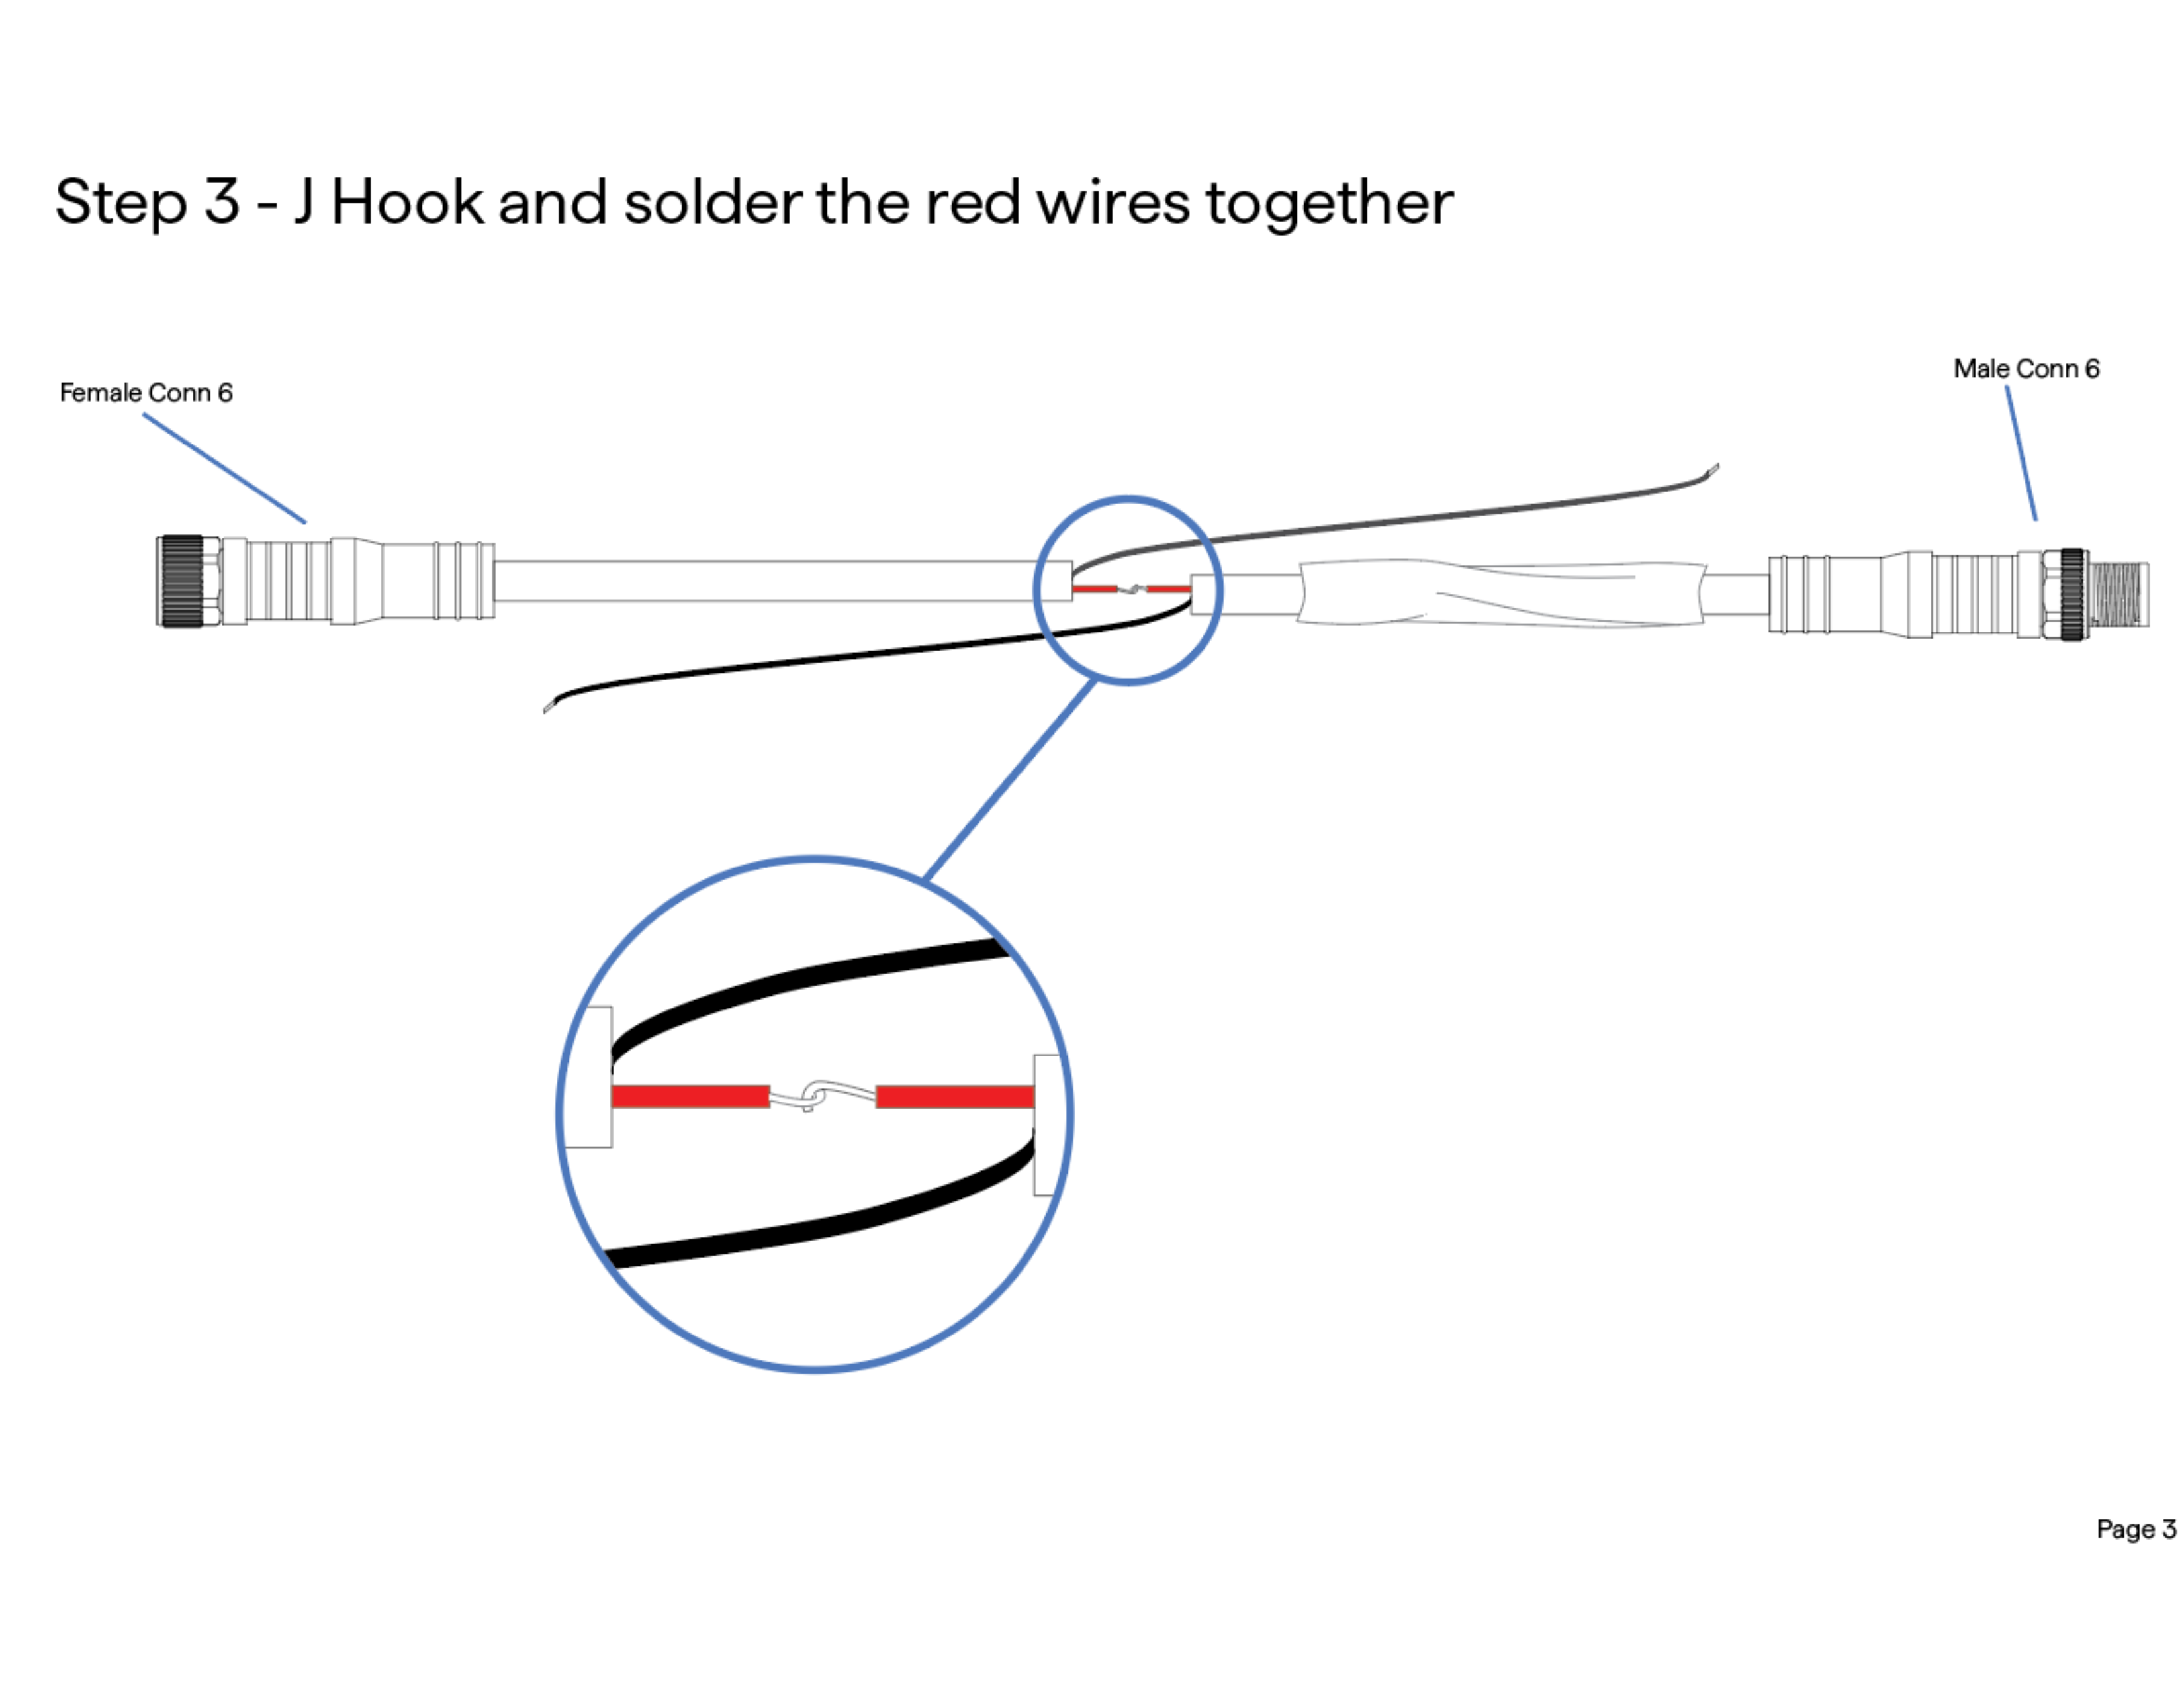
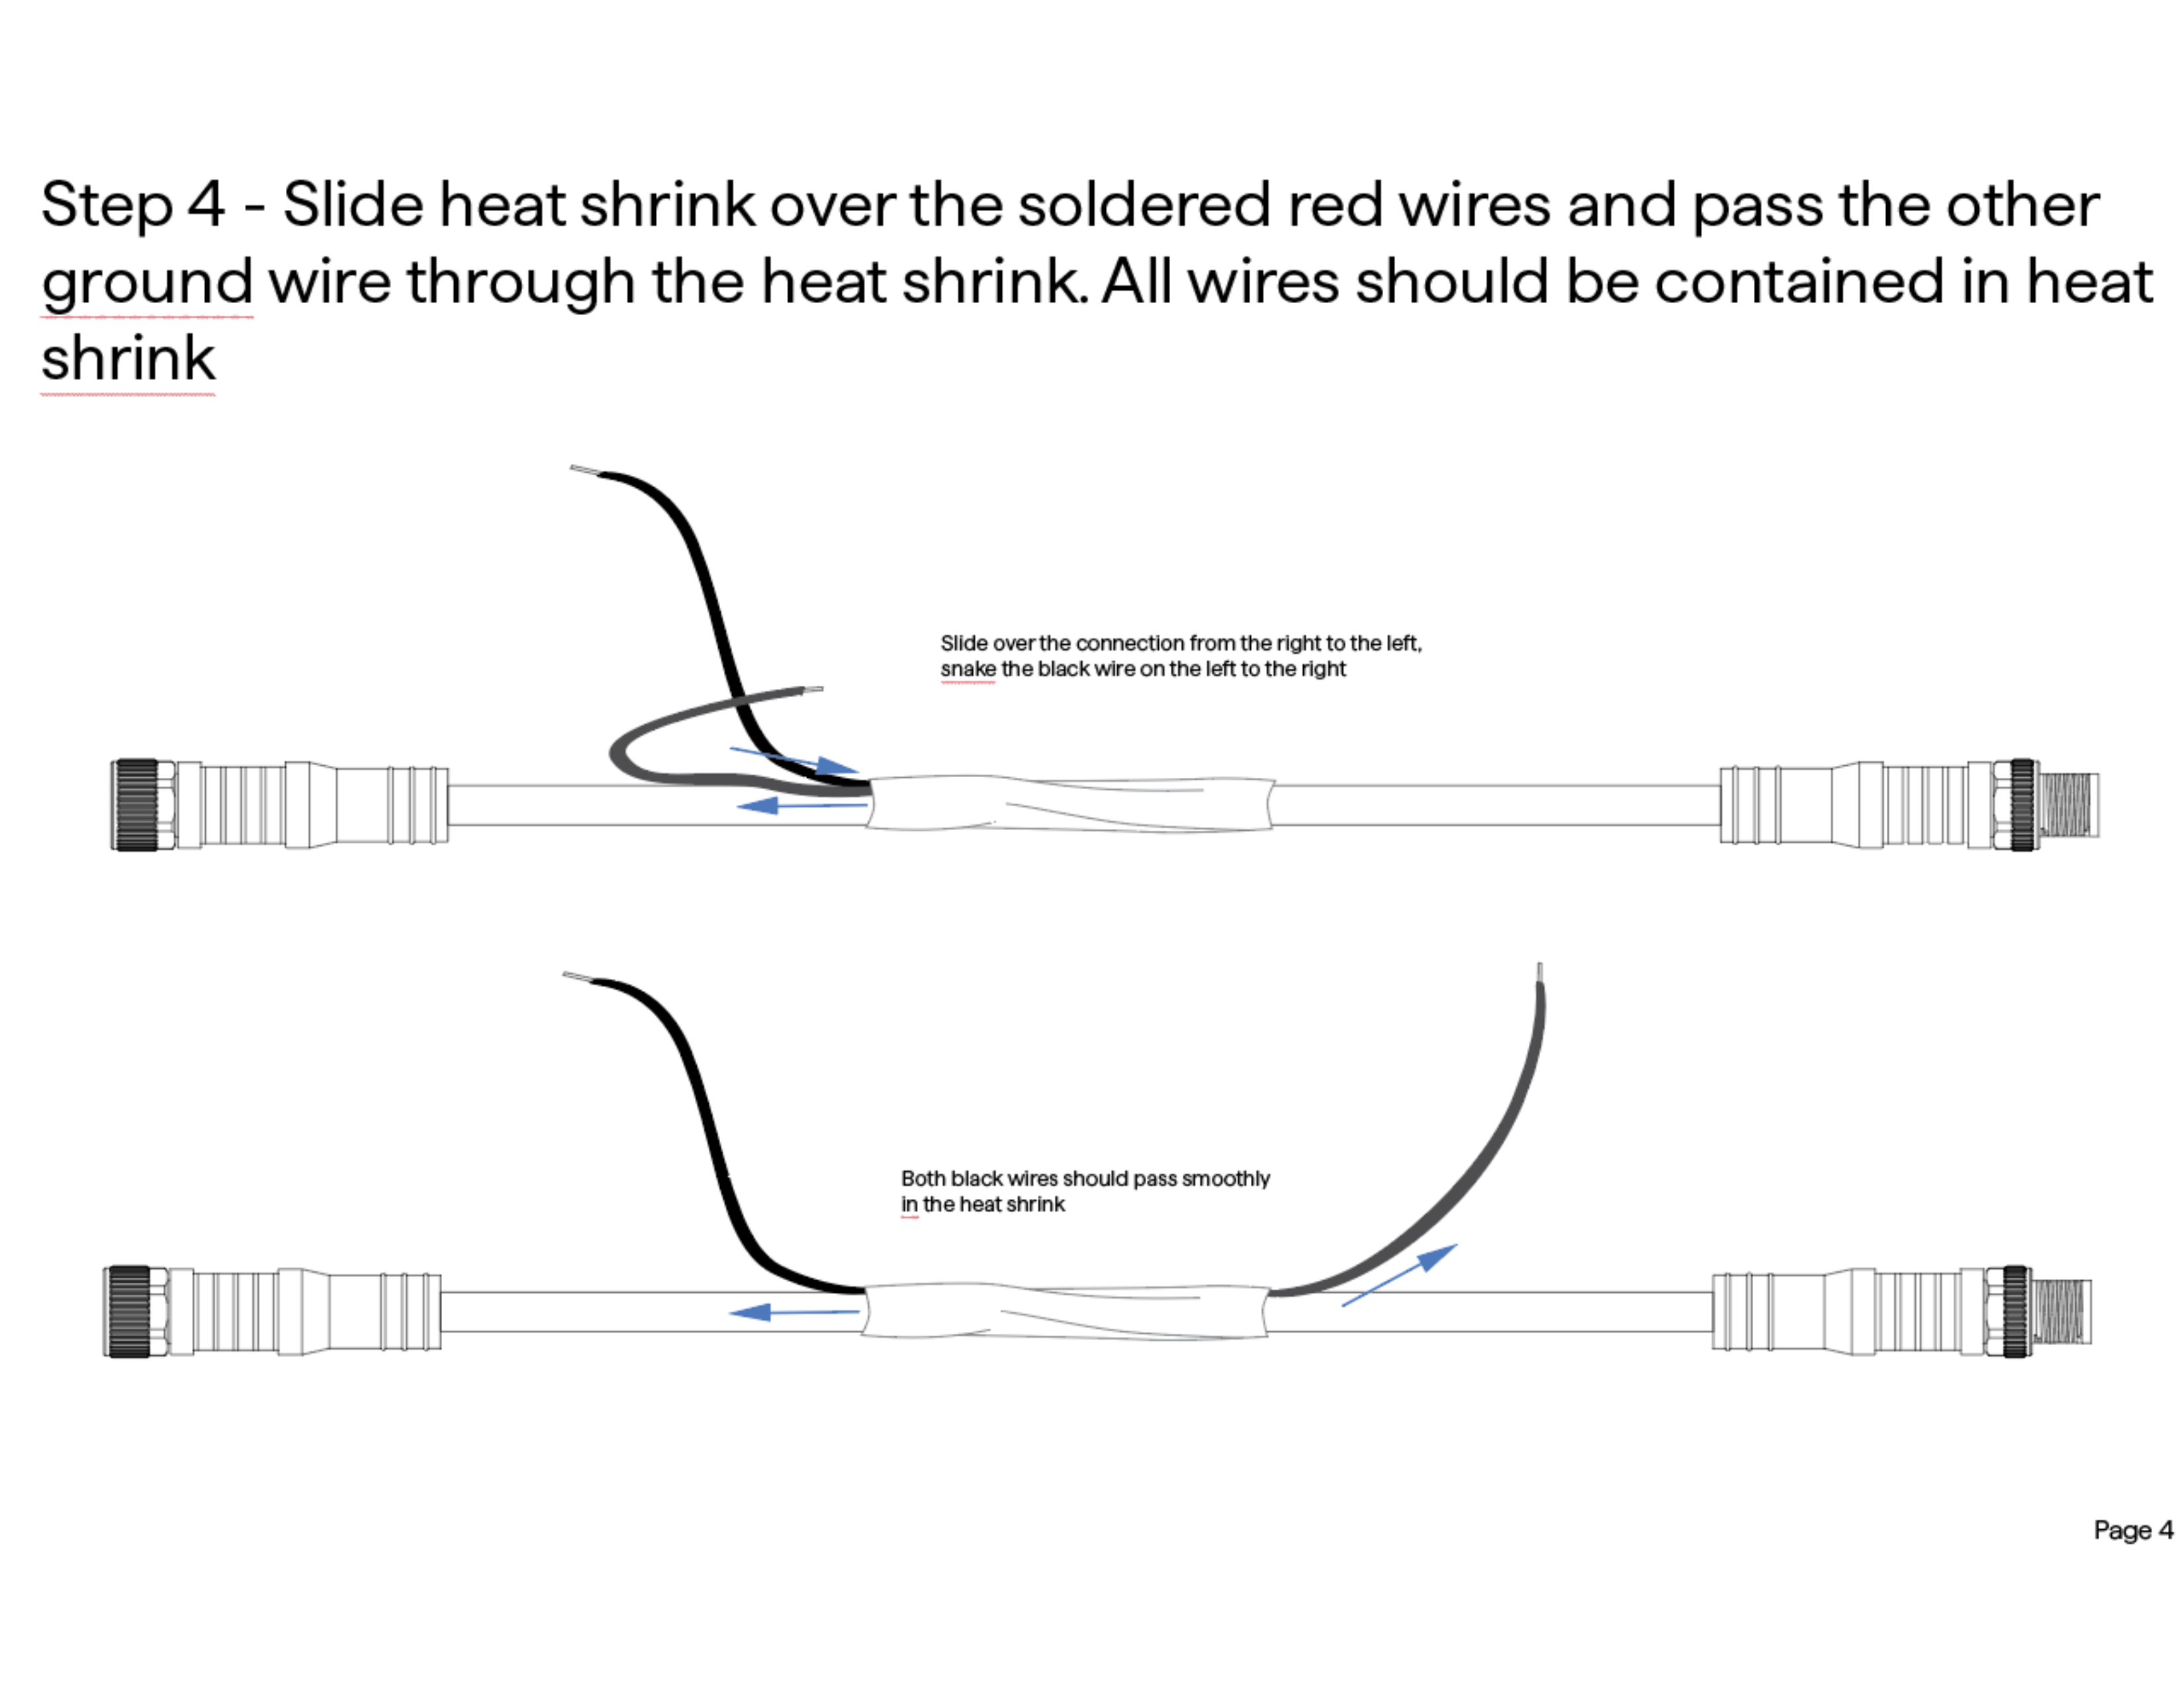
Cable Modification Instructions
These instructions document the process for modifying connector cables. These were given to our factory to be made in a small batch (under 50).
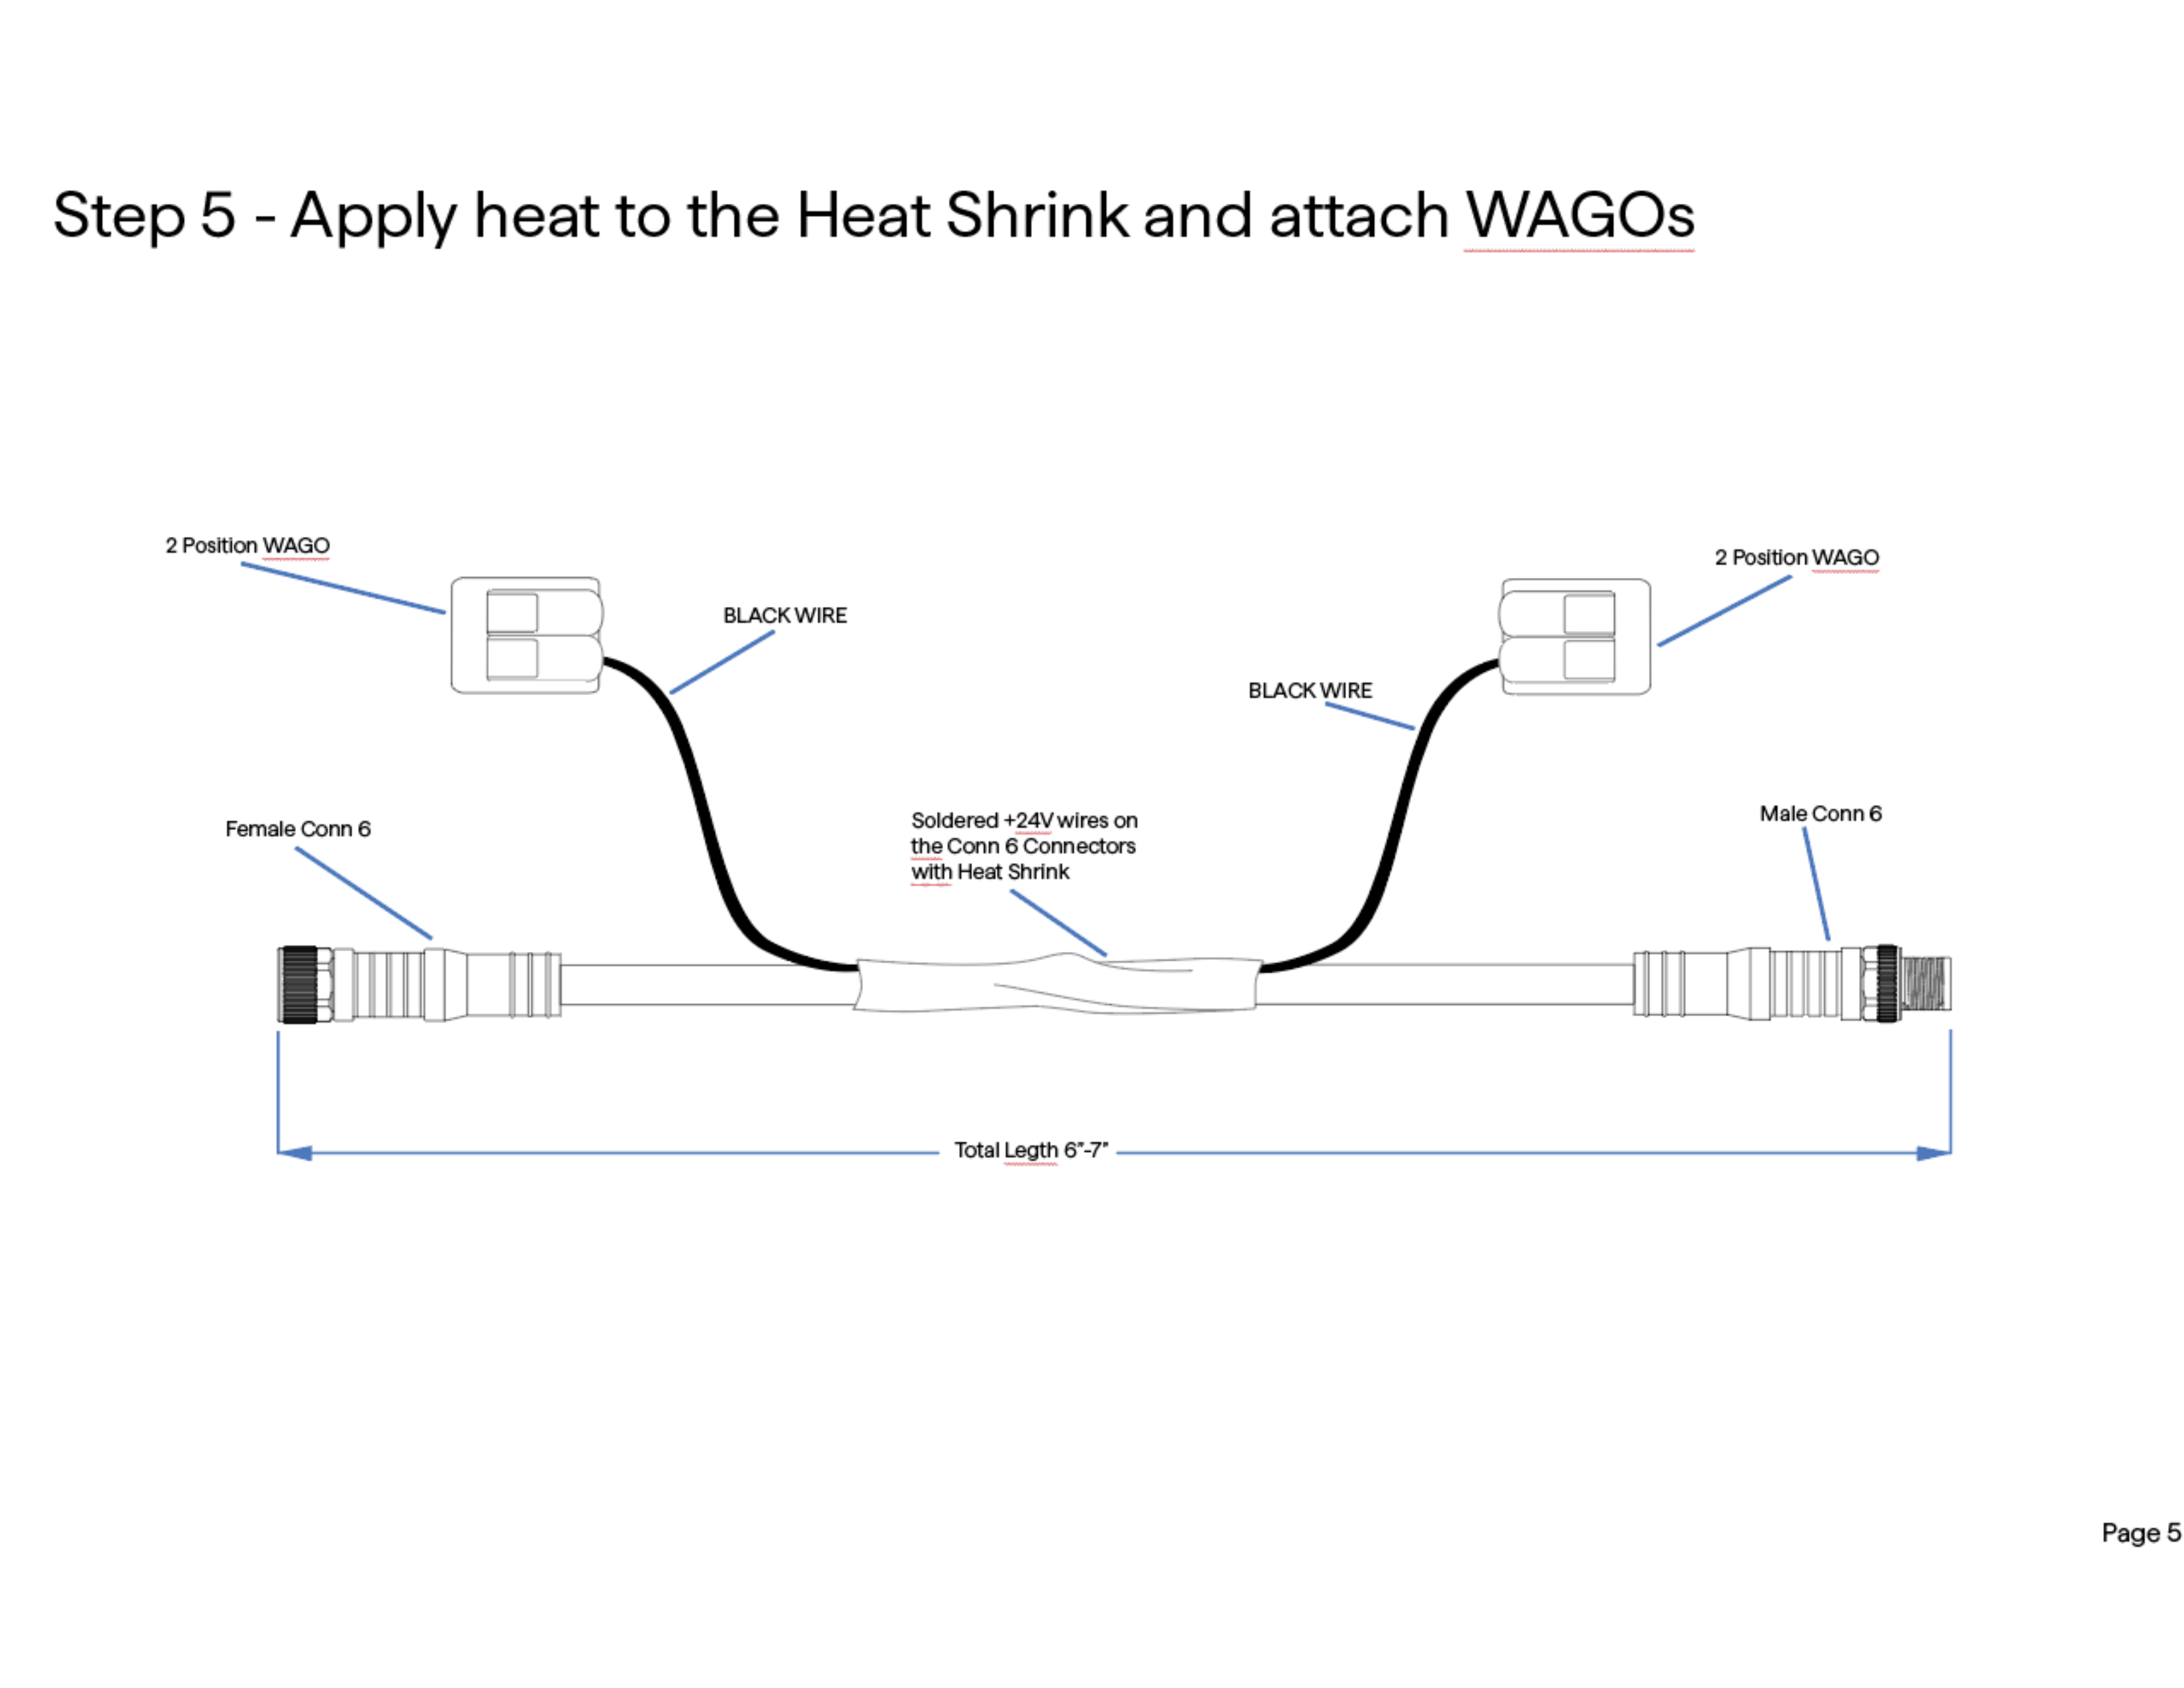
Custom LALO Fixture
This project was for taking a standard light fixture and installing custom sensors for a specific project.
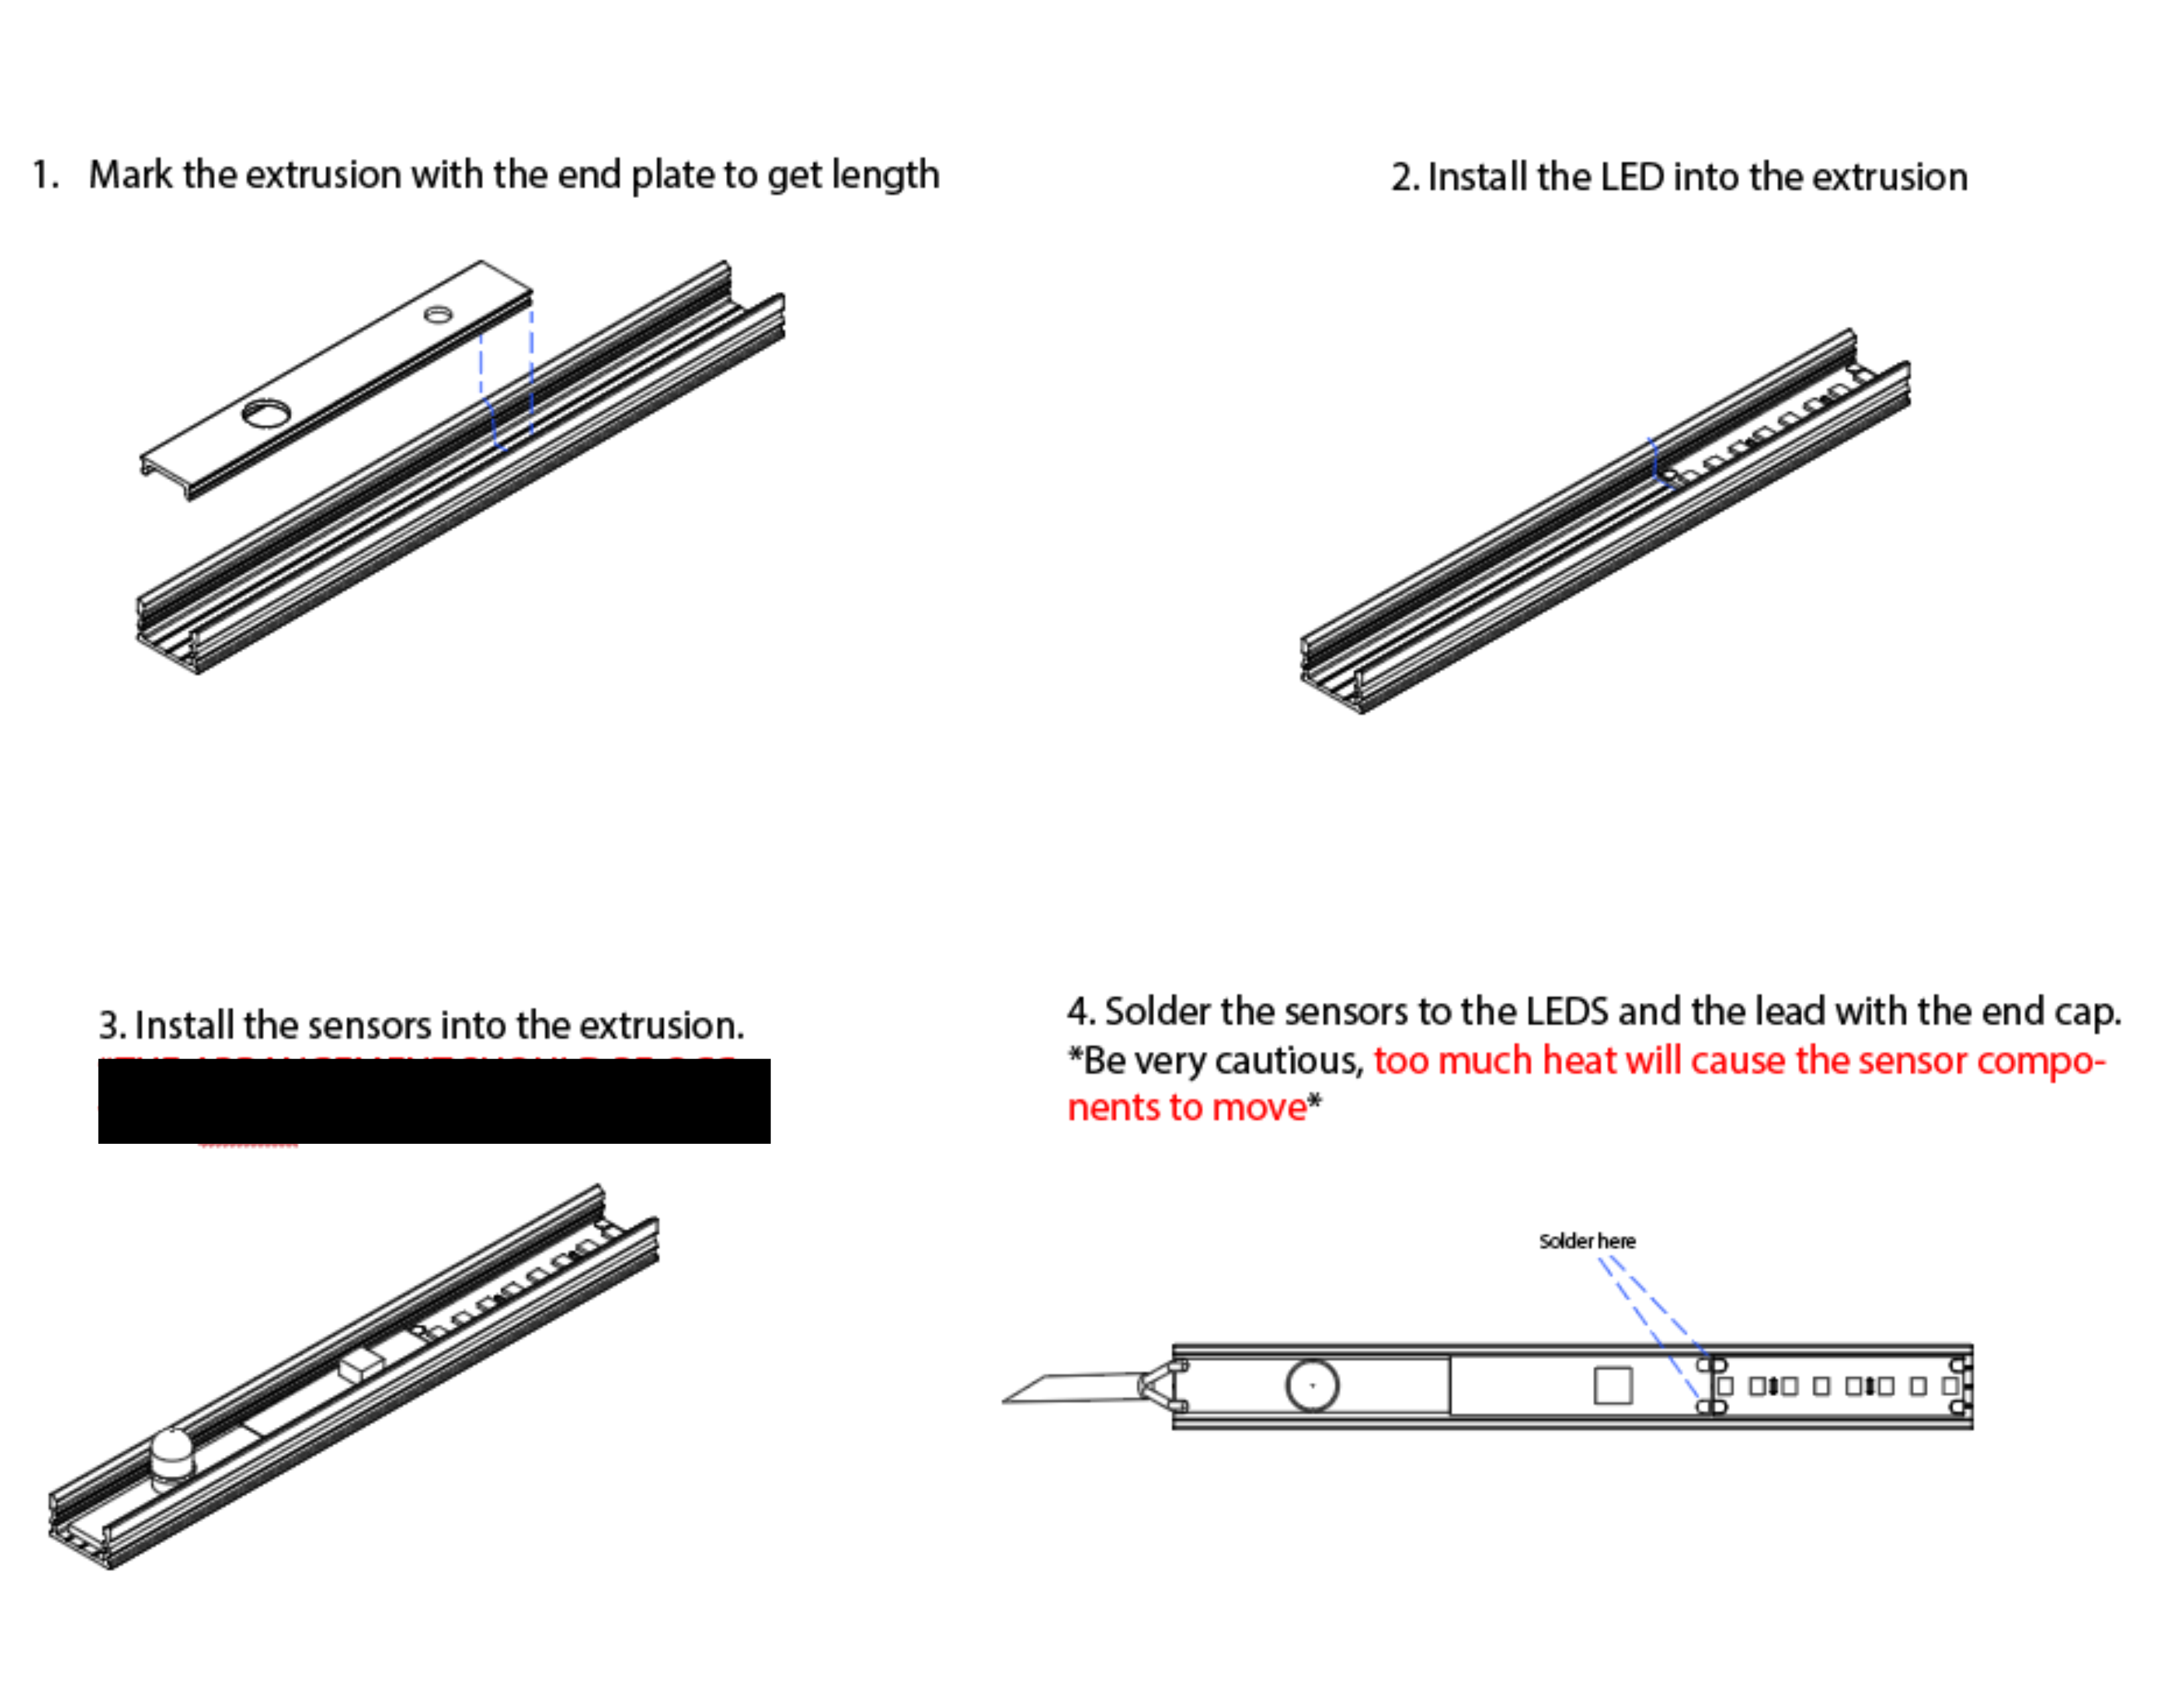
Page 1
Asana Workflow Systems
The Asana-related work is grouped together with the reporting and automation tools built around it. These systems organized project tasks, made workload visible, and translated assignments into clearer personal schedules.
Custom And Modified Projects (CAMP)
In Custom's we dealt with a large number of projects and requests that were all in various stages of development that needed to be tracked and all communication managed. We initially worked with an outside contractor to develop a Microsoft Powerapps solution for our project tracking platform but this was replaced later by multiple Asana dashboards which proved to be more flexible and efficient in fitting our needs. I was able to see the needs of all of the teams involved and able to get feedback on frustration points in order to create the new dashbaords in Asana. I created the automation rules that drove projects to move stage to stage including capturing an approval process and accounting for the different bumps in the road.
We had one dashboard that included the Sales team, Design team, Production team, and Procurement team and a seperate dashboard that was just for Design team internal communication. Each of these dashboards tracked the same projects but allowed for different channels of communication and task tracking which was very valuable. This meant communication stayed out of emails and in contained comment sections per project but also gave easy visibility on which team was currently responsible for the project.
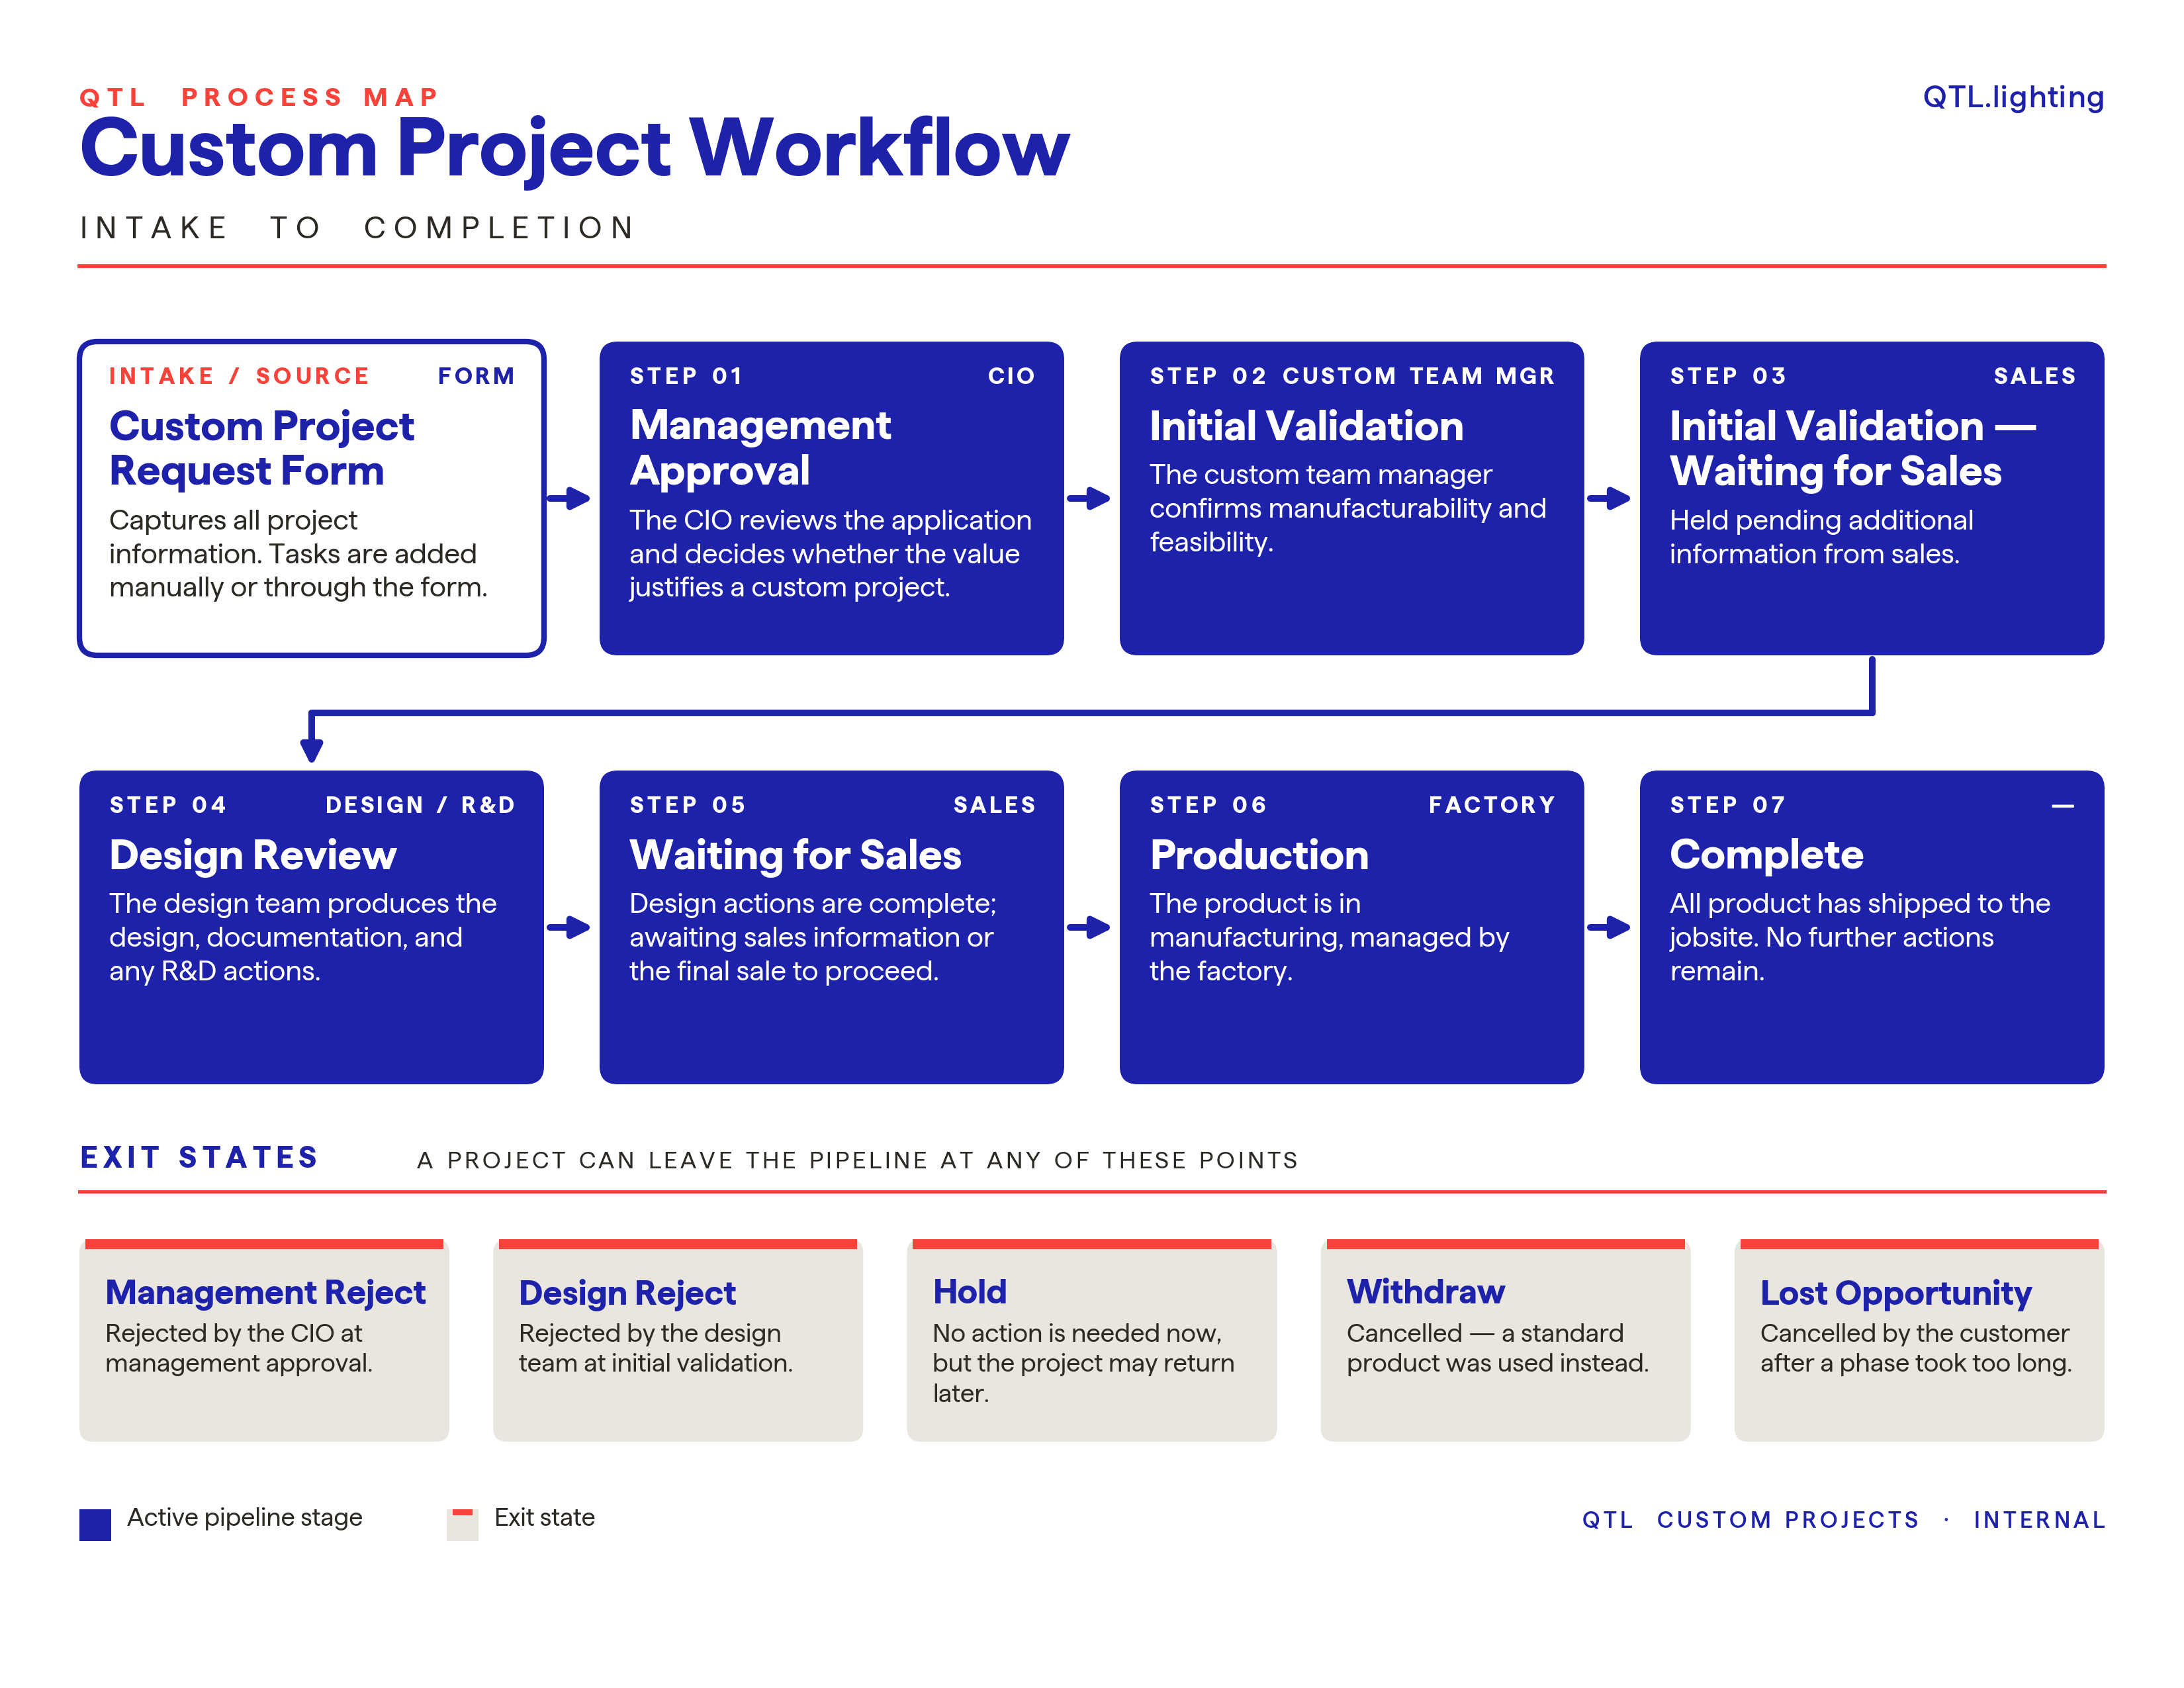
Graphic to show the different stages of the custom process. I created and automated the rules which drove projects through each phase in the backend. Graphic made in Claude by feeding it the existing process flow with descriptions for each stage.
Below is a screenshot from the external facing dashboard that tracks all of the details incoming from our sales team. This is where approval is given, progress is tracked, and SOs or the value of an opportunity can be found. Under each Asana 'task' we track a project from start to finish, keeping all of the files and communication in one place.
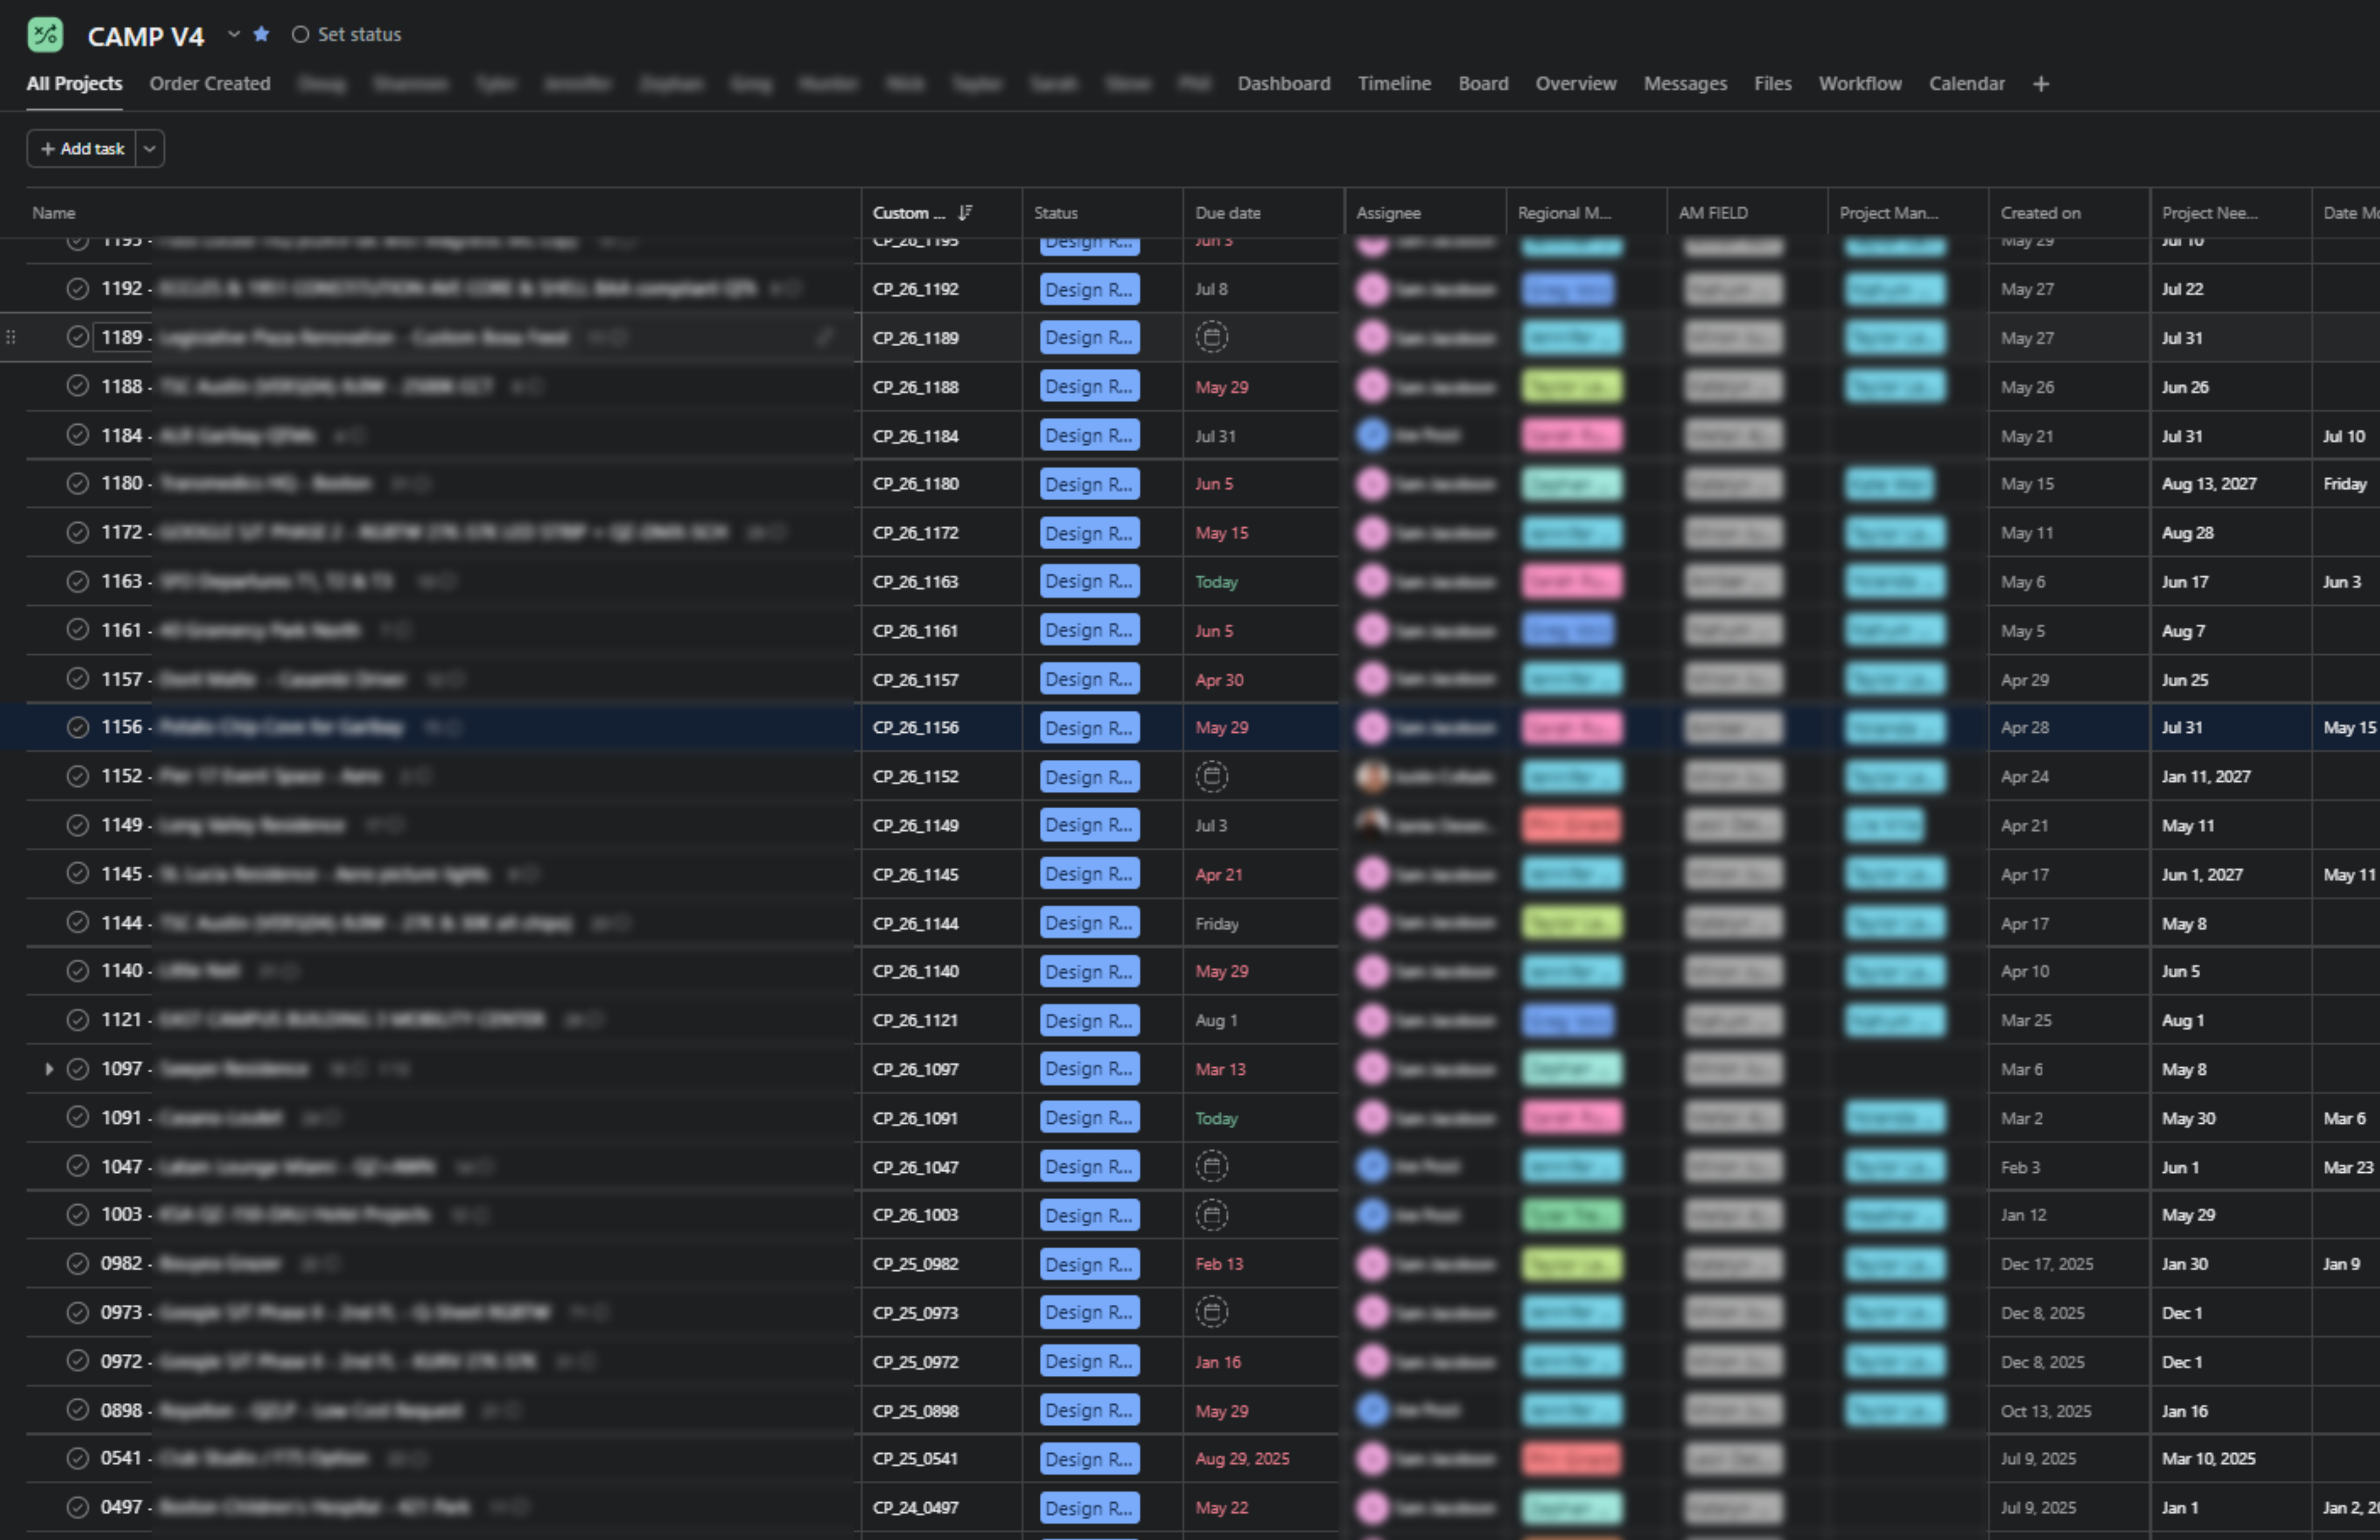
Screenshot from the external facing dashboard.
Implementing this dashboard took multiple months of building, revisions, getting feedback across multiple teams, and refining during use until the final dashboard was ready. After it was completed I created the presentations covering how to use the dashboard along with best practices in order to onboard everyone to the new system. I also created a presentation for the backend so other memebers of the design team could adjust the rules if needed at a later date. When it was time to switch systems, I onboarded all teams involed in the Custom project process to the new Asana system and answered all questions. This also made me an Asana automation resource for others in the company that were looking to create dashboards and implementing Asana rules.
Productivity Dashboard
Dashboard that tracks the amount of tasks completed in the internal CAMP dashboard. This tracks upcoming, completed, and in-progress tasks. This was created when our management was looking for a more clear way to track lift from the design team across each progress. We had to only track subtasks and main tasks because our team uses tasks for projects.
This served a double purpose for tracking how much time and resources R&D are spending on Sale's requests as well as tracking the desing team output.
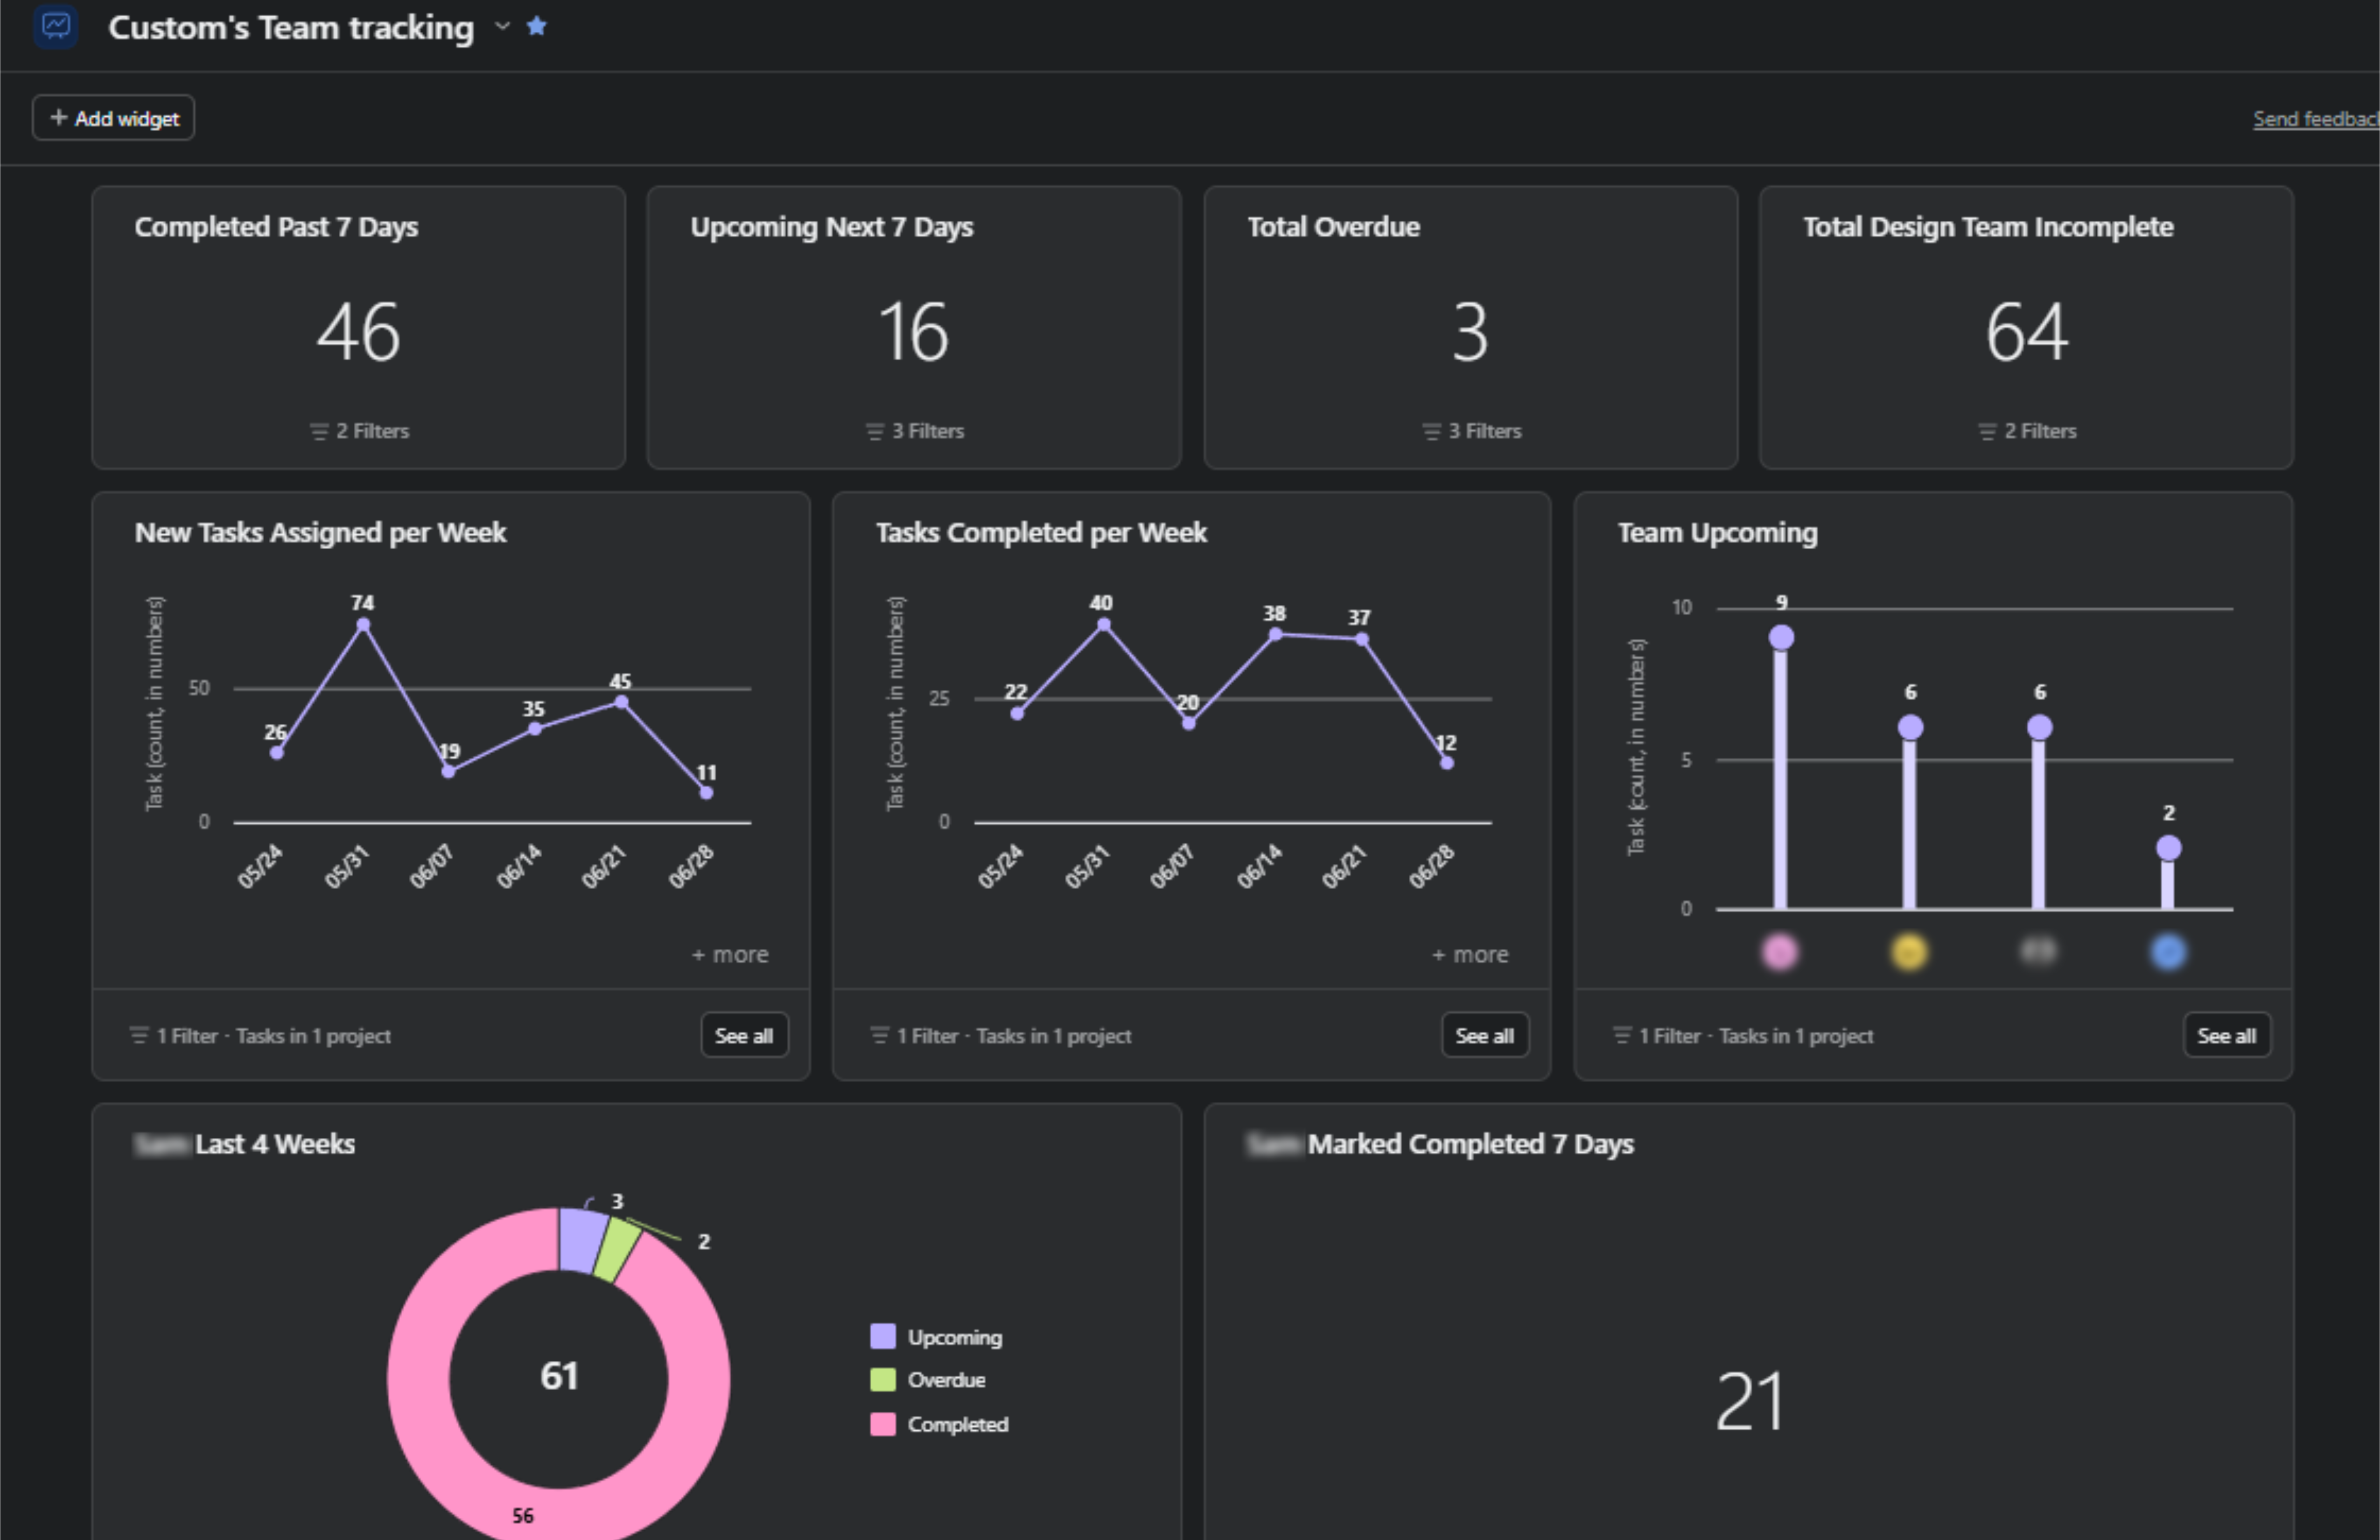
Productivity dashboard covering the team and individuals on the team
Tools and Equipment
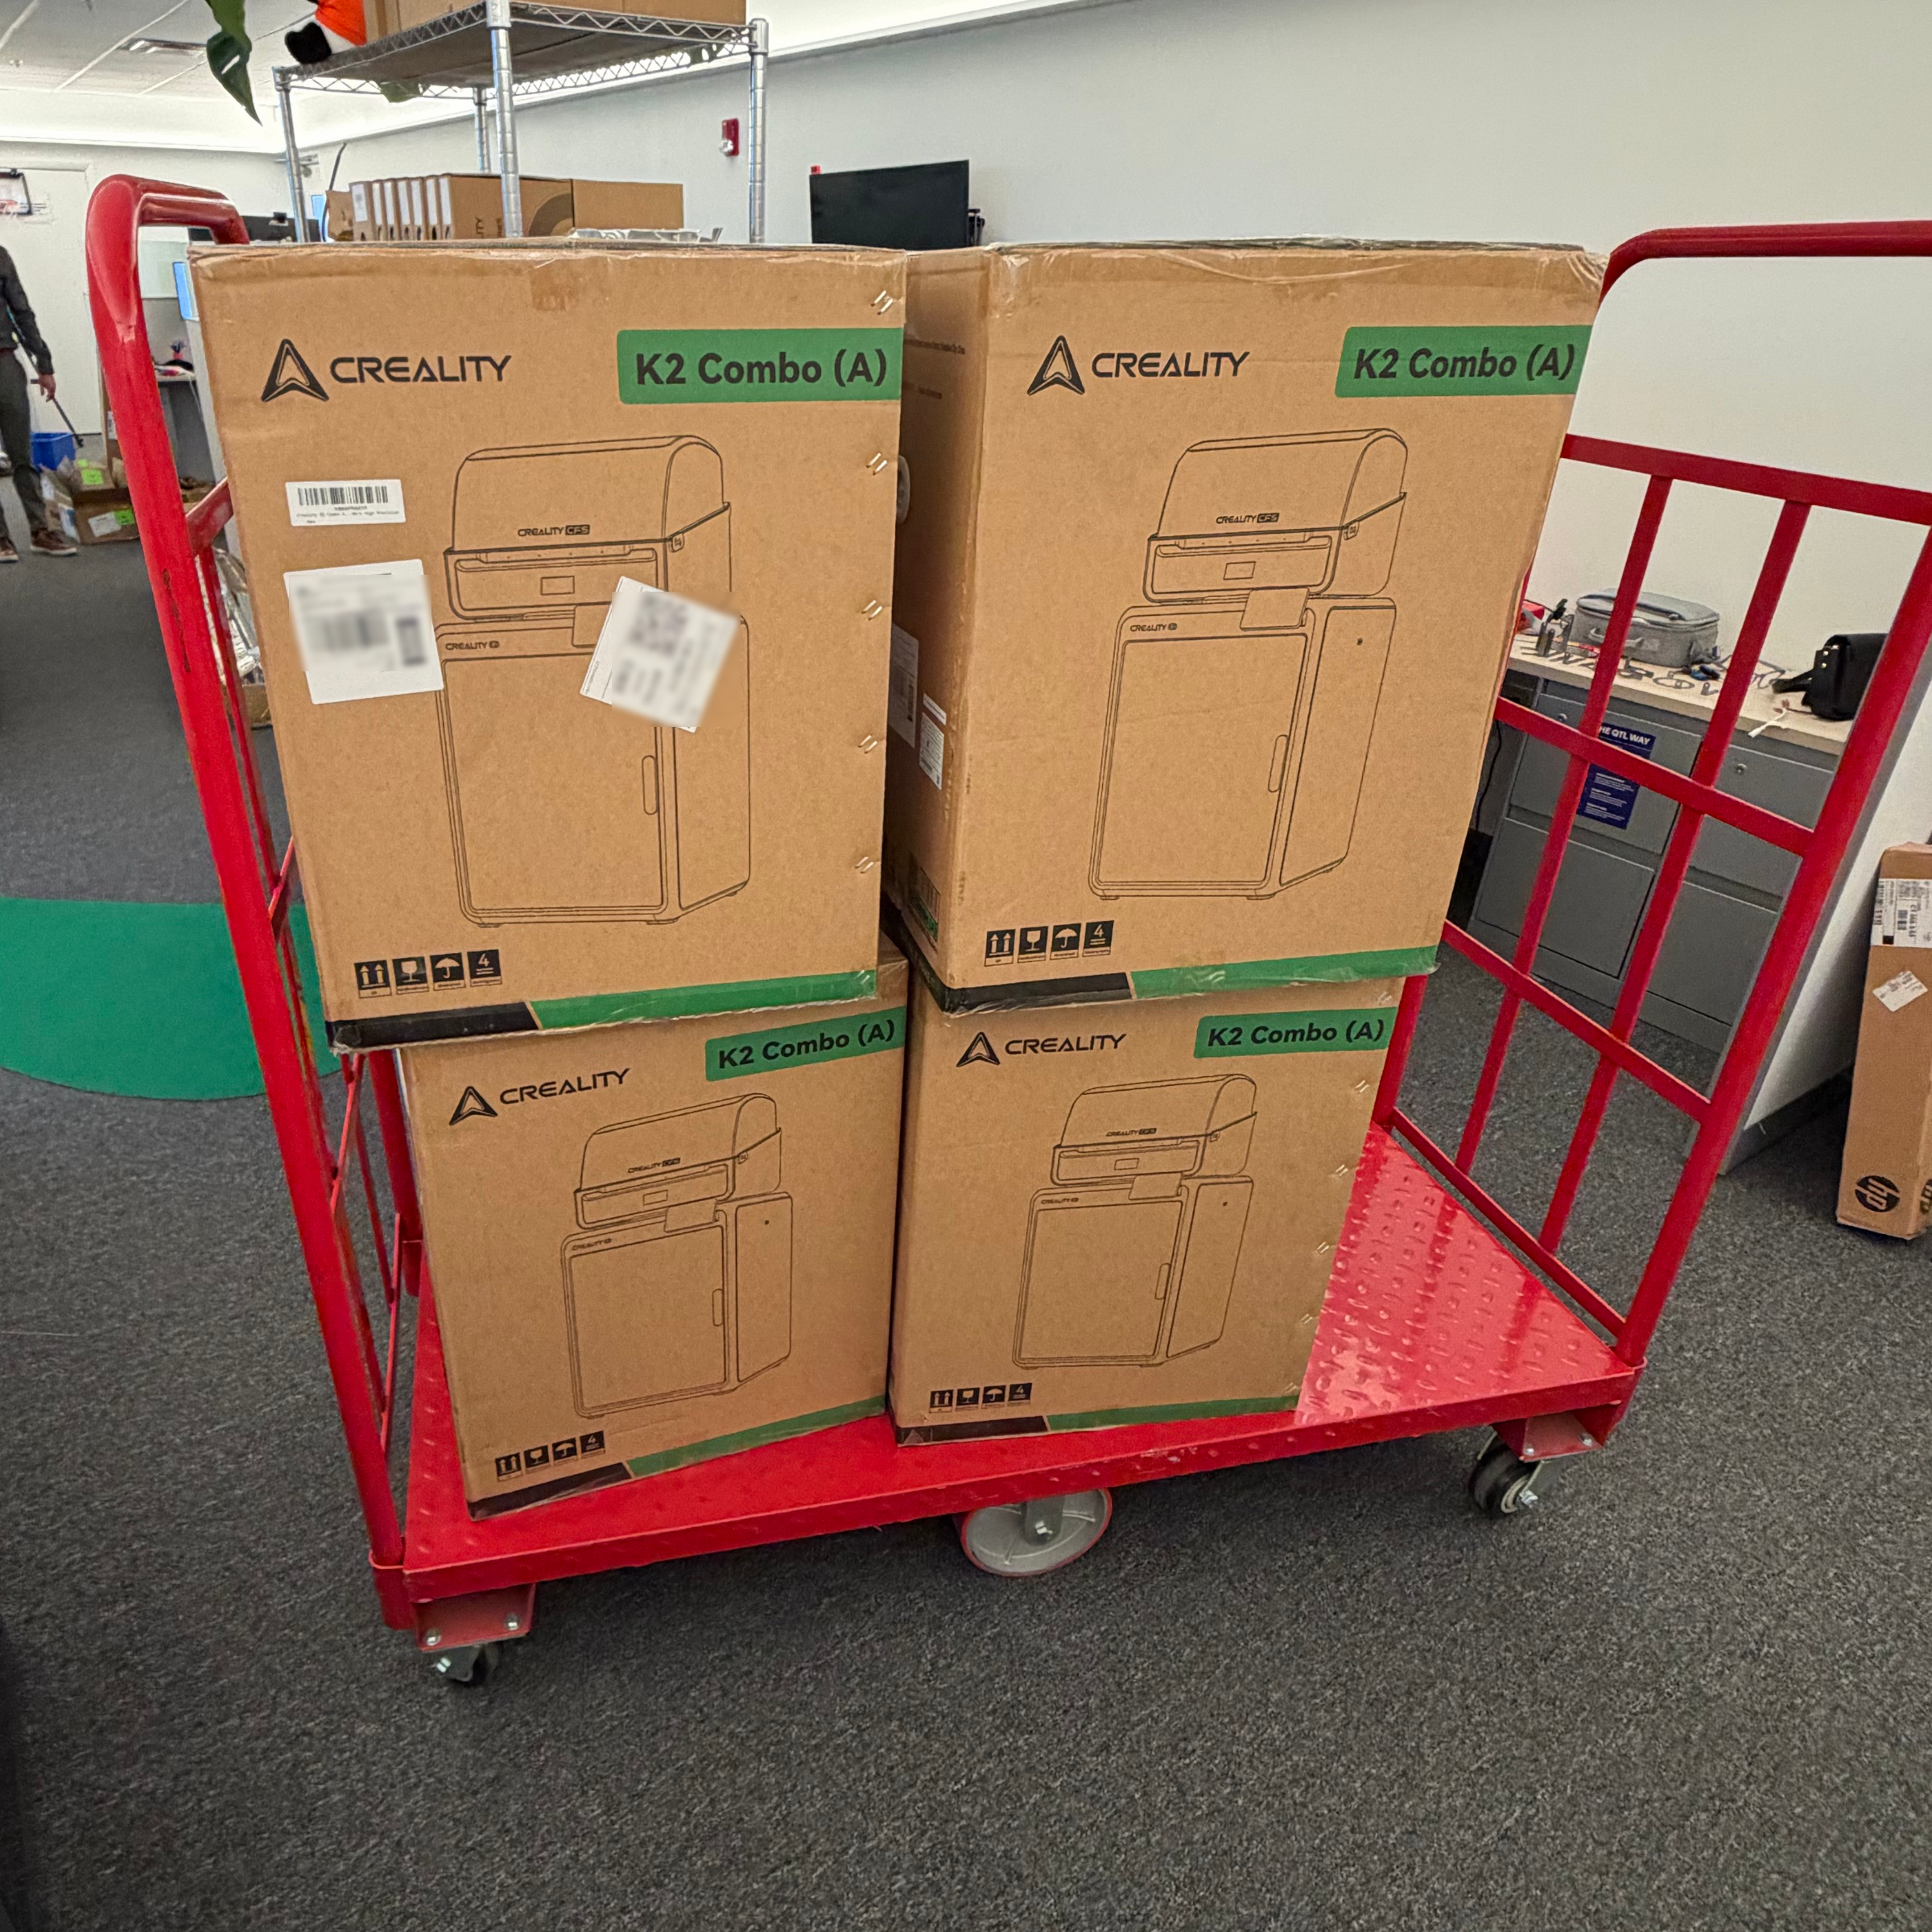
A role I personally filled was upkeeping the 3D printers, setting up new equipment, and researching new ones to purchase.
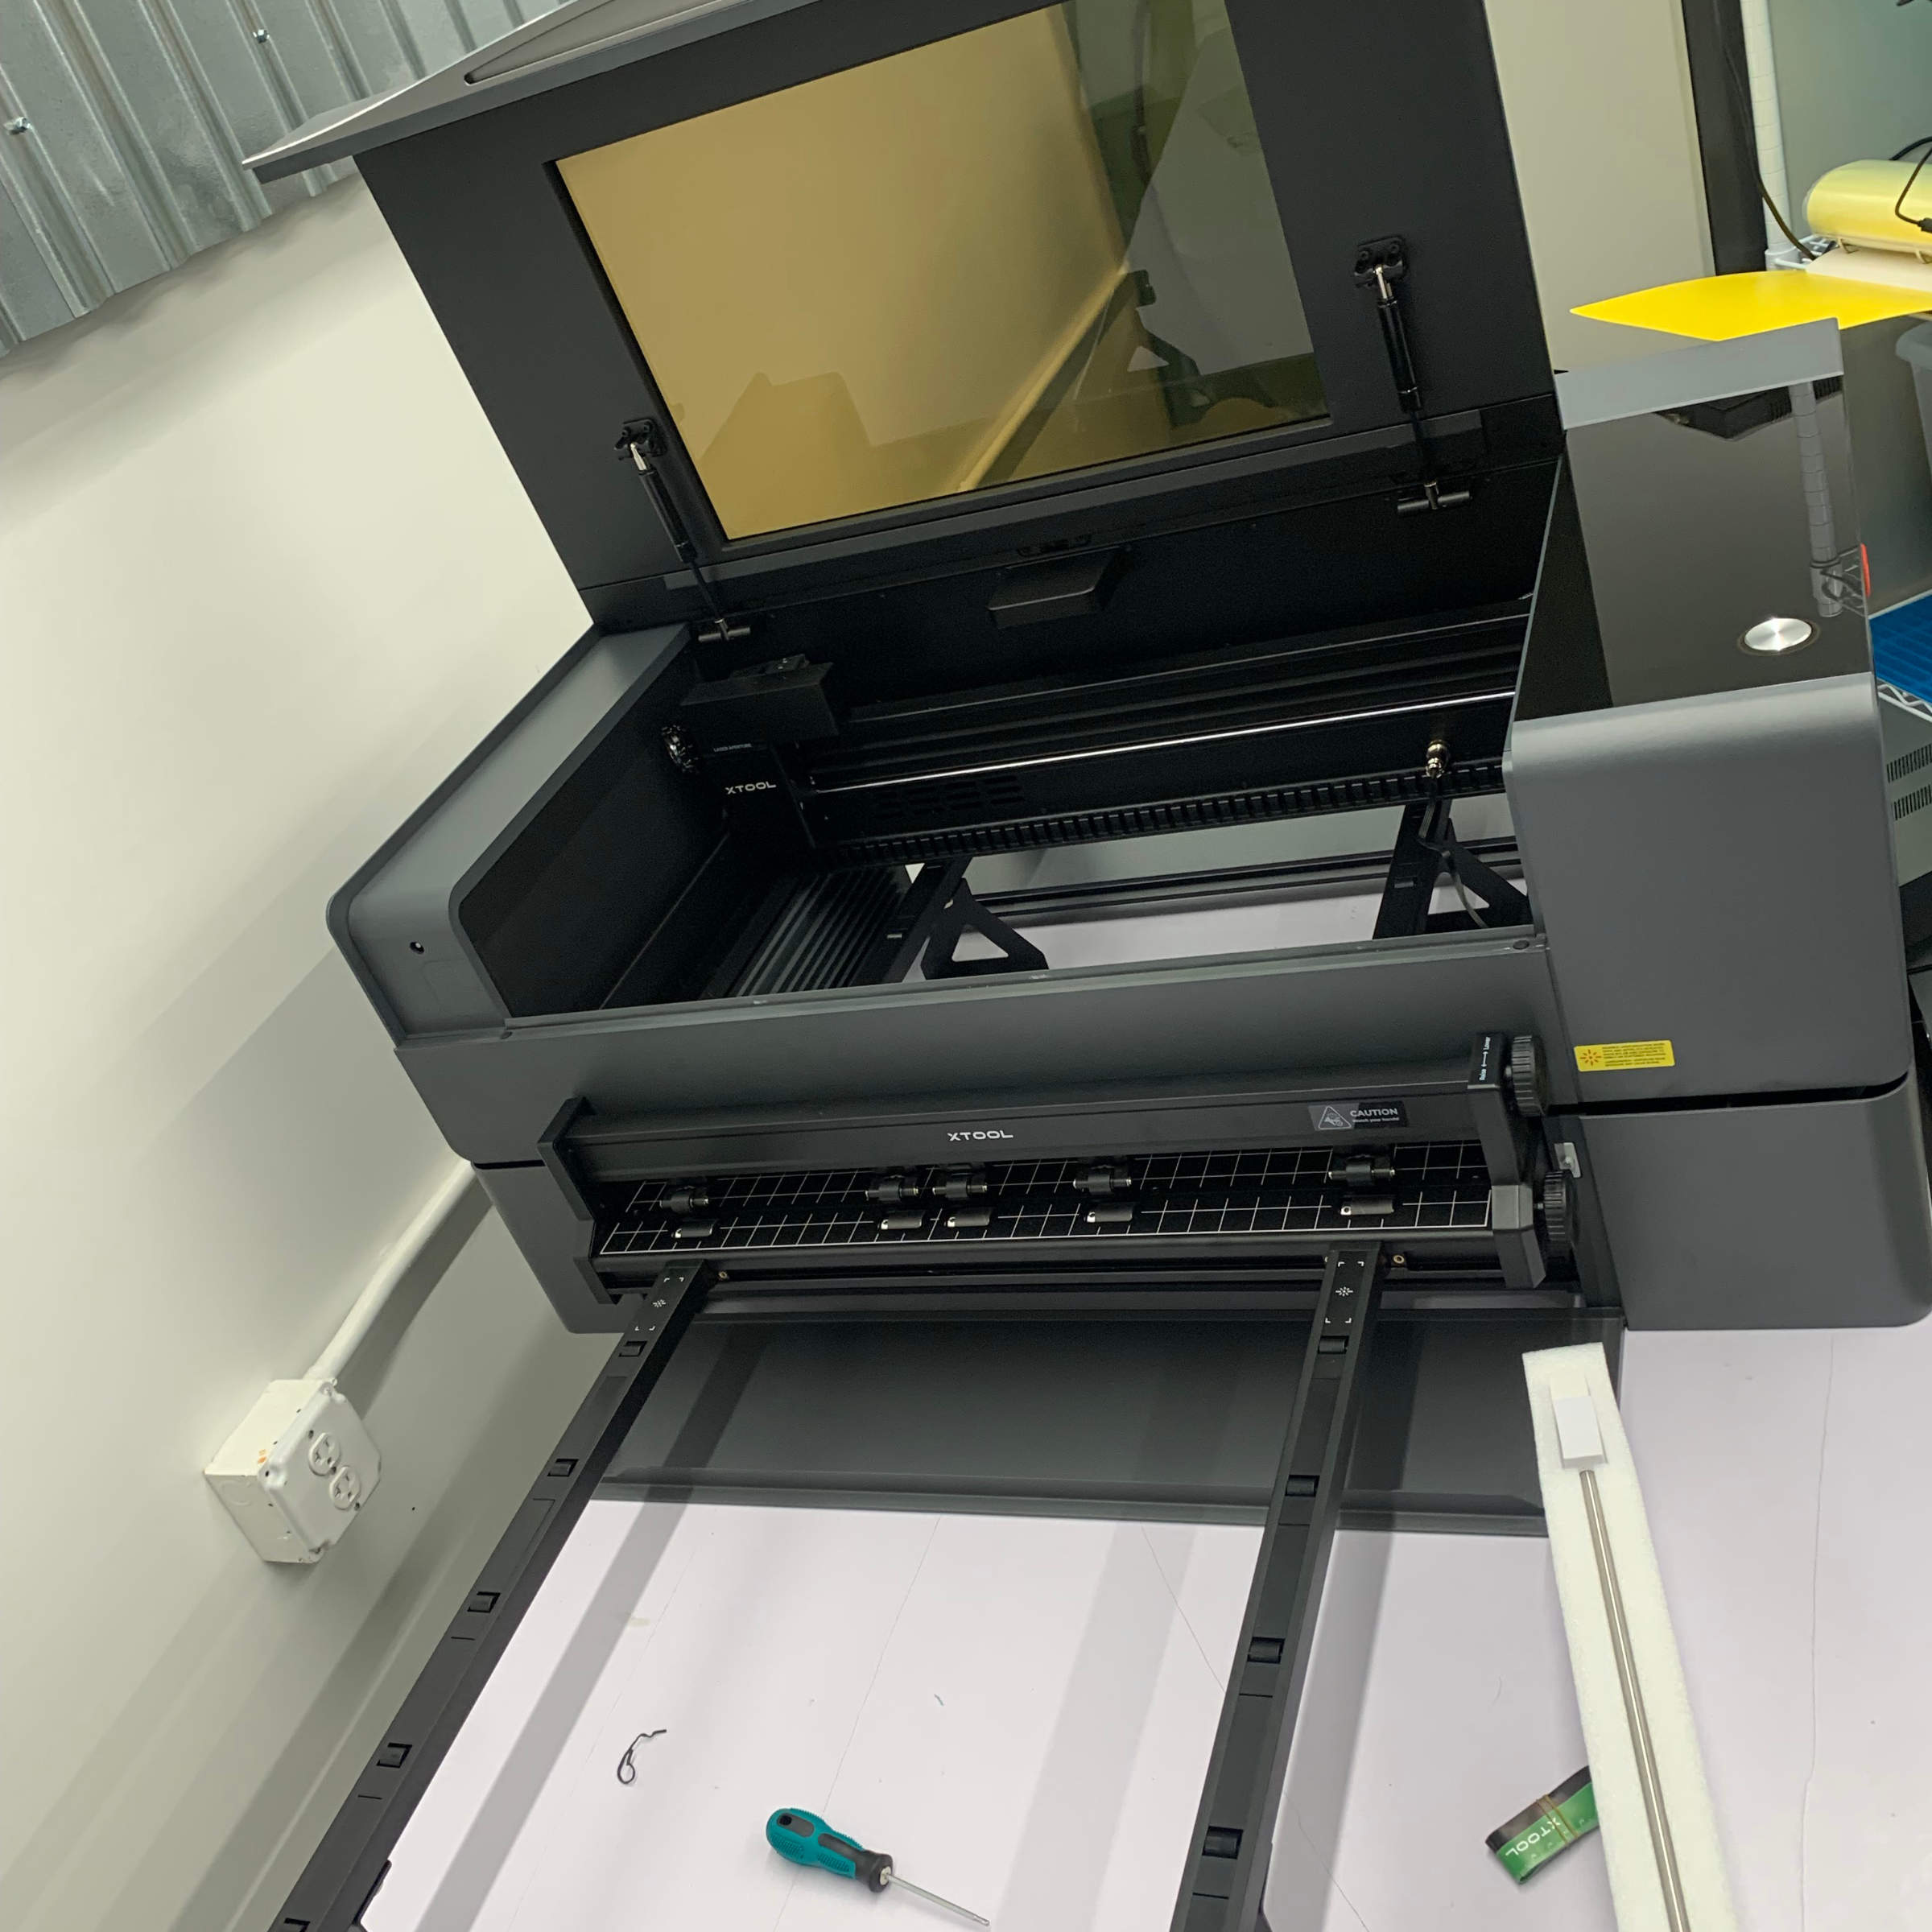
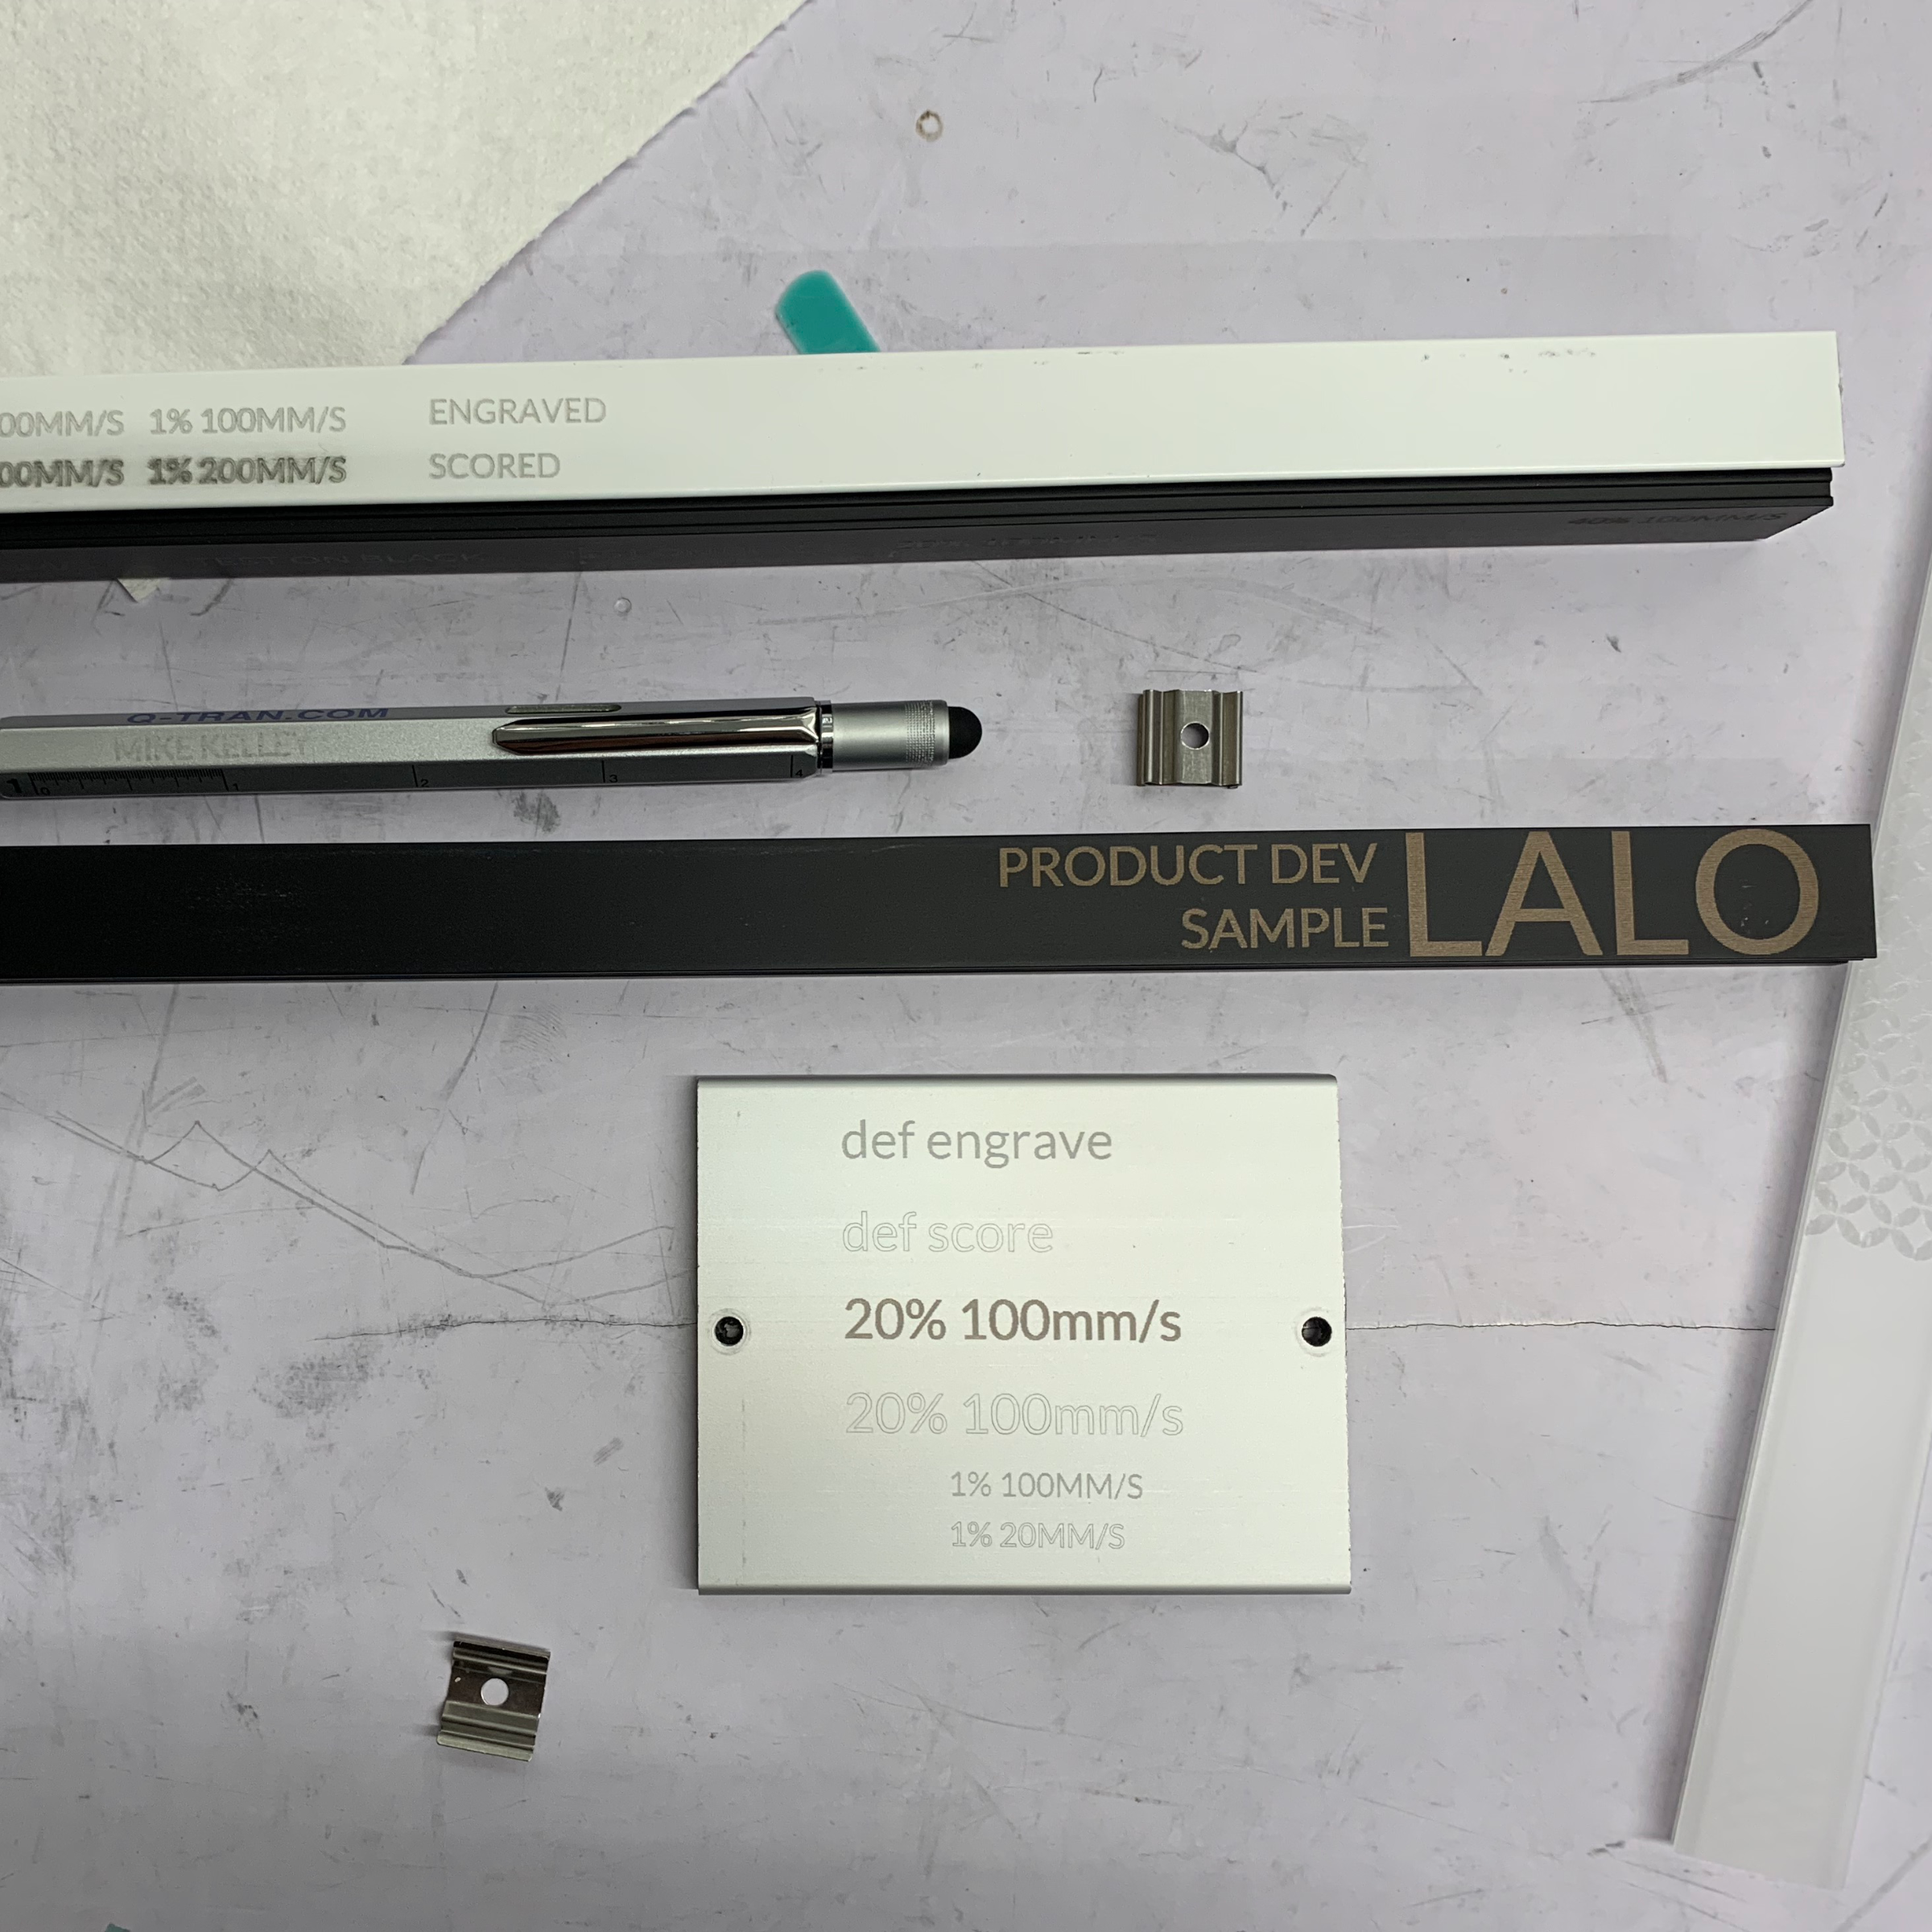
Laser Cutter
3D printed holder for an X-Acto blade. This was made to assist production in trimming paper white optics for an urgent job. They were FDM 3D printed and had the shape of the extrusion to perfectly hold the blade at the right place and depth.
3D Printers
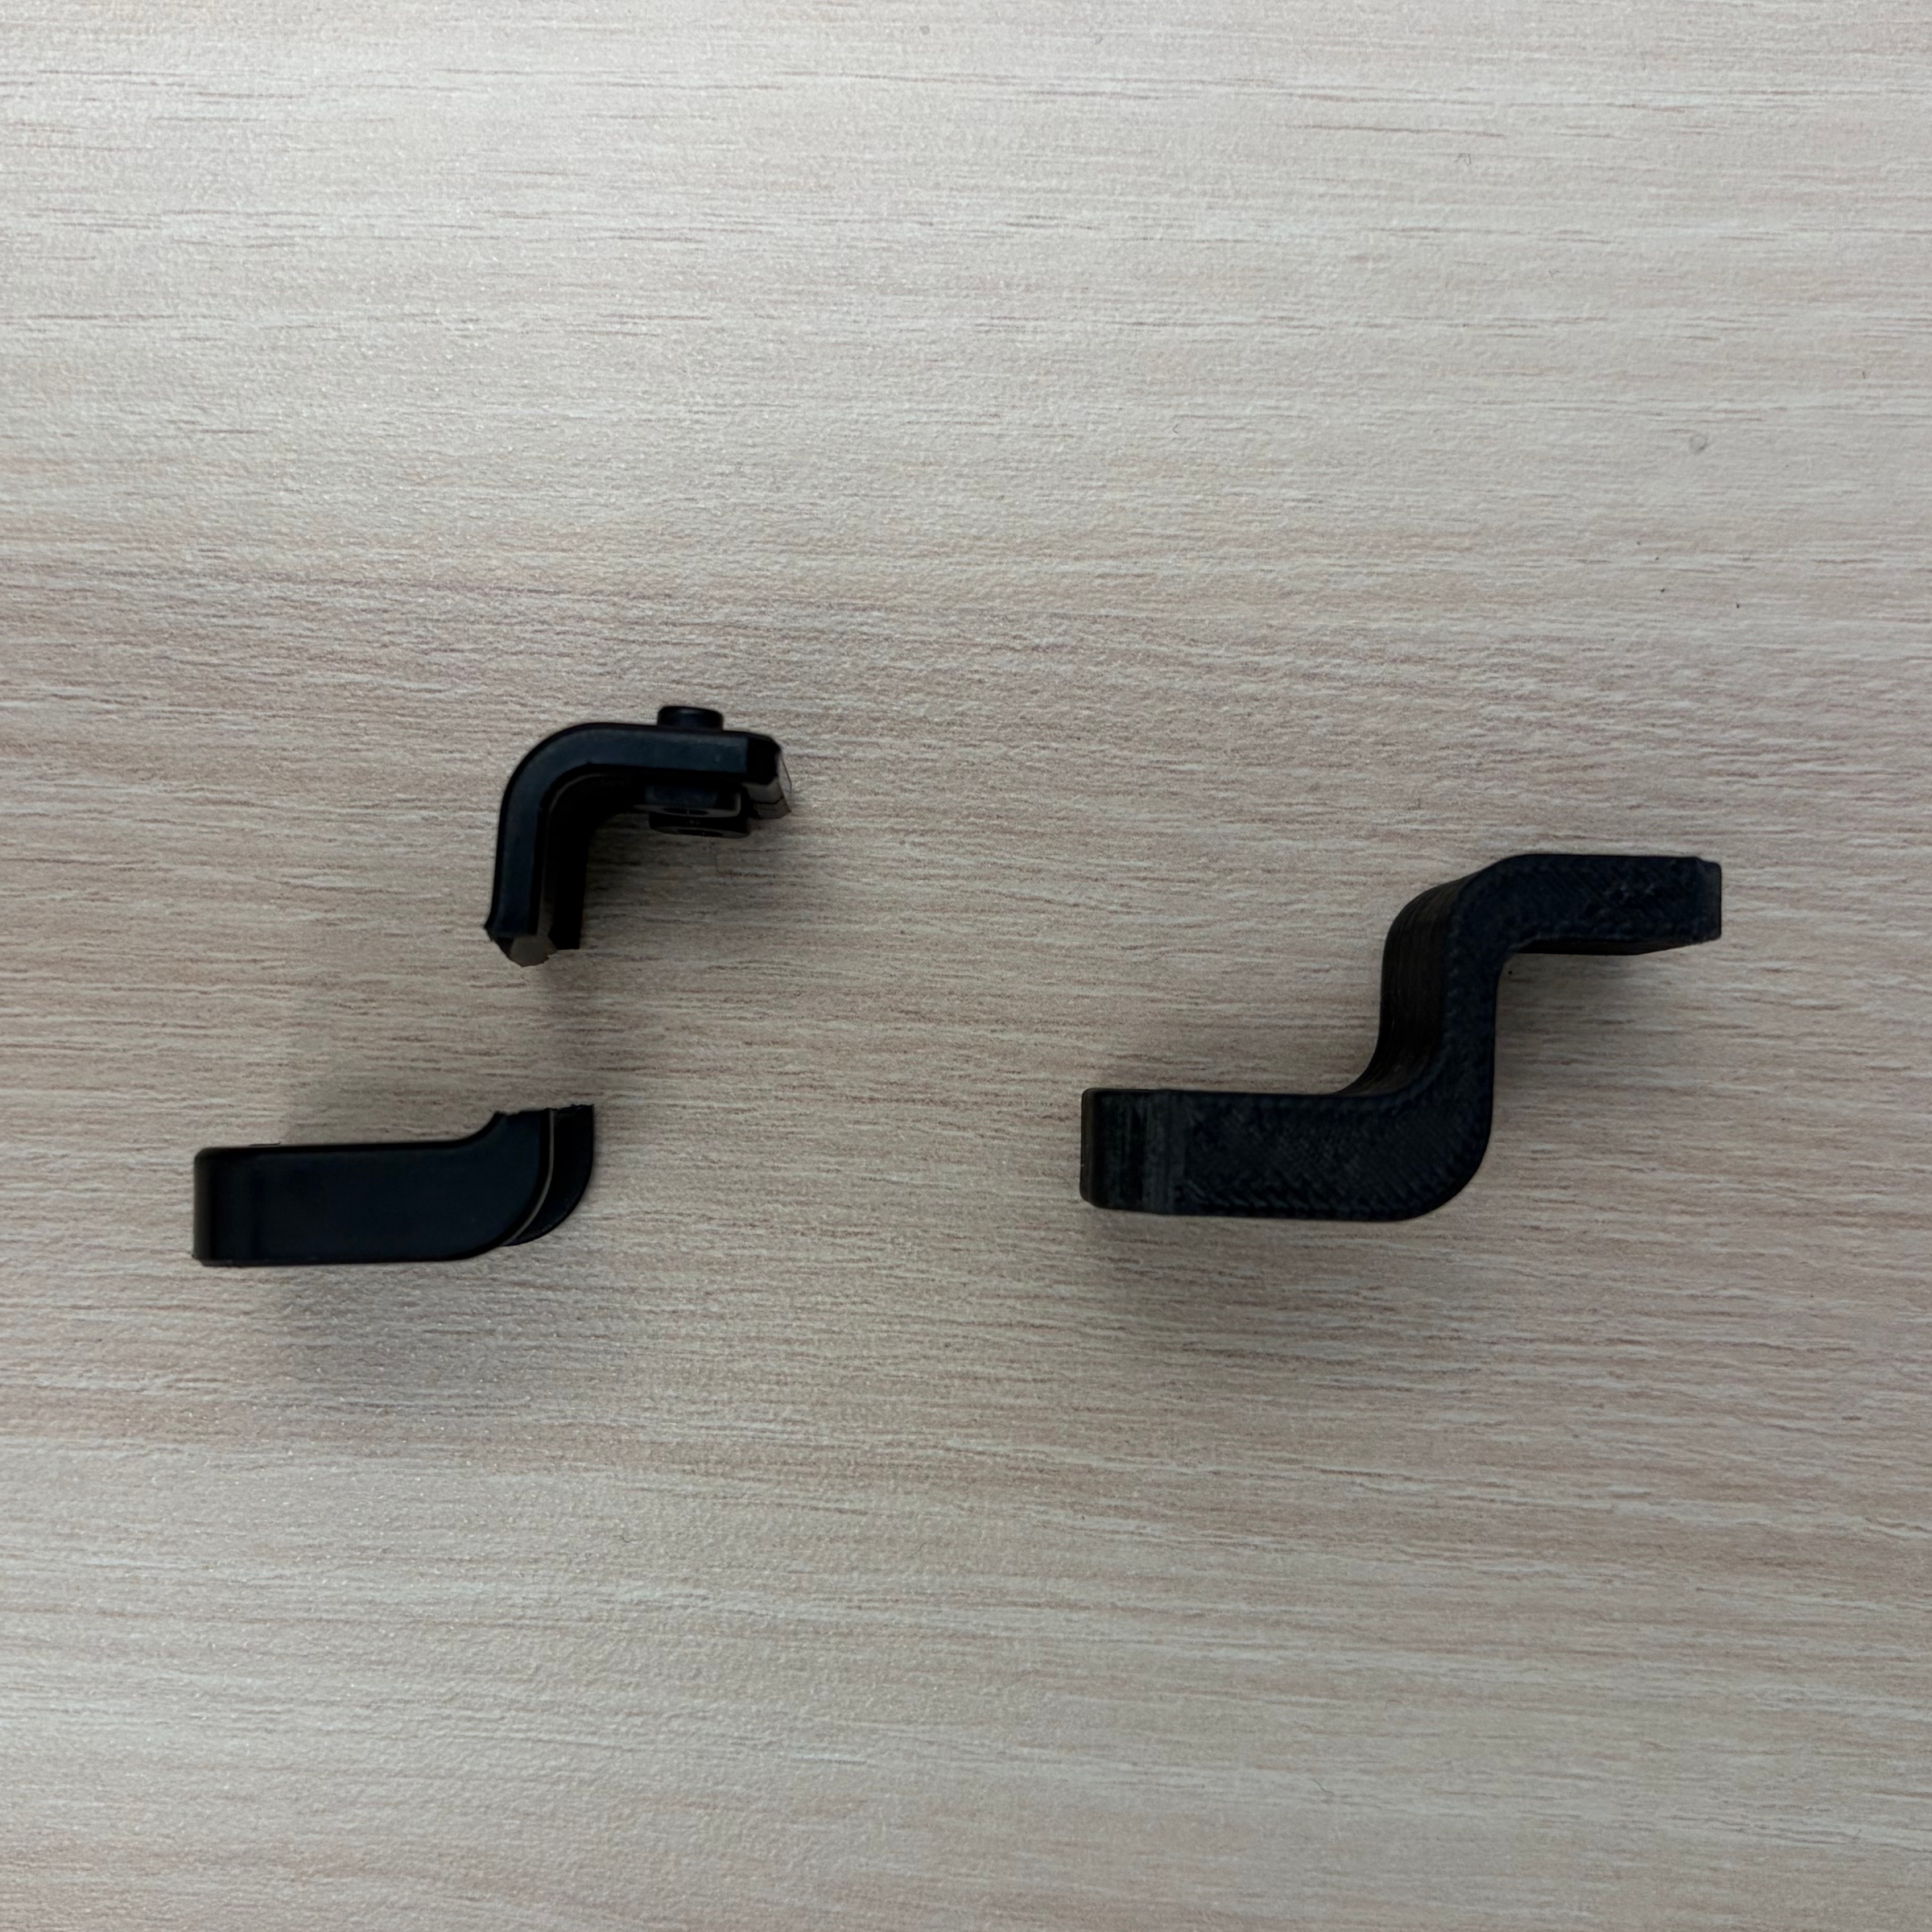
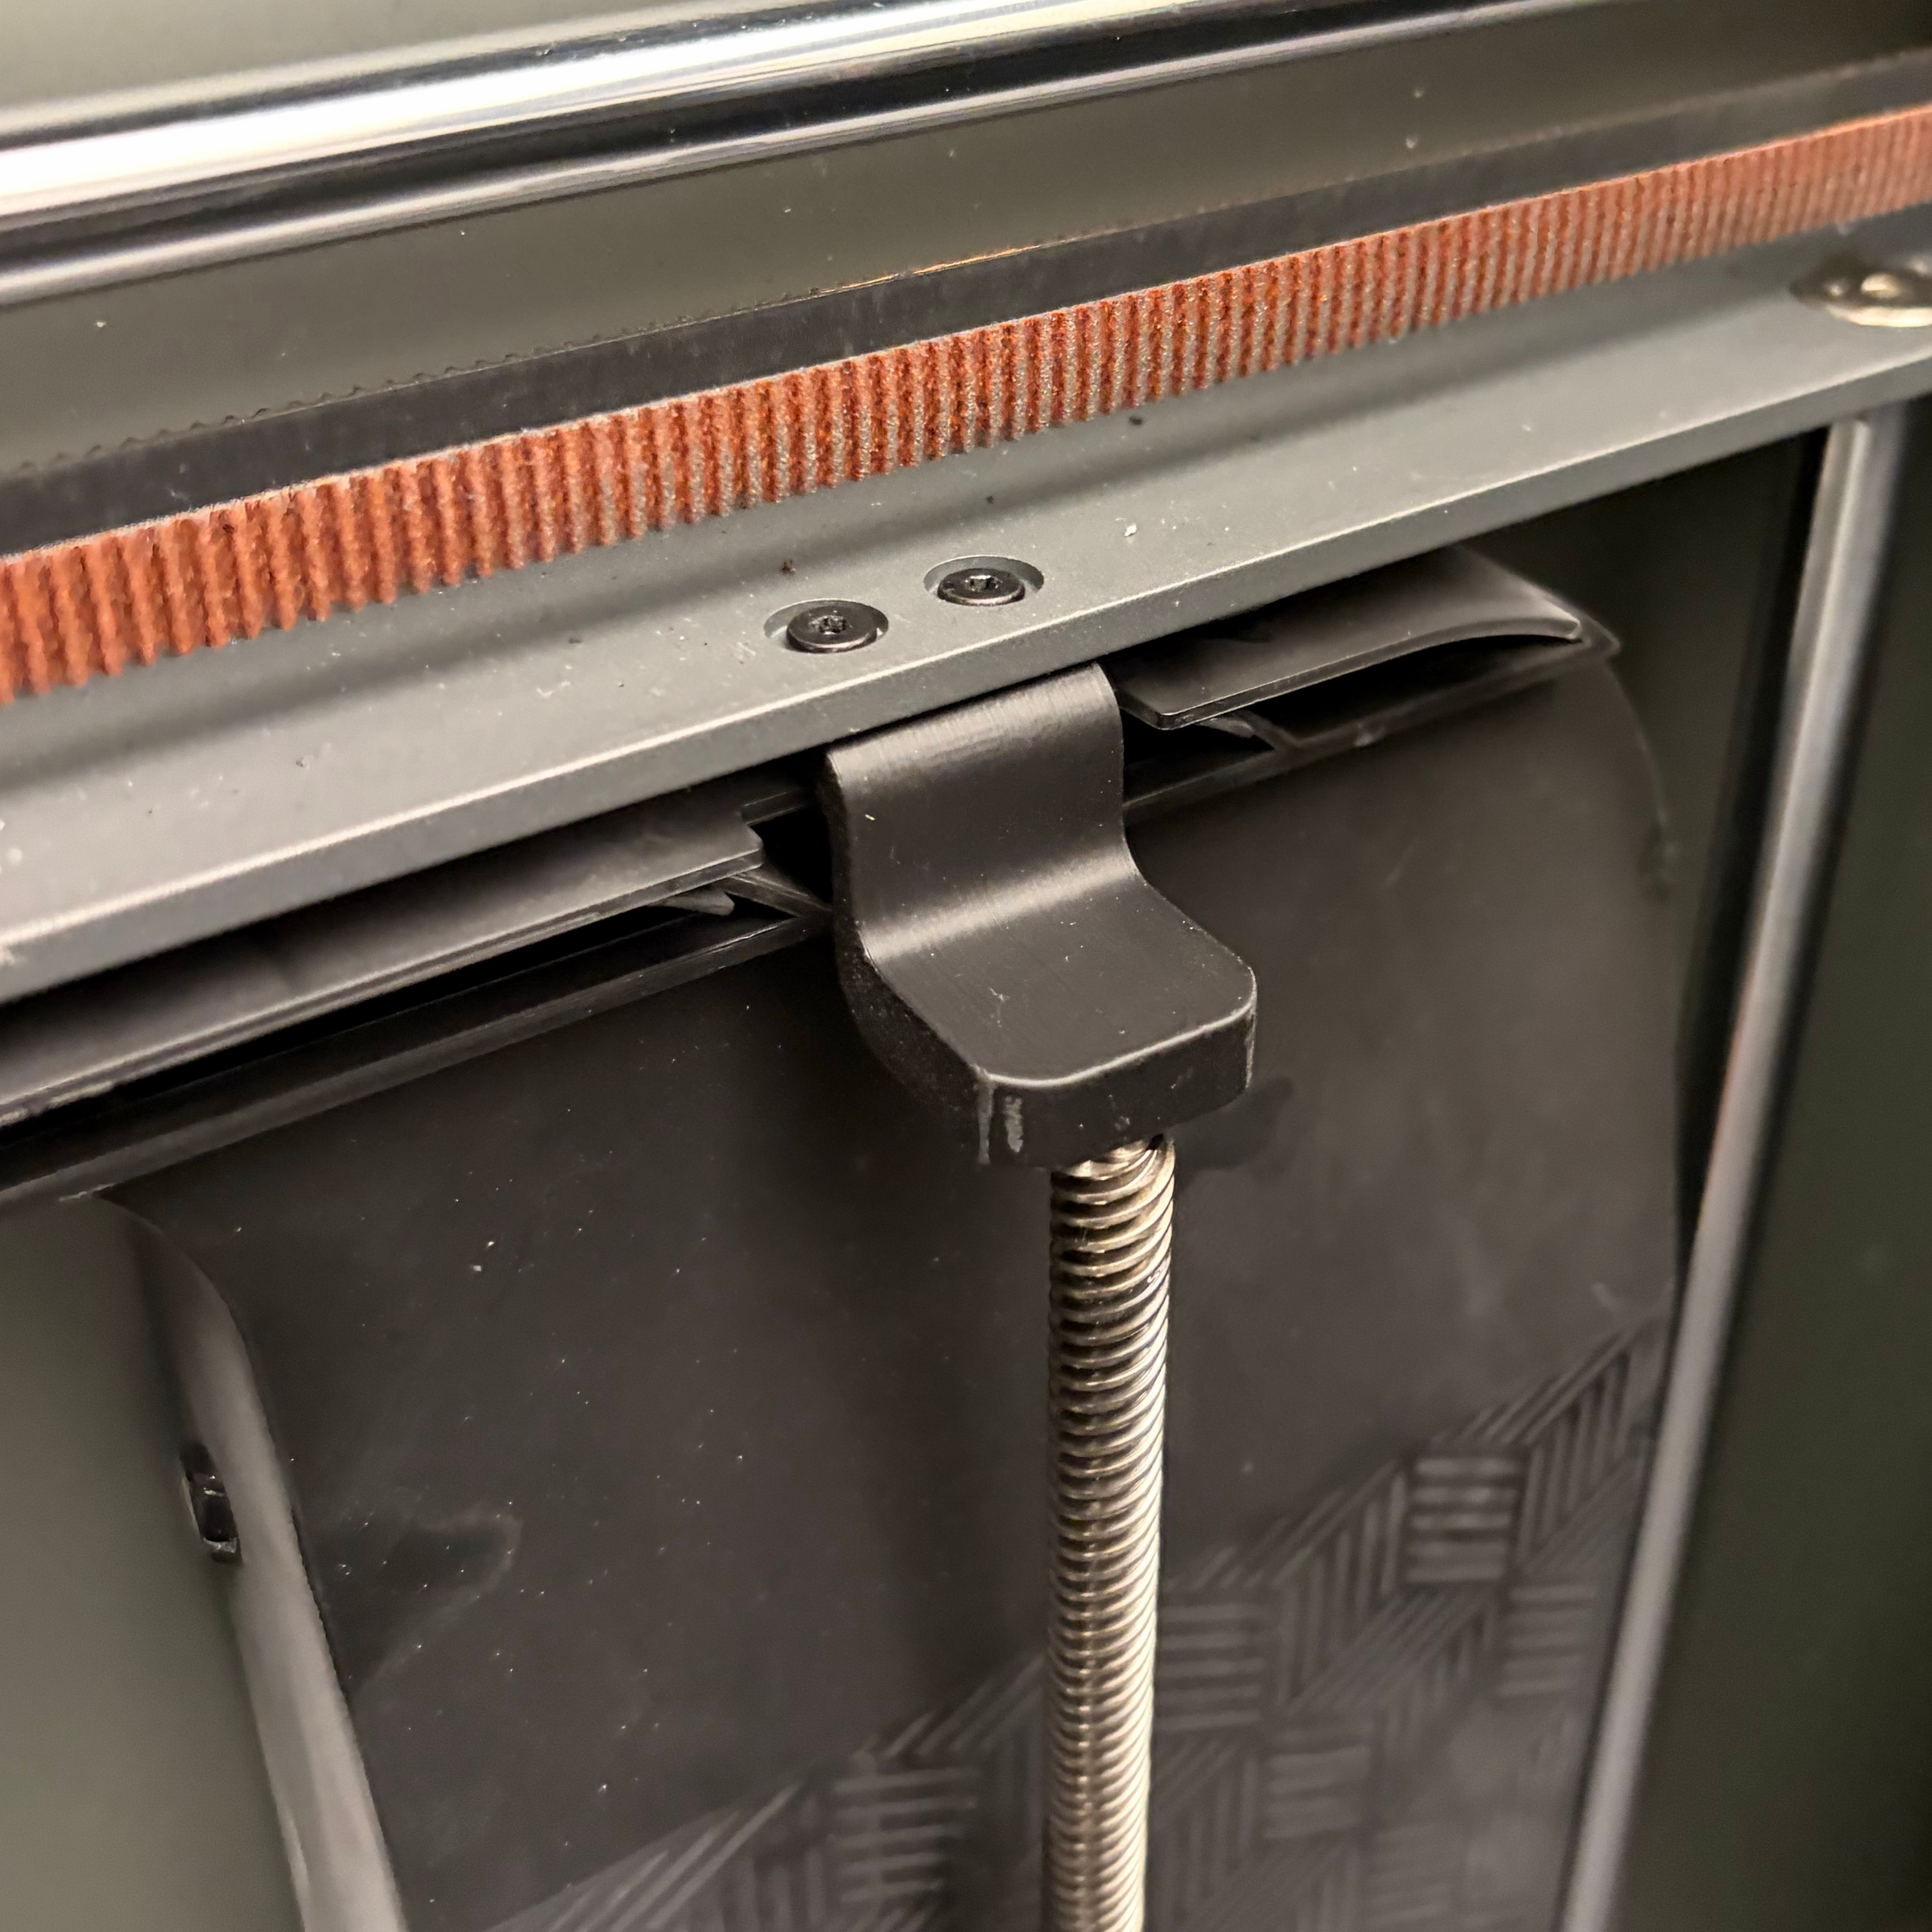
Throughout my time at QTL we had a few different printers in FDM and SLA formats. I worked on setting up new ones that arrived and did repairs when printers broke. Most of my repair time was spent on FDM printers because they would be running 24/7.